Quick Summary
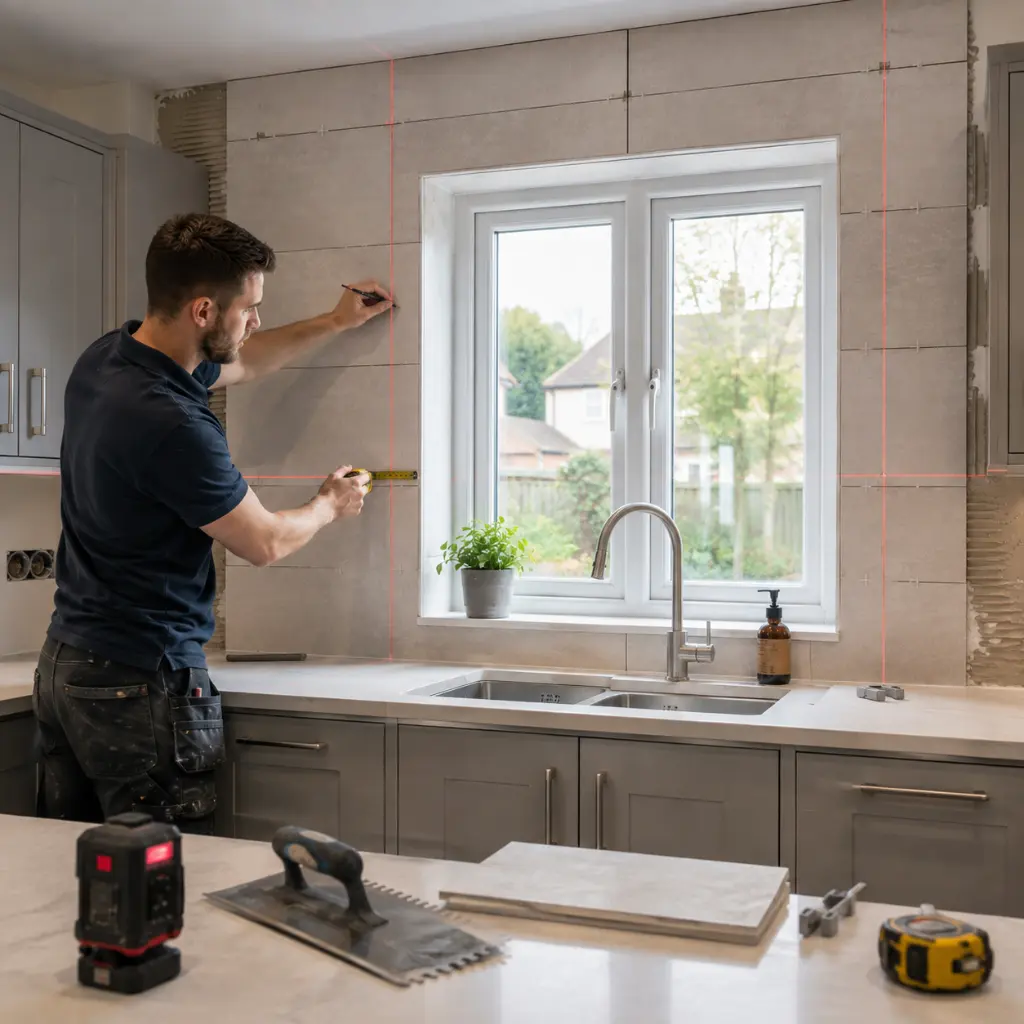
A window sits in the middle of the busiest wall in most kitchens, usually above the sink where everyone stands and looks. It interrupts the pattern, creates four edges that need finishing, and gives the eye a frame to judge everything else against.
This guide covers what to centre the pattern on, how to balance the cuts, how to handle reveals and sills, and what happens above the head of the window. For a neat and balanced result, our kitchen wall and floor tiling services ensure every stage of the layout is carefully planned and installed.
Why a window sets the rules for the whole wall
Tile layout around kitchen windows deserves planning because the opening is a reference the eye trusts. A window is square, level and permanent, so any tile that disagrees with it stands out immediately.
The same tiling on a blank wall would pass without comment. Beside a window, an uneven cut on one side is spotted from the doorway.
Centring Tile Layout on Window
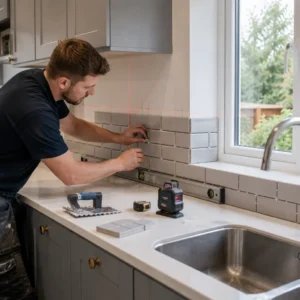
The first decision is which feature the pattern gets measured from. In most kitchens, that’s the window itself rather than the wall, simply because it’s the dominant thing in view.
Where a sink and tap sit centrally beneath the opening, all three usually line up naturally — centring on the window brings the tap into the same axis without any extra effort.
Even if the window sits noticeably off-centre in the wall, centring on it still tends to win. The eye reads the frame and the tiles as one unit, and forgives an uneven margin at the far end of the run far more readily than it forgives a window that looks out of step with its own tiling. That forgiveness shifts with the pattern, too; a brick layout , where the staggered joints already break the wall into smaller visual chunks, hides a slight offset more easily than a stacked grid does.
How to Balance the Two Sides
Shifting the whole layout by half a tile is the usual fix. Doing that turns two awkward cuts into two comfortable ones, and it takes seconds to work out on paper. The margin for making that shift work also comes down to whether it’s a rectified tile, since a tighter joint gives less flexibility to hide a slightly uneven cut than a pressed edge does.
When the worktop line and the sill line disagree
Two horizontal datums compete on this wall. The worktop sets where the tiling begins, and the sill sets where the pattern has to pause.
They rarely divide by a whole number of courses; when they do not, decide which line matters more in that particular kitchen and let the compromise fall on the other.
The sill usually wins where it sits at eye level, and the top of the wall is hidden behind units. Where the tiling runs full height, and the sill sits low, the worktop line is the one people notice.
Small adjustments to joint width across several courses can absorb a surprising amount of the difference, provided you stay within what the tile allows.
Finishing the Reveals
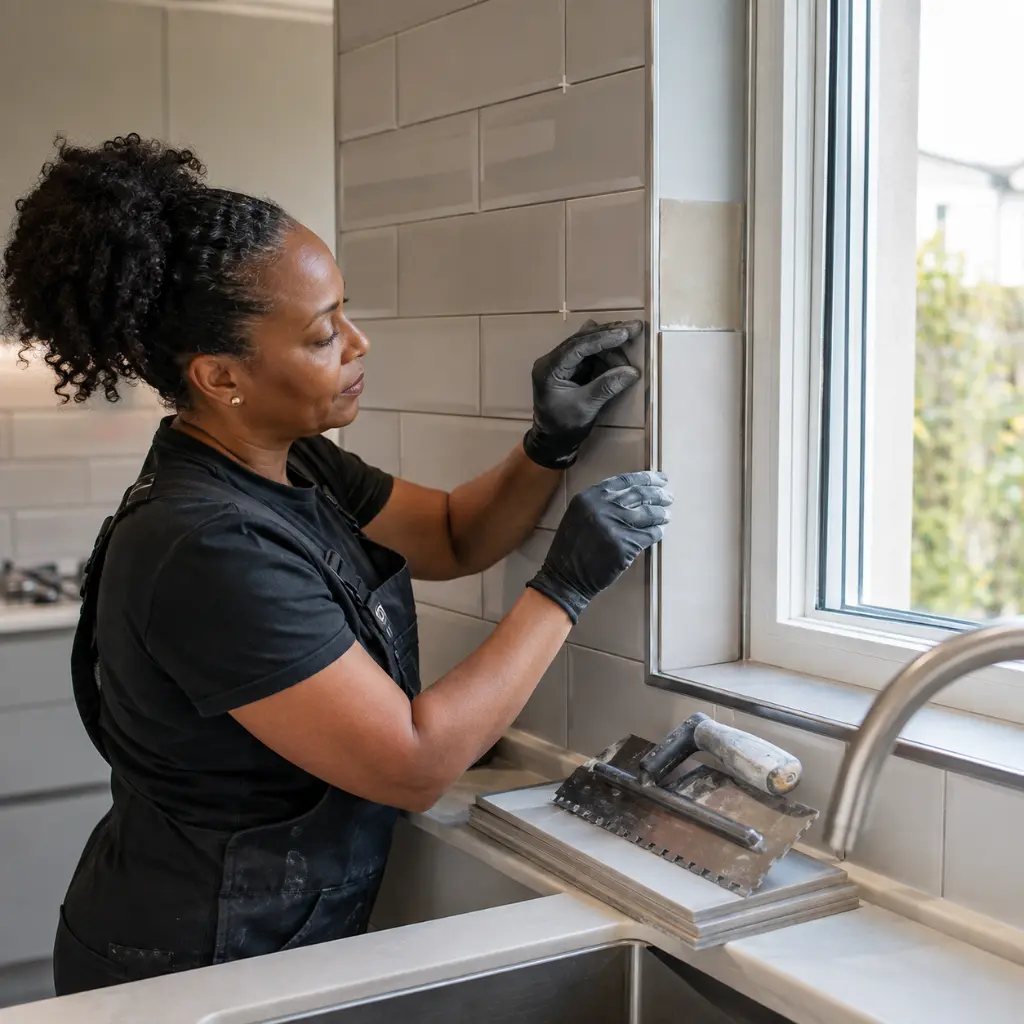
The reveal is the returned face between the window frame and the wall, and how it’s treated changes the whole character of the opening.
Returning the same tile. Carrying the tile into the reveal gives the cleanest, most considered result. Cut the reveal pieces so the factory edge faces forward and let the face tile overlap the cut edge behind it — every visible edge ends up a finished one. It’s slower to cut and set out, and it’s exactly what separates a tidy job from an obvious one.
Trims and edge treatments. A metal or plastic trim on the outer corner of the reveal protects the edge and gives it a defined line. Bullnose or pencil trims suit traditional kitchens where a softer profile fits the cabinetry better. Whichever you choose, decide before tiling begins — trims get bedded in as the tiles go on, not added afterwards.
Getting the Sill Right
A tiled window sill needs a very slight fall towards the room so water runs off rather than sitting against the frame. The front edge should project a few millimetres beyond the wall tiles below it.
That small overhang lets any water drip clear instead of tracking back down the splashback.
Tiling above the window
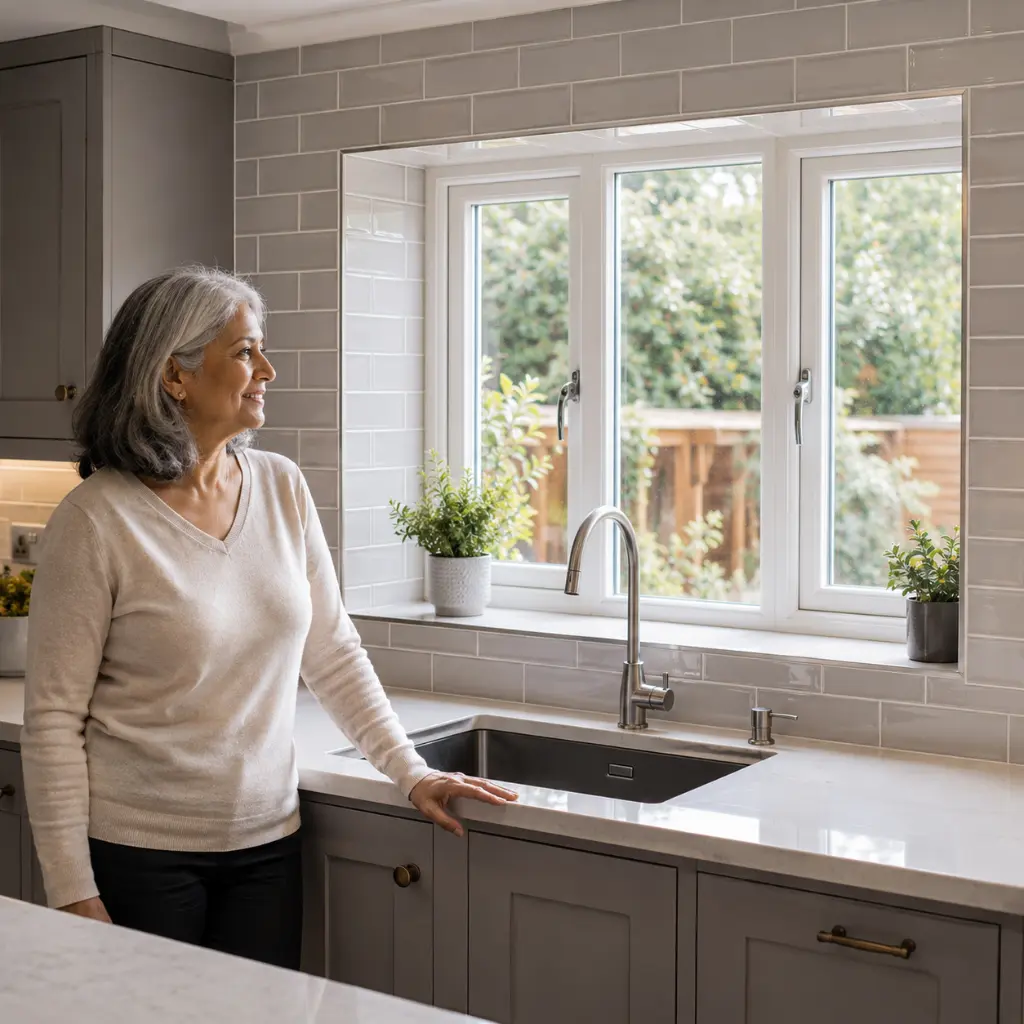
The strip above the head is often the tightest area on the whole wall, particularly where a full-height splashback runs up to wall units or the ceiling. It’s also the easiest place to run out of room for a sensible cut if you leave it until last.
Work that course out while planning the rest of the wall, not when you reach it. If the pattern continues across the head, keep the joints running through, so the window still reads as an opening in one continuous surface rather than a patch job.
How Light Changes the Finish
A window throws light sideways across the wall it sits in, which is the harshest test of any tiled surface faces. That raking light picks up every variation in the layout a slightly wide joint, a cut that’s a shade off in a way front lighting never does.
Matt and lightly textured finishes handle it comfortably. Gloss reflects daylight further into the room, which suits a darker kitchen, but it asks for a genuinely flat wall and a precise layout behind it, since gloss forgives nothing.
Where the tile meets the frame
The joint between tile and window frame takes a flexible sealant rather than grout. Tile and frame are different materials that expand at different rates, so the joint has to be able to move.
Match the sealant to the grout tone and keep the bead consistent in width. A neat line here frames the whole opening.
Planning tile layout around kitchen windows
Centring, balanced cuts, reveal treatment, the sill fall and the course above the head are five decisions that all get made before the first tile is fixed. Together they are what makes a window look designed into the wall rather than cut out of it.
Conclusion
A well-considered tile layout around a kitchen window helps create a balanced and polished finish where every detail feels intentional. Careful planning of the starting point, cuts, reveals, sill and frame joints ensures the window becomes part of the design rather than an obstacle.
At Abel Tiler London, we focus on accurate preparation and skilled installation to create kitchen tiling finishes that look professional and stand the test of time.