
Introduction
A checkerboard kitchen floor can add character and visual interest while working with a wide range of interior styles. Although black and white is the most familiar combination, colours such as cream and grey, beige and brown, or other muted tones can create a softer look.
The choice of tiles is only one part of the design. Tile size, grout lines, kitchen units, room proportions and the way the pattern is positioned can all affect how the finished floor looks. Planning these details together helps create a checkerboard floor that feels balanced within the space rather than overwhelming it. For help creating a practical tiled kitchen, consider kitchen tiling in London.
Why Choose a Checkerboard Floor for a Kitchen?
Checkerboard flooring gives a kitchen character without relying on complicated patterns or decorative tiles. The repeated squares create a clear visual rhythm that can work in traditional properties as well as contemporary kitchens.
It is also surprisingly flexible. High contrast can create a strong focal point, while two closely related shades produce a quieter effect. Current checkerboard designs are not limited to traditional black and white, with neutral and earthy combinations increasingly being used for a softer finish.
The kitchen is also a room where the practical qualities of the tile matter. Porcelain is often well suited to busy kitchen floors because it is hard-wearing and available in a wide range of colours and finishes. Ceramic and natural stone can also be considered, provided the particular tile is suitable for floor use and the demands of the space.
Choose the Right Checkerboard Colour Combination
The two colours have a major influence on how prominent the floor becomes.
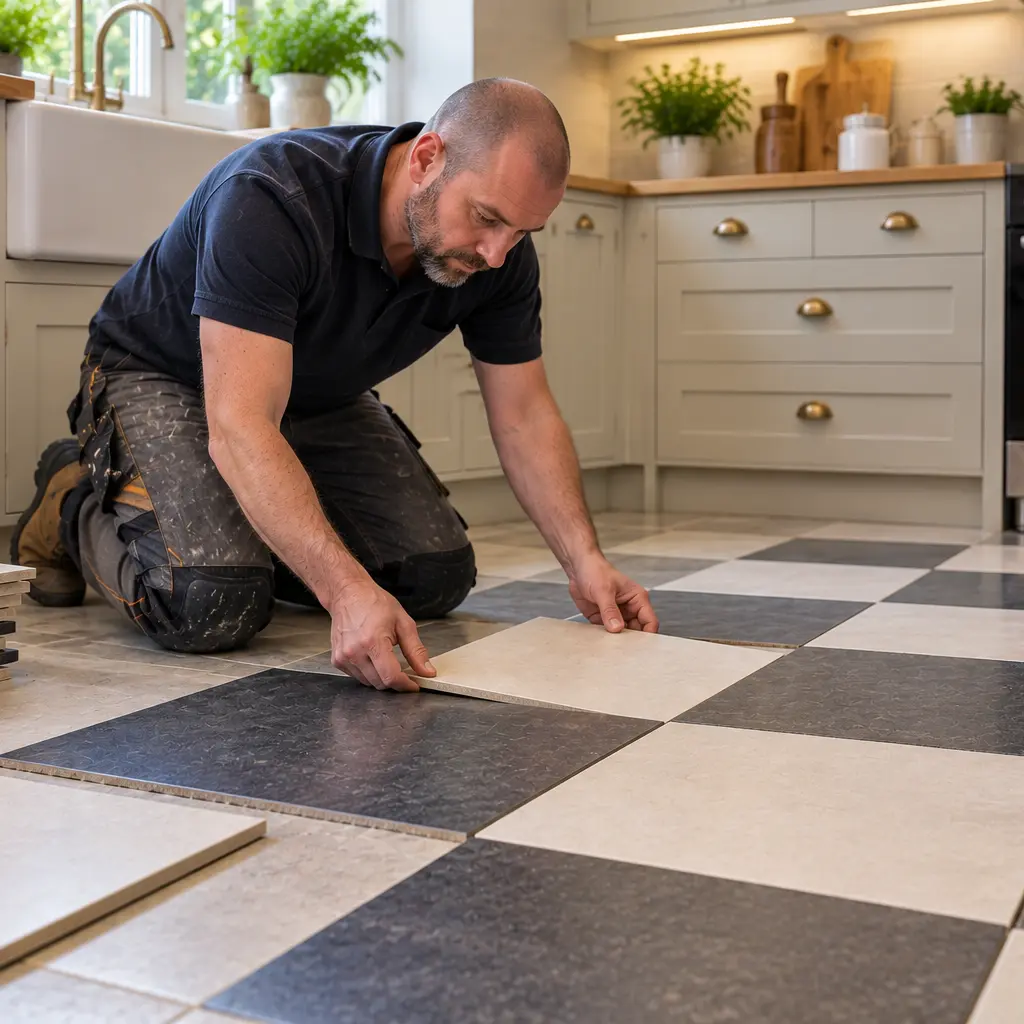
Black and white gives you the strongest contrast. It can suit monochrome kitchens, period-inspired interiors and spaces where the floor is intended to become one of the main features.
For something less striking, consider cream with charcoal, beige with brown, warm white with terracotta, or two different shades of grey. Softer colour combinations retain the recognisable checkerboard layout without making the floor dominate the room.
The undertones should also work with the permanent elements in your kitchen. A warm cream floor, for example, may sit more comfortably alongside oak units and warm worktops than a bright white tile.
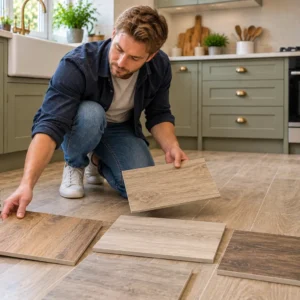
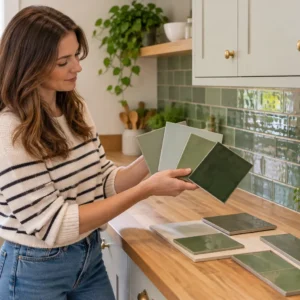
Before making a final choice, place tile samples beside your cabinet doors, worktop and wall finish. Check them in daylight and under your kitchen lighting, as the same tile can appear noticeably different as the light changes.
How to Design Around a Checkerboard Kitchen Floor
Once the floor has a strong pattern, the rest of the kitchen needs some visual breathing room.
If you choose a high-contrast floor, plain cabinet fronts and relatively simple worktops can prevent the room from becoming too busy. You do not necessarily need to match the cabinets to either floor colour. Natural timber, muted green, cream and other restrained finishes can sit comfortably alongside a checkerboard pattern.
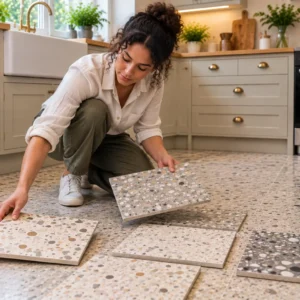
A softer floor gives you more freedom elsewhere. You might introduce stronger cabinetry, textured wall tiles or a more prominent splashback, such as terrazzo effect tiles, without creating too many competing features.
Try to look at all the permanent finishes together rather than choosing the floor separately. The aim is for the floor to feel like part of the kitchen rather than a pattern added after everything else has been decided.
The same principle applies to adjoining spaces. In an open-plan kitchen, consider how the checkerboard tiles will meet timber, carpet or another tiled floor. A neat transition point can make the change of material look deliberate.
Checkerboard Floor Layout and Kitchen Space
The layout is where careful planning becomes particularly important.
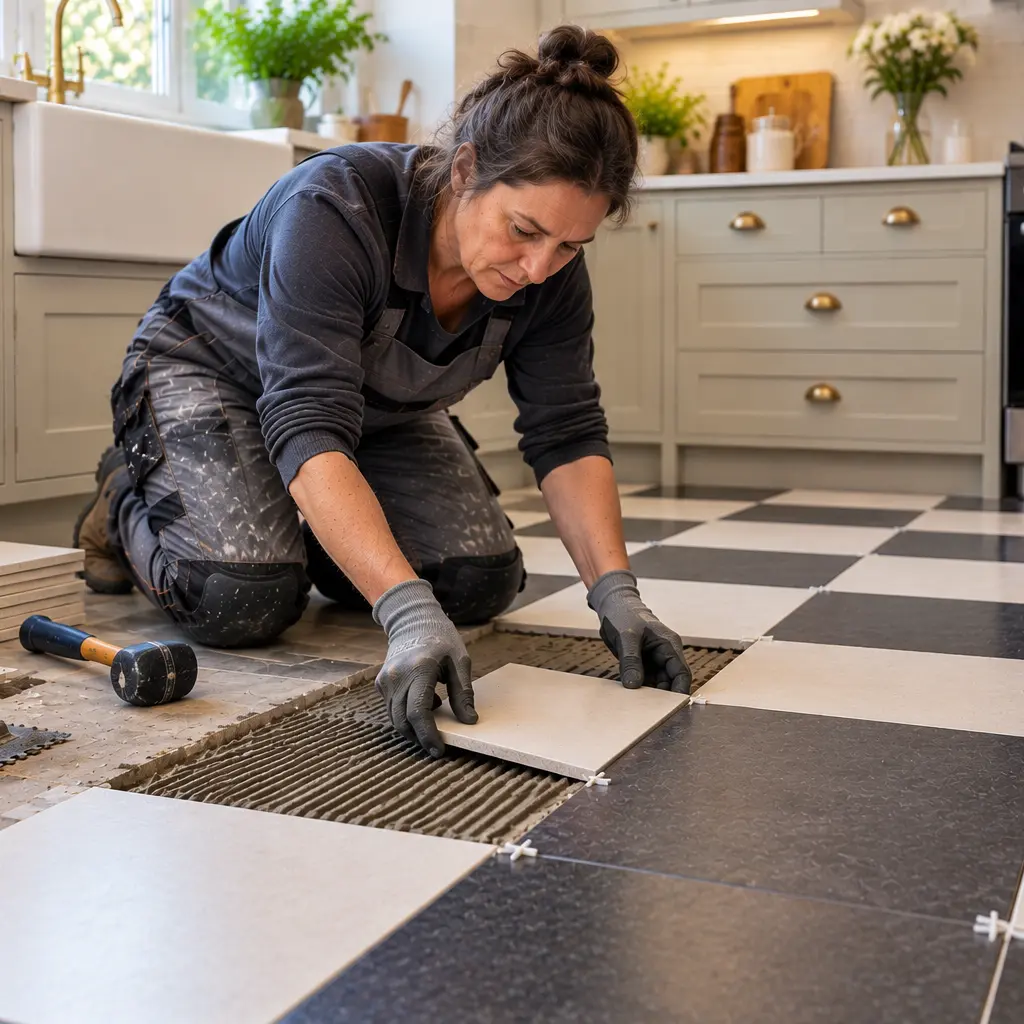
A checkerboard pattern makes alignment easy to notice. If the starting point is slightly wrong, the problem can become more obvious as the tiles continue across the room. Repeated geometric flooring therefore benefits from accurate setting out before tiles are fixed.
Straight or Diagonal?
A straight checkerboard follows the main walls of the kitchen. It creates a clean grid and can complement the lines of cabinets, islands and worktops.
Turning the pattern diagonally changes the effect considerably. The eye follows the diagonal lines across the floor rather than directly along the walls, which can add movement to a compact or narrow kitchen. Checkerboard patterns are often used this way in smaller kitchens to change how the boundaries of the floor are perceived.
Think About Tile Size
Tile size changes the scale of the pattern.
Smaller squares create more repetitions across the floor, resulting in a detailed and lively appearance. Larger tiles reduce the number of checks and can give the same pattern a calmer, more architectural character.
Do not choose size based only on the overall dimensions of the room. Consider how much floor will actually remain visible once base units, appliances and an island are in place.
Plan the Visible Edges
One common mistake is starting the installation from the easiest wall without considering where cut tiles will finish.
The layout should be assessed across the complete room first. Narrow pieces around doorways, plinths or highly visible edges can make an otherwise precise checkerboard floor look poorly balanced.
Practical Considerations for a Checkerboard Kitchen Floor
Appearance matters, but a kitchen floor has to cope with everyday use.
Choose tiles specifically suitable for flooring. A tile that looks right on a sample board is not necessarily the right choice for a frequently used kitchen.
Finishing is another consideration. Very smooth surfaces may become more slippery when wet, while heavily textured tiles can require more effort to clean. The right choice depends on how the kitchen is used and the tile manufacturer’s intended application.
Surface Preparation Comes First
Even an accurately planned checkerboard pattern will struggle to look right if the surface underneath is uneven.
Before tiling starts, the floor needs to be checked for stability and suitable preparation. Significant variations in the surface can affect how evenly the tiles bed into the adhesive, leaving voids that can lead to kitchen floor tiles coming loose over time.
Conclusion
A kitchen with a checkerboard floor works best when colour, scale and layout are considered together. The familiar two-colour pattern offers plenty of room for personalisation, from bold monochrome tiles to warmer and more understated combinations.
If you are considering checkerboard tiles for a kitchen in London, you can request a tiling quote from Abel Tiler London to discuss the floor, tile material and proposed layout before installation.