Introduction
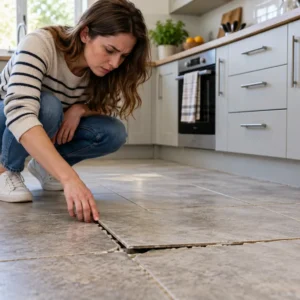
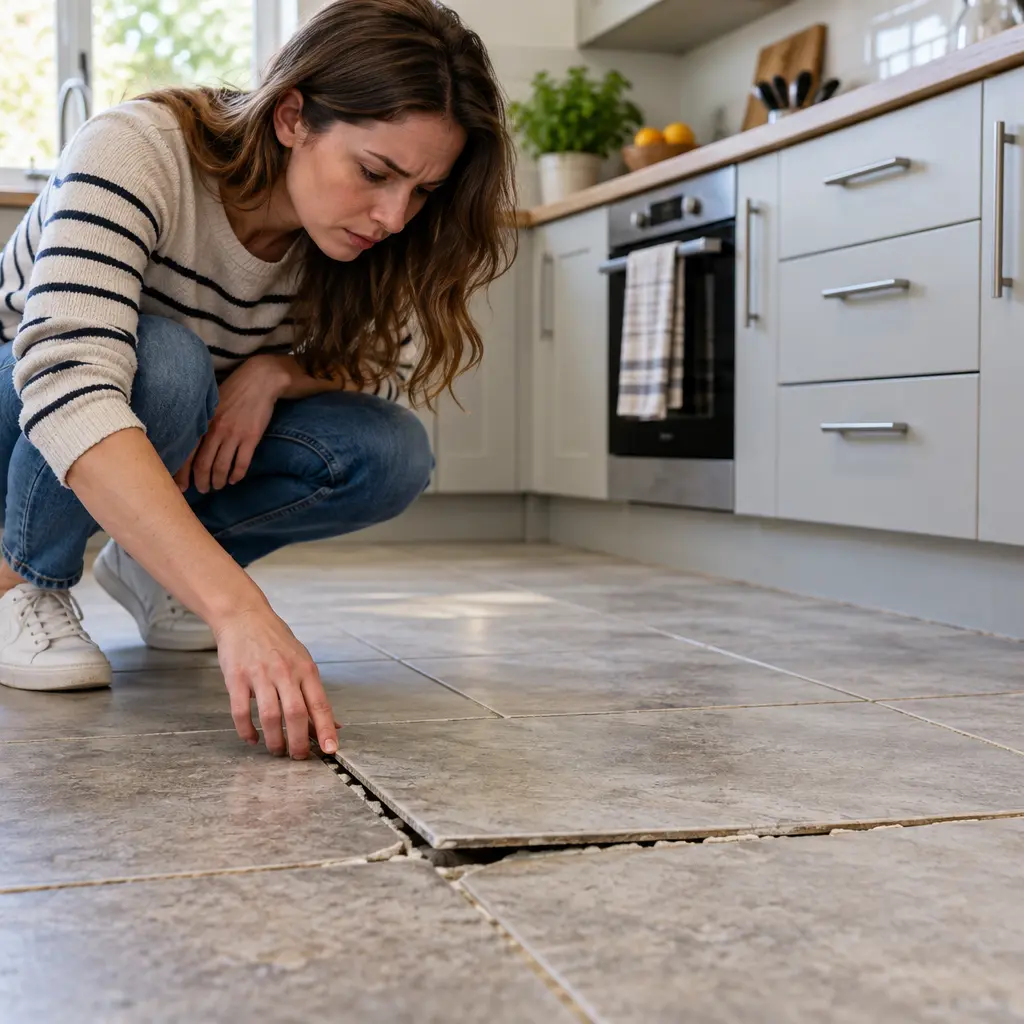
Kitchen floor tiles coming loose can be caused by problems beneath the tile, such as poor surface preparation, insufficient adhesive coverage, moisture or movement in the floor. You may first notice a tile shifting underfoot, a hollow sound when tapped, cracked grout around the edges or a tile that has started to lift.
The cause matters because the right repair depends on the condition of both the tile and the surface underneath. A single loose tile may only need careful removal and refixing, while several loose tiles can point to a wider issue with the substrate or installation. If the affected area needs professional attention, professional kitchen tiling can help ensure the tiles are fitted to a suitable and properly prepared surface.
Why Are Kitchen Floor Tiles Coming Loose?
Poor surface preparation
Adhesive needs a suitable, stable surface to bond correctly. Dust, loose material, old adhesive, uneven areas or an unsuitable substrate can prevent a tile from bedding properly.
Insufficient adhesive coverage
If adhesive is applied unevenly or leaves significant voids, parts of the tile may be unsupported. Regular foot traffic can then place stress on the tile and weaken the bond.
Movement in the floor
Tiles are rigid, so movement in the substrate can put stress on the installation. Subfloor movement, building settlement or movement between different materials may contribute to loose tiles and cracked grout.
Moisture beneath the tile
Water or persistent moisture can affect some floor installations, especially where there is an underlying leak.
How Do You Know a Kitchen Floor Tile Is Loose?
Before deciding how to repair kitchen loose tiles, look at the symptoms as well as the tile itself.
The tile moves underfoot
A tile that rocks, shifts or clicks when walked over is not stable. Repeated movement can damage the tile edges and surrounding grout.
The tile sounds hollow
A hollow sound when a tile is lightly tapped can indicate a void beneath it, although sound alone does not prove that the bond has failed. It is more useful when combined with movement or cracked grout.
Grout around the tile is cracking
Cracked grout can indicate movement. Grout fills the joints between tiles, but it does not replace a proper bond between the tile and substrate.
The tile is lifting or sitting unevenly
A tile that is higher than its neighbours or lifting at one edge needs attention. Adding new grout around it will not restore the bond.
How to Fix Loose Tile in Kitchen
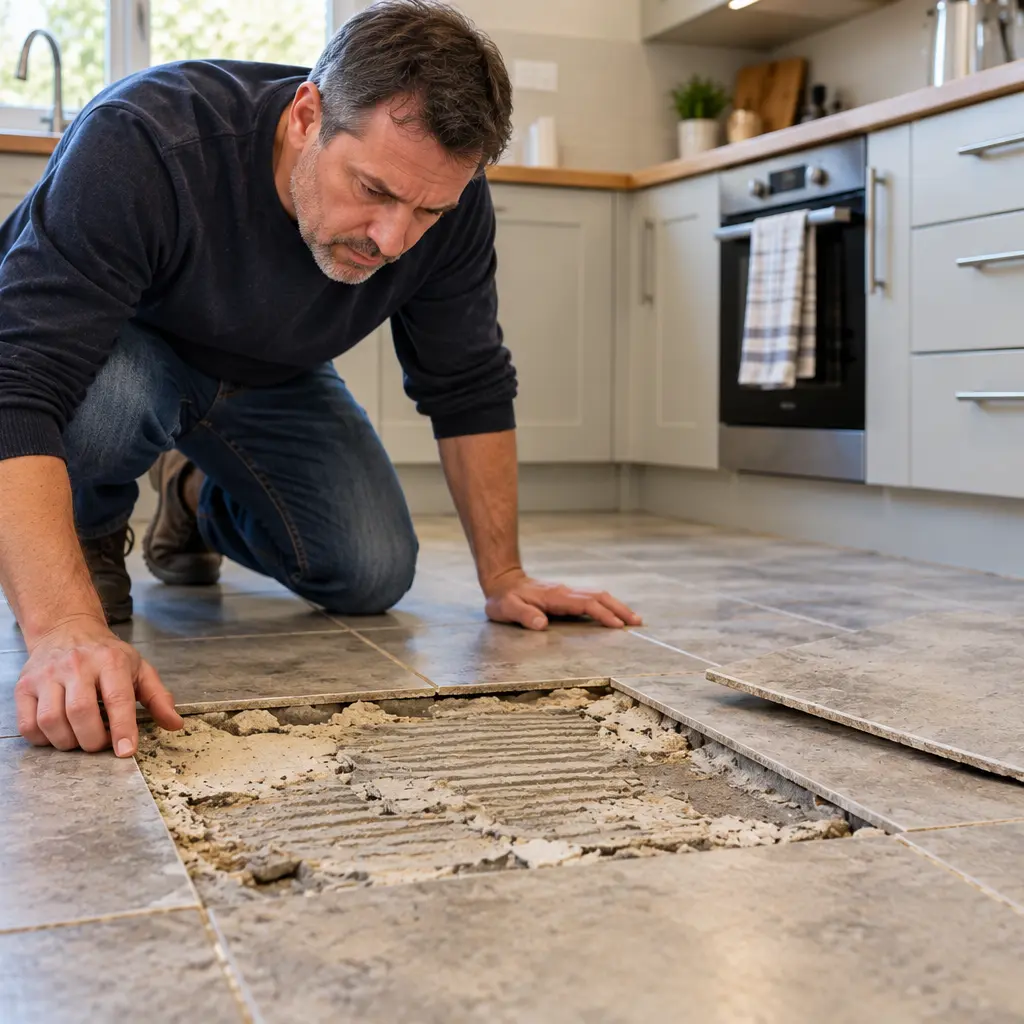
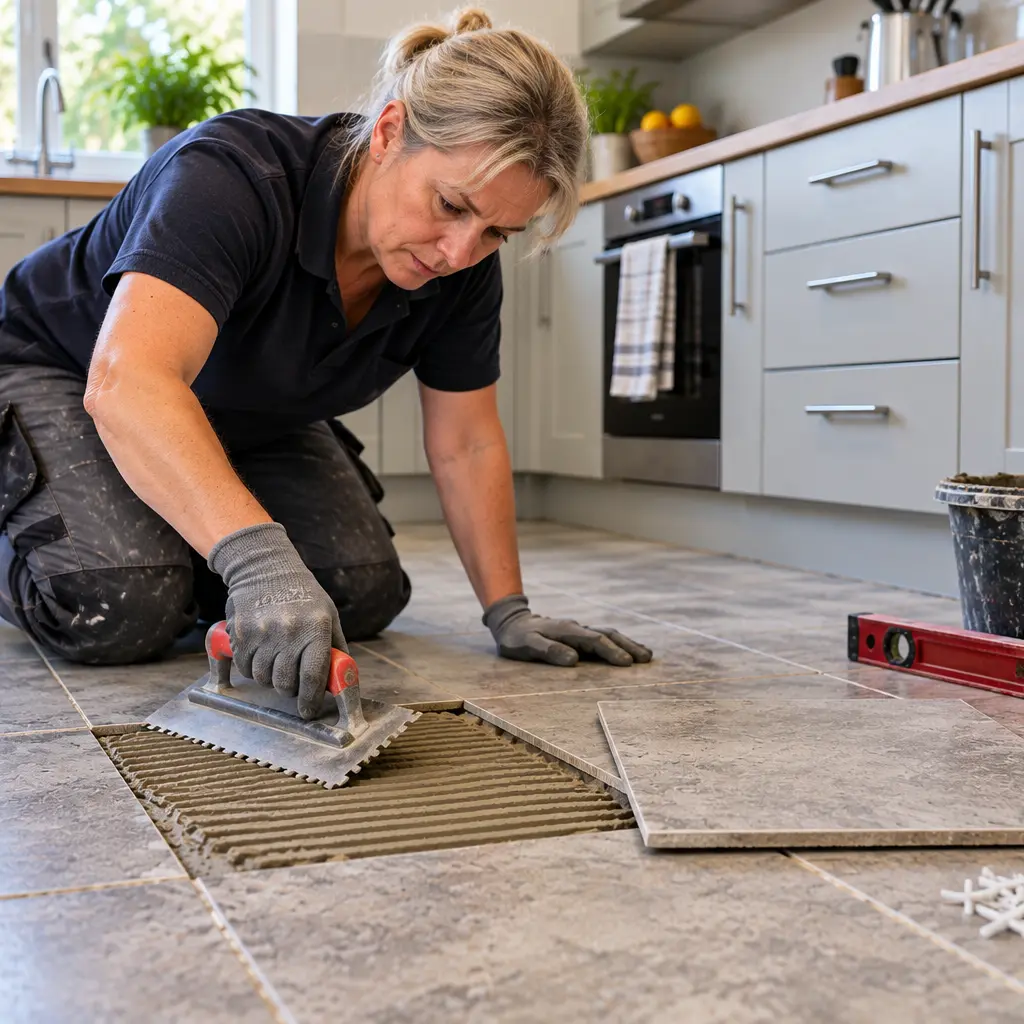
How to fix loose tile in kitchen areas depends on the tile and the surface below it. For an isolated, intact tile, the usual approach is to remove it carefully, prepare the surfaces and refix it with a suitable adhesive.
1. Remove the surrounding grout
Remove the grout around the affected tile carefully. This separates it from neighbouring tiles and reduces pressure on their edges when the tile is lifted.
2. Lift the tile and inspect the area
Check the tile for cracks and inspect the surface underneath for loose material, moisture or old adhesive. These checks can help explain why the tile became loose.
3. Prepare the tile and floor
Remove old adhesive as appropriate and clear away loose debris. The floor needs to provide a stable base before new adhesive is applied.
4. Apply suitable tile adhesive
Use an adhesive suitable for the tile material and substrate. Apply it using the appropriate method so the tile has adequate support beneath its surface.
5. Refit, level and allow to cure
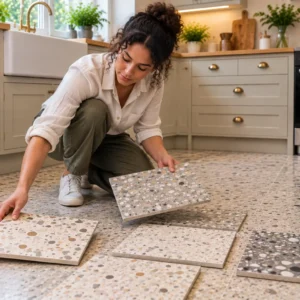
Position the tile so it matches the surrounding layout and height, keeping the colour sequence correct on patterned designs such as a checkerboard kitchen floor (Kitchen with Checkerboard Floor: How to Get It Right).
6. Regrout the joints
Once the tile has been properly reset and the adhesive has cured, refill the surrounding joints with suitable grout. Match the existing joint width and appearance as closely as practical.
How to Prevent Loose Kitchen Floor Tiles
Prepare the substrate properly
A sound tiled floor starts with a suitable base. Uneven or unstable areas should be identified before tiling rather than hidden beneath an adhesive bed.
Choose suitable tiles and adhesive
Porcelain, ceramic and natural stone have different characteristics. The adhesive system should suit both the tile and substrate, while the floor should be appropriate for regular kitchen traffic and cleaning.
Plan movement and transitions
Larger tiled areas and transitions between different materials need careful planning. Appropriate movement joints and accurate setting out can reduce unnecessary stress on the installation.
Deal with leaks early
If water is getting beneath the floor, fix the source before refixing the tile. Check around appliances, sinks and nearby plumbing where appropriate.
Use careful installation and finishing
Accurate setting out, suitable adhesive coverage, consistent joints and proper curing all contribute to a stable finished floor. These details matter in kitchens because the floor is used heavily every day.
When to Get Professional Help
Professional help is useful when several tiles are moving, the floor is uneven, moisture is suspected, tiles keep loosening after repair, or the substrate appears damaged. An experienced tiler can assess the surrounding area rather than treating only the loose tile.
Conclusion
Kitchen floor tiles coming loose do not automatically mean the whole floor needs replacing. The important step is to identify why the tile has lost stability, whether it can be reused, and whether the surface underneath is suitable for repair.
At Abel Tiler London, our team provides professional kitchen tiling across London, including areas such as Harrow and North West London. From surface preparation and tile installation to repair and grouting, we work with different tile materials to create practical finishes for modern and traditional kitchens.