Introduction
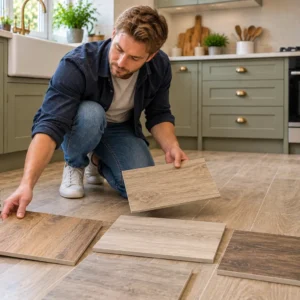
A kitchen floor needs to cope with regular foot traffic, food spills, cleaning and the movement that comes with everyday life. Wood effect tiles kitchen designs can give the room the appearance of natural timber while allowing homeowners to choose from different tile materials, colours, plank sizes and patterns.
Wood effect tiles are available in finishes that reproduce the grain, variation and tones associated with timber. Porcelain options are particularly common in UK kitchens, with current ranges available in long plank formats, natural oak-style colours, grey tones and darker wood shades. For a professionally finished tiled floor, kitchen floor tiling in London can help ensure the chosen tiles suit the space and are installed correctly.
Why Choose Wood Effect Tiles for a Kitchen Floor?
Durable for Busy Kitchen Areas
Wood effect tiles are well suited to busy kitchen floors where the surface needs to cope with regular foot traffic and everyday use. Many wood effect tiles are made from porcelain, which is a hard-wearing material with low water absorption. This can make porcelain wood effect tiles a practical choice for kitchens, particularly where spills and frequent cleaning are part of daily use.
Wood Appearance Without Natural Timber Flooring
Wood effect tiles are designed to reproduce features associated with timber, including grain patterns, knots and variations in colour.
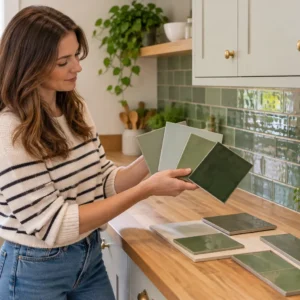
This makes them useful when you want a warm, natural-looking kitchen floor without using actual timber flooring. The result can work particularly well when the tile colour complements the kitchen cabinets, worktops and surrounding finishes. Warm oak tones, for example, sit comfortably beside sage or olive green kitchen tiles on the walls.
How to Choose Wood Effect Tiles for a Kitchen
Choose the Right Tile Material
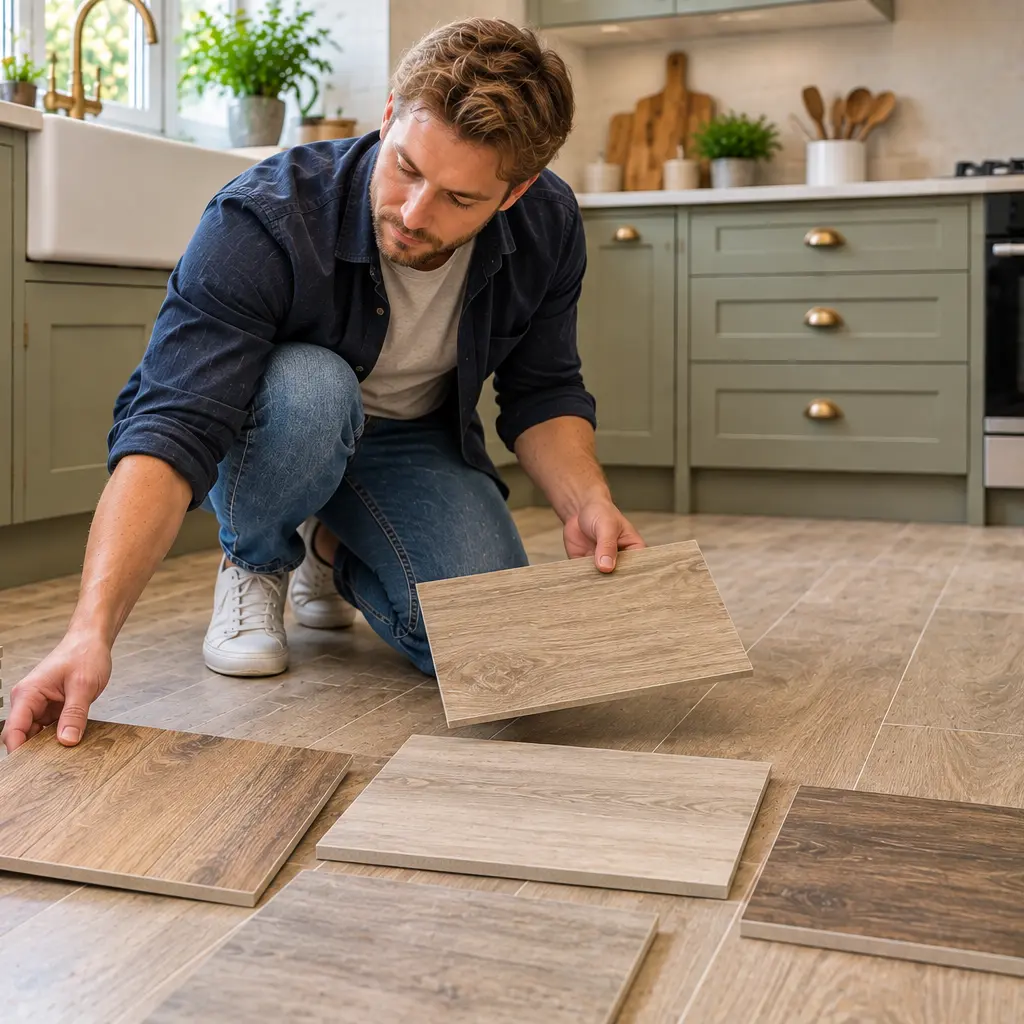
Choose a tile that is specifically suitable for kitchen floor use. Wood effect tiles are available in both porcelain and ceramic, so check the product specifications before purchasing.
Consider Tile Size and Shape
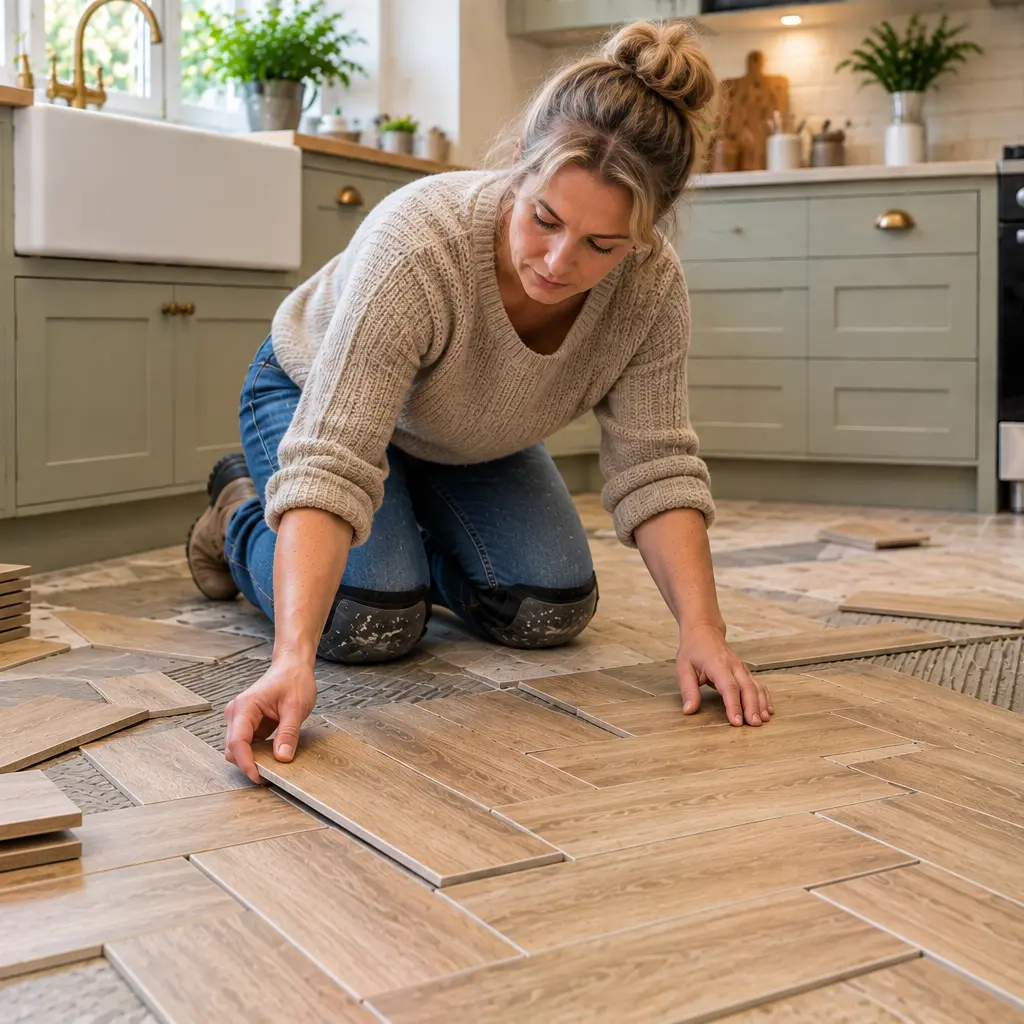
Long plank-style tiles can create a realistic wood floor effect, while smaller planks can suit patterns such as herringbone. Consider the kitchen layout and where cuts will be needed around units and doorways.
Select a Suitable Wood Effect Tile Colour
Choose a colour that complements your kitchen cabinets, worktops and splashback. With a patterned splashback such as terrazzo effect tiles , a wood tone that picks up one of the chip colours can tie the two surfaces together.
Wood Effect Tile Patterns and Layout Ideas
Straight Plank Layout
Straight plank layouts create a simple, natural wood floor appearance. The direction of the planks can also make the kitchen feel longer or wider.
Herringbone Wood Effect Tiles
Herringbone arranges rectangular tiles in a zigzag pattern. It adds more visual interest and can make the wood floor a stronger design feature.
Chevron Wood Look Tiles
Chevron tiles create a continuous V-shaped pattern. They offer a more structured appearance and can suit both modern and traditional kitchens.
Basket Weave and Other Tile Patterns
Basket weave uses smaller rectangular tiles to create a woven pattern. It adds character but requires careful planning because of the increased number of joints.
How to Prepare a Kitchen Floor for Wood Effect Tiles
Check the Floor for Dips and Uneven Areas
Check the floor for dips, raised areas and uneven sections before laying wood effect tiles. A level surface helps reduce issues such as uneven tile heights.
Clean and Prepare the Surface
Remove dust, dirt, loose material and other debris so the surface is clean and suitable for tile adhesive. Check whether the existing floor provides a suitable base.
Level the Floor Where Needed
If the floor is uneven, leveling may be required before installation. The preparation needed will depend on the existing substrate and the chosen tile.
How to Install Wood Effect Tiles in a Kitchen
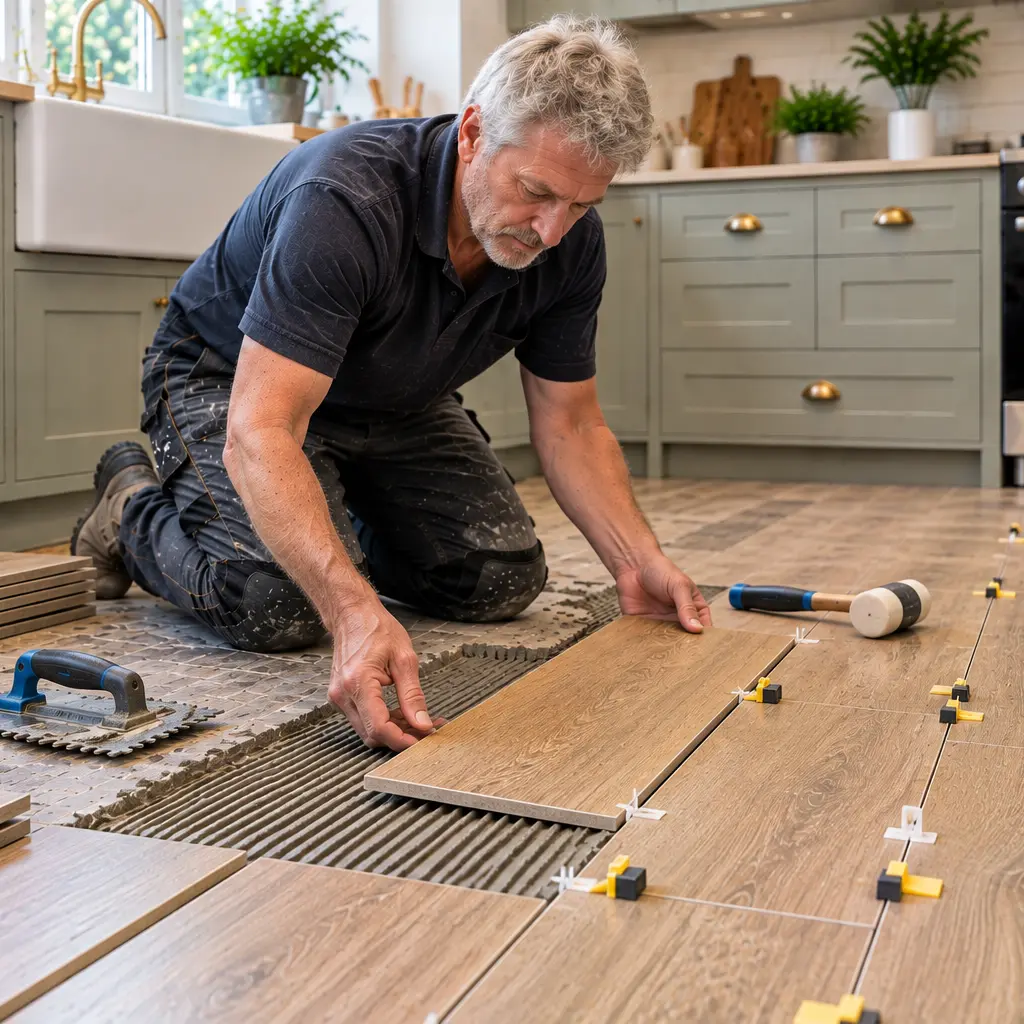
Use the Right Tile Adhesive
Choose an adhesive suitable for the tile, substrate and kitchen floor. Follow the manufacturer’s instructions for mixing and application.
Plan the Tile Layout Before Installing
Plan the starting point, pattern and tile cuts before fixing the tiles. Consider kitchen units, walls, doorways and thresholds to achieve a balanced finish.
Pay Attention to Tile Orientation
The direction of plank tiles affects the overall appearance of the kitchen. Consider the room shape and position of cabinets and entrances before deciding the direction.
Leave the Correct Grout Joints
Maintain the grout joint width recommended by the tile manufacturer. This helps create consistent spacing and supports the finished appearance of the floor.
Consider a Tile Levelling System
A levelling system can help keep adjacent plank tiles at a consistent height during installation. It can be particularly useful with longer tiles.
Plan the Staggered Pattern Carefully
If using a staggered layout, plan the offset according to the tile size and manufacturer’s installation guidance. Avoid automatically using a half-tile offset, as the most suitable arrangement can vary between products.
Are Wood Effect Tiles Suitable for Kitchen Floors?
Yes, wood flooring tiles can be a practical choice for kitchen floors when the selected product is suitable for floor use and the installation is properly planned.
The right choice depends on the kitchen, the amount of traffic, the appearance you want, the condition of the existing floor and the characteristics of the tile.
If you are planning wood effect tiles kitchen flooring and want advice on the most suitable layout or installation approach, Abel Tiler’s kitchen tiling service covers wall and floor tiling for domestic and commercial kitchens across London.