Quick Summary
You have finally picked the brick layout tiles for your kitchen and are excited to see the finished look. But when the first row is about to go up, a common question appears: where should the tiler start, and how should each row line up? A small mistake in the first few tiles can affect the entire wall, especially around worktops, sockets and corners.
This guide explains how to plan a brick layout correctly, from choosing the right offset and grout spacing to handling edges, skirting and finishing details for a professional kitchen finish. For a precise layout and quality installation, our kitchen tiling experts in London help homeowners achieve a balanced and durable result.
Brick Effect Wall Tiles vs Brick Layout: What’s Actually Different?
These two terms get used interchangeably, but they’re not the same thing, and mixing them up is where a lot of kitchen planning goes wrong.
A brick layout is a way of arranging tiles, not a type of tile. Each row shifts sideways against the row below, so the joints never line up vertically, also called a brick bond or a running bond. You can lay almost any rectangular tile this way.
Brick effect wall tiles are something else entirely: porcelain or ceramic tiles printed and textured to imitate the face of real brick, right down to the subtle colour variation and slightly uneven surface. They can be laid in a brick bond pattern, or in any other arrangement — the look and the layout are two separate decisions.
Why Brick Effect Kitchen Tiles Work So Well
The appeal isn’t just the look. Real exposed brick in a kitchen means porous, uneven mortar joints sitting right beside a hob and a sink — hard to keep clean, and harder still to keep looking good over time. Brick effect kitchen tiles give you that same texture and character with a wipeable, waterproof surface that a splashback actually needs.
They also do something useful with proportion. Turning the tiles upright and offsetting them vertically lifts the eye and makes a low ceiling feel taller — genuinely useful in the older terraces and flats that make up so much of London’s housing stock, where head height in the kitchen is often tighter than the trend photos ever show.
Choosing the offset for brick layout tiles
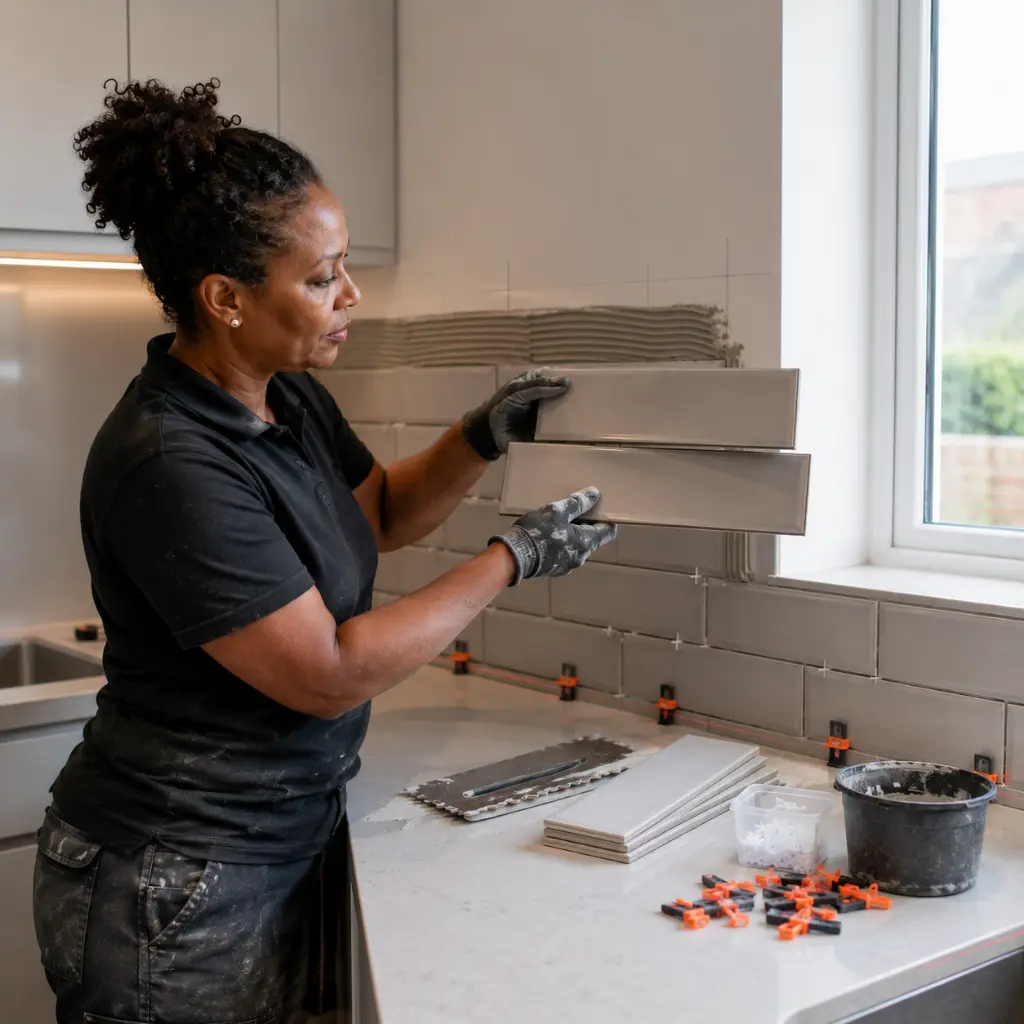
The offset is how far each row steps sideways against the row beneath. Most people picture a half tile shift, because that is what a garden wall does.
On modern tile sizes, that assumption causes problems. Long rectangular tiles are rarely perfectly flat, and most carry a slight bow along their length, with the centre sitting marginally proud of the ends.
Set a long tile at a half shift, and the highest point of one tile meets the lowest point of its neighbour. The result is lippage, meaning one tile edge stands above the next and catches the light along the whole run.
For tiles longer than about 300mm, a third or a quarter shift keeps the step far smaller and the surface reads flat. Many manufacturers state a maximum offset on the box for this reason, and it is worth checking before the pattern is agreed.
A quick test on site settles it. Hold two tiles face to face and look for daylight in the middle, then reduce the offset if the gap is obvious.
Set out from the worktop, not the ceiling
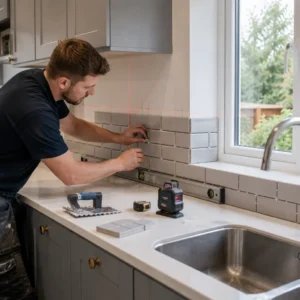
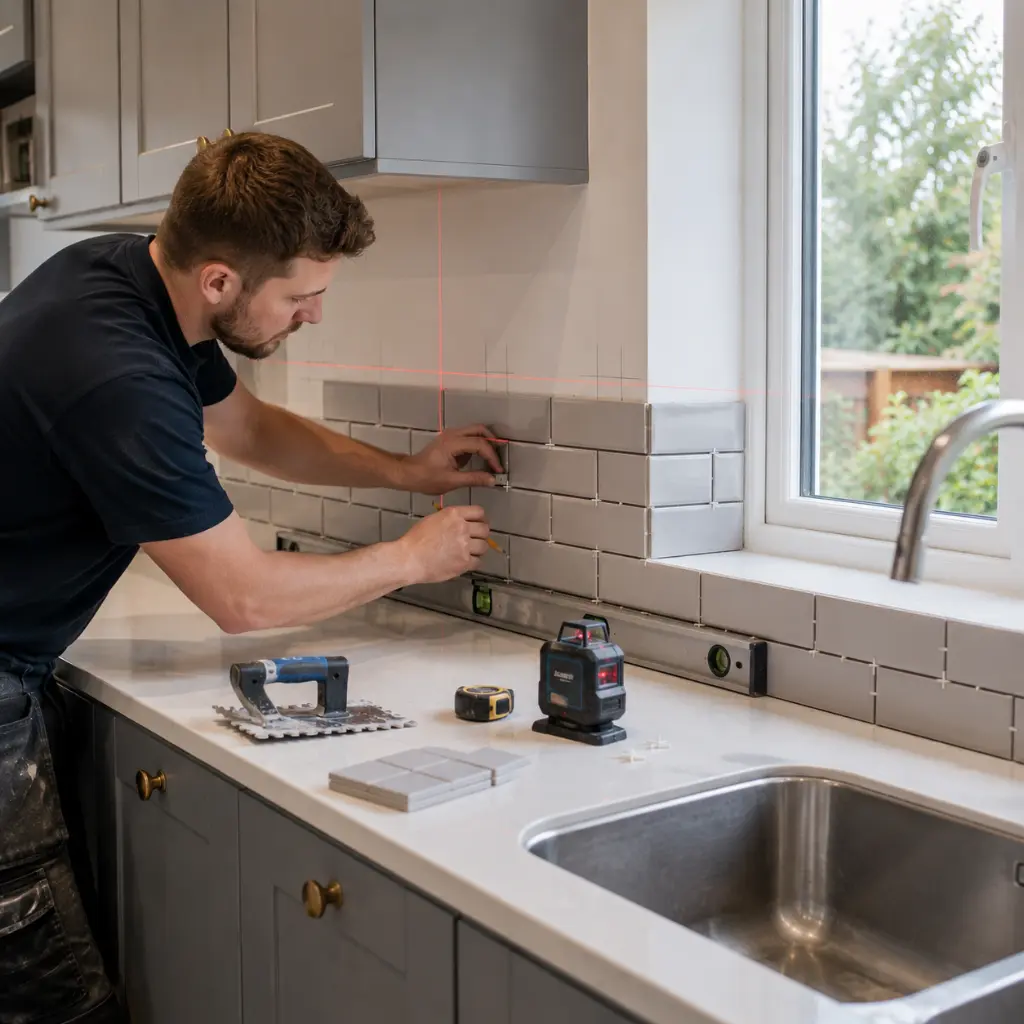
The datum is the reference line everything else is measured from, and in a kitchen it belongs at the worktop. That is the line the eye follows, and it is usually the only line in the room that is genuinely level.
Start with a full tile above the worktop and work upwards, so the cuts land at the top of the run where they are least noticed.
Sockets, switches and the extractor need to be marked on the wall at the same time. A joint that runs directly along the edge of a socket looks deliberate, while a two centimetre sliver beside it looks like an accident. A window works the same way but at a larger scale tile layout around a window has to be resolved against the brick offset before the first row goes up, since the eye reads a window frame as a reference line the way it reads a worktop.
Dry laying the first two rows on the floor takes ten minutes and shows exactly where the cuts fall. If a run finishes on an awkward fragment, the whole layout can be nudged sideways before anything is fixed.
Grout joints change how the pattern reads
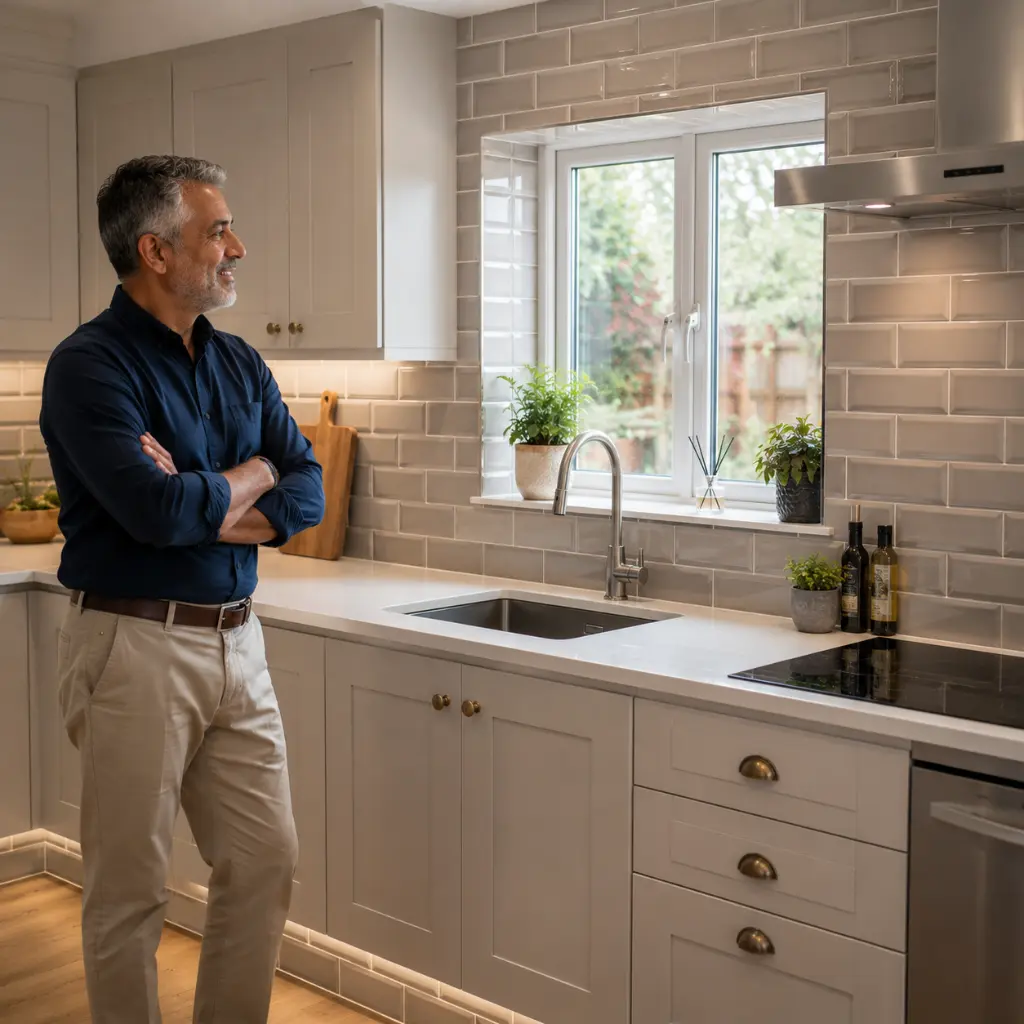
Joint width alters the whole character of the finish. Narrow joints of around 2mm to 3mm keep the surface calm and modern, while wider joints emphasise each tile and suit a rustic or industrial scheme.
Colour does the same job differently. A tone close to the tile softens the bond and lets the wall read as one surface, while a contrasting grout draws out the stepped rhythm of the rows.
Around a sink and a hob, a mid-tone grout formulated for wet and heavily used areas will hold its appearance for longer.
Consistency matters more than the numbers themselves.
Where the tiling stops: skirting, edges and trims
Where a brick effect pattern finishes at the base of the wall affects the balance of the whole kitchen. A tiled skirting a single course of tile laid at the base of the wall in place of timber — is a neat, practical way to end it.
The reasoning is straightforward: that strip takes mop water, spills and knocks from appliances, and timber in that position eventually swells or lifts, while a tiled course wipes clean and shrugs off the traffic. Align the joints in that base course with the joints in the floor tiles wherever the floor is tiled too when those lines agree, the room feels planned rather than assembled. External corners and the top edge of a splashback need finishing properly too, with either a trim or a mitred cut.
Protecting Your Brick Layout Tile Finish
Textured brick effect surfaces hold onto cooking grease more readily than a flat gloss tile, particularly on the wall nearest the hob. A soft cloth and a pH-neutral cleaner deal with it easily, provided it’s done regularly rather than left to build up.
Avoid acidic and abrasive products. On natural stone they dull the surface and etch it; on any tile, they gradually wear the grout back at the joints.
Conclusion
A well-executed brick layout can transform a kitchen by creating a balanced and attractive finish. Choosing the right offset, maintaining consistent grout lines and handling edges carefully all contribute to a professional result. At Abel Tiler London, we help homeowners achieve kitchen tiling finishes that match their style while providing long-lasting practicality.