Quick Summary
A newly tiled bathroom is finished, and the final step is fitting a towel rail, mirror or shelf. Everything is going smoothly until the drill touches the tile, and suddenly there’s a worry that one wrong move could leave a permanent crack in the surface. It is a situation many London homeowners face when adding the finishing touches to a renovation.
Knowing which drill bit to use, how to drill different tile types safely, the mistakes that commonly cause cracks, and when it is better to call a professional tiler can help you complete the job with confidence. For more inspiration or if you’re planning another project, take a look at our expert tiling services.
Can you drill into tile?
Yes, you can drill into ceramic, porcelain, glass and most natural stone tiles, Because tile is hard and brittle, it needs a different approach from wood or plasterboard. Ceramic is usually the easiest to drill, while porcelain, glass and polished stone require a sharper bit and a gentler technique.
What drill bit for tile?
This is the single most important choice. A standard masonry or wood bit will skate, overheat and crack the tile, so it is worth buying a proper tile bit before you start.
Carbide-tipped bits for ceramic
A carbide-tipped tile bit, often spear- or arrow-shaped, handles most glazed ceramic wall tiles. It is a cost-effective option for softer tiles and easy to find in any DIY shop.
Diamond-tipped bits for porcelain, stone and glass
For porcelain, natural stone and glass, a diamond-tipped bit or diamond hole saw is the reliable choice. The diamond grit grinds through the hardest surfaces cleanly, with far less risk of cracking. Match the bit to the tile, and half the battle is won.
How do you drill into tile without cracking it?
With the right bit in hand, the method matters just as much. Work through these steps, and the tile stays intact.
Mark the spot and check what is behind.
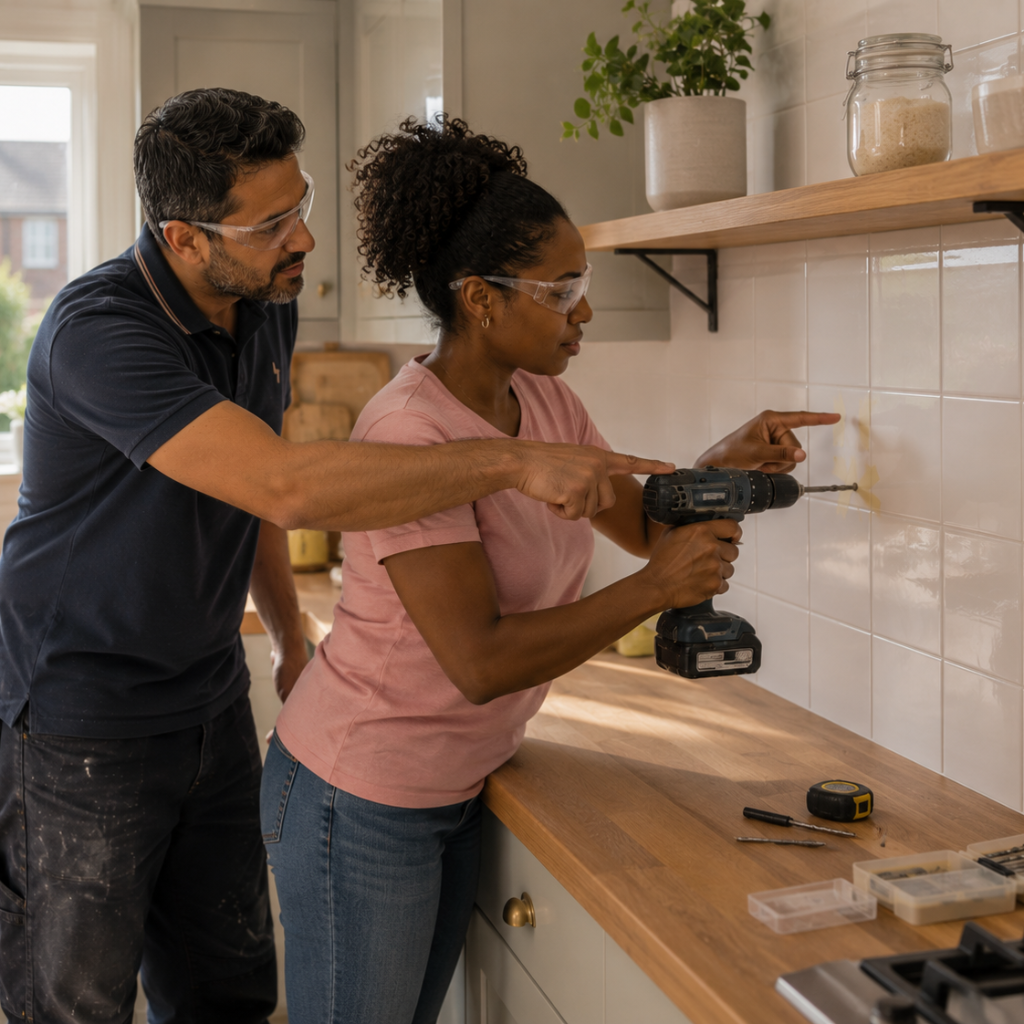
Measure and mark your drill point with a pencil. Before going further, think about what sits behind the tile. Pipes and electrical cables often run through bathroom and kitchen walls, so avoid drilling blindly near taps, toilets or sockets.
Tape over the mark so the bit cannot slip
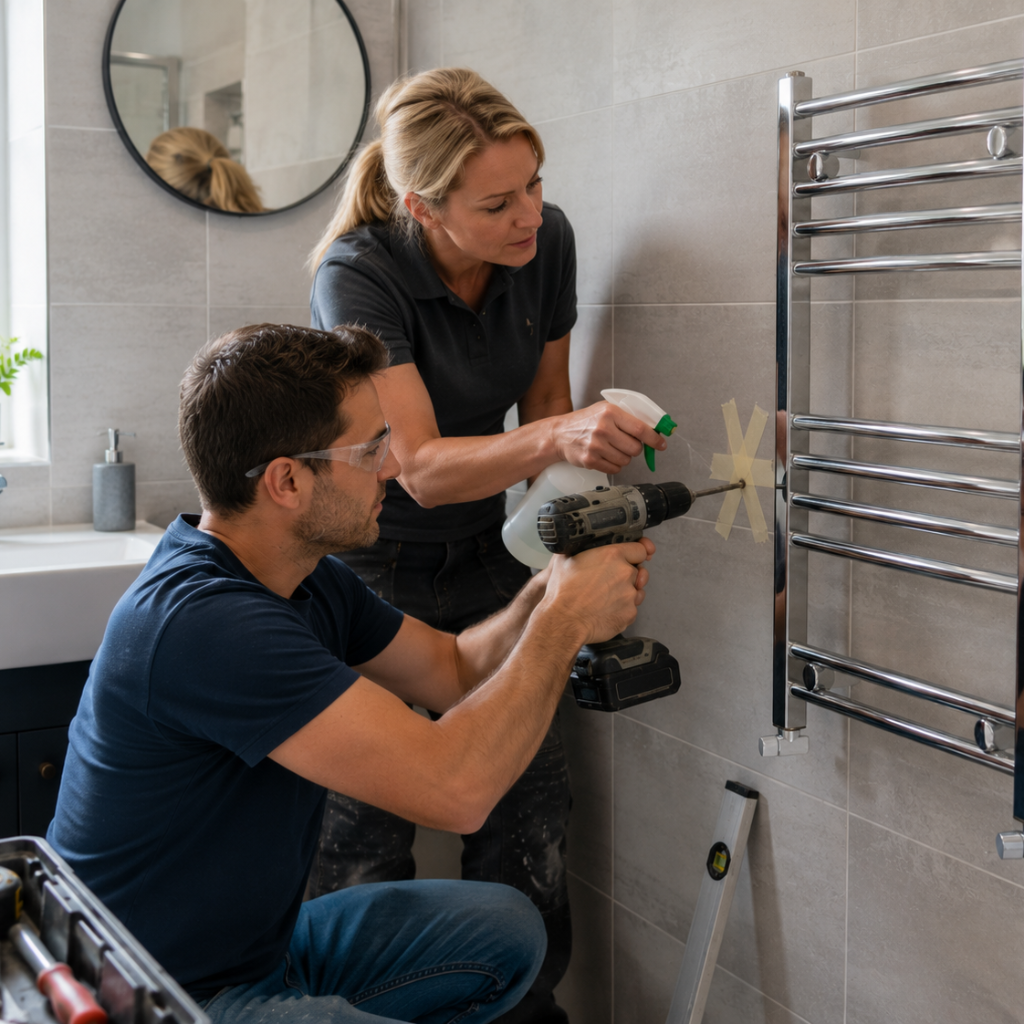
Stick a piece of masking tape over the marked spot, then mark your point again on top of the tape. The tape gives the bit something to grip so it does not wander across the glaze, and it reduces chipping around the hole.
Start slow with light pressure.
Set the drill to a low speed and hold it straight, at 90 degrees to the tile. Let the bit do the work with light, steady pressure. Never use the hammer setting, as the percussion action will crack tile almost every time.
Keep the bit cool with water
Drilling creates heat, and heat is what cracks tiles and blunts bits. Keep the tip cool with a little water from a damp sponge or a spray bottle, especially on porcelain and stone. Pause now, and then so nothing overheats.
Ease off as you break through
Once the drill bit has passed through the glazed surface, you can increase the speed slightly while maintaining steady control. Whether your tiles are fixed onto plasterboard, timber boards or masonry, reduce the pressure as the bit reaches the backing material. Pushing too hard at this type of tile can chip the tile edges, damage the substrate, or cause the drill to break through suddenly. Let the drill do the work, keeping it straight and steady until the hole is complete. Taking a slower, controlled approach during the final few millimetres helps produce a clean finish and protects both the tile and the surface behind it.
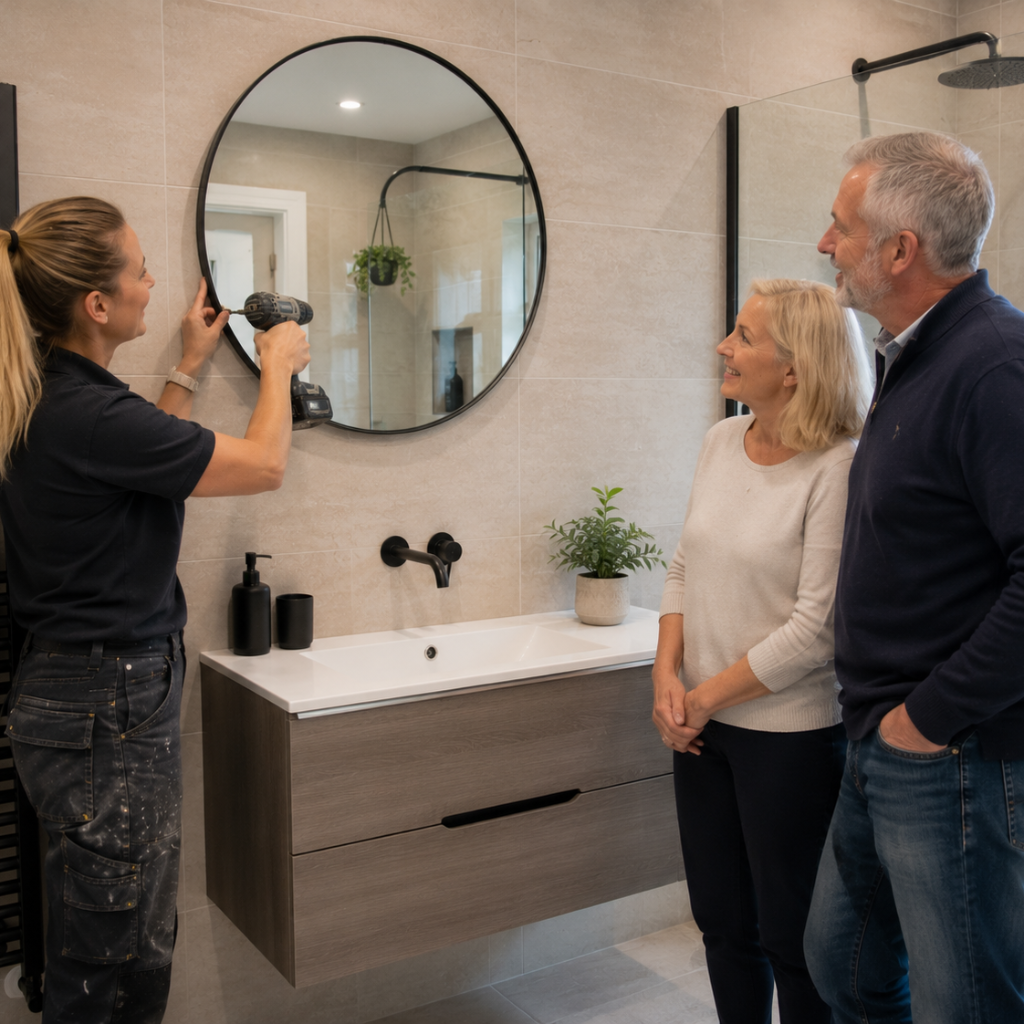
Drilling into grout instead of tile
Sometimes the safest option is to drill into the grout line rather than the tile itself. Grout is softer, far less likely to crack, and easy to fill neatly afterwards if you move the fixing. It is not always possible, as your fixing has to land where the grout runs, and grout alone may not hold heavy items. For lighter fittings, though, it is well worth considering. If your tiles are laid in a herringbone pattern, chevron, basketweave or another decorative layout, take extra care when marking the hole, as the angled or more closely spaced grout joints can make accurate positioning a little more challenging.
Fixing rails, shelves and fittings to tiled walls
Once the hole is drilled, choose the correct wall plug for the surface behind the tile. Plasterboard and masonry require different fixings to support the weight safely.
In bathrooms, seal around the fixing so moisture cannot creep into the hole, which matters on the water-resistant bathroom tiling around baths and showers. In kitchens, the same care applies when mounting rails or units near a kitchen splashback and floor tiling run.
Common tile drilling mistakes
Almost every cracked tile we are asked to replace comes down to one of these:
- Drilling too close to a tile edge or corner. The edge has no support around it, so a crack radiates straight out. Keep the hole at least 15mm in from any edge, or move to the grout line instead.
- Drilling a tile that sounds hollow. Tap the surface first. A hollow note means there is a void behind and the tile will flex and split under the bit, whatever technique you use.
- Pushing the wall plug into the tile itself. The plug has to sit fully behind the tile in the substrate. If it expands inside the tile thickness, the tile splits as soon as the screw goes in.
- Over-tightening the screw against the glaze. Fittings need to be nipped up snug, not forced. Most hairline cracks around a fixing come from the last quarter turn.
- Persisting with a blunt bit. Once a carbide tip stops cutting it starts rubbing, and the heat that builds up is what breaks the tile. If dust has stopped coming out of the hole, change the bit.
A homeowner in London recently called us after a towel rail install cracked two porcelain tiles in a new bathroom, where a masonry bit and hammer mode had done the damage. We replaced the cracked tiles, matched the grout and refitted the rail cleanly, so the wall looked as good as before.
When to Call a Professional Tiler
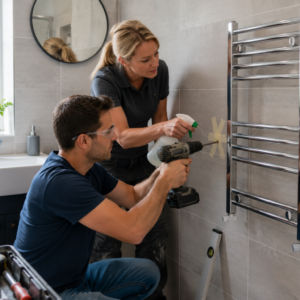
While many simple drilling jobs can be completed successfully with the right tools and careful preparation, some situations are better left to a professional. If the fixing is close to an edge, near pipework or electrical cables, or supports a heavy fitting such as a heated towel rail, floating vanity or large mirror, professional installation can help avoid costly damage.
An experienced tiler uses specialist equipment and proven techniques to create clean, accurate holes while protecting both the tiled surface and the wall behind it. Professional assistance is also worthwhile if you are unsure what lies behind the wall or want complete confidence that the job will be finished safely and neatly the first time.
Conclusion
Drilling into tile may look straightforward, but one mistake can leave you with a cracked tile or damaged wall. If you would rather leave the job to experienced professionals, Abel Tiler London installs, repairs and replaces wall and floor tiles across London. Whether you need to fit bathroom accessories or repair damaged tiles, request a free tiling quote and we’ll be happy to help.