Quick Summary
You’ve just removed the old bathroom tiles and replaced the damaged walls with new plasterboard. As you prepare to install the new tiles, someone mentions that plasterboard may not always be suitable as a tiling surface. Before opening the adhesive, you start wondering, can you tile onto plasterboard, or does it need extra preparation first? It is a common question for homeowners renovating a bathroom or kitchen.
This guide explains when you can tile onto plasterboard, how to prepare it correctly, how to choose the right adhesive, and when a cement backer board is the better option. If you’d rather leave the work to professionals, our tile installation services are here to help.
Can you tile onto plasterboard?
In most dry rooms, yes. You can fix tiles directly onto plasterboard without plastering or skimming it first. Tiling onto bare, primed board often gives a stronger result than tiling onto a thin skim of plaster, which can pull away from the board under the weight of the tiles.
The one thing you cannot skip is preparation. Plasterboard has a soft, absorbent surface that needs sealing and checking before any adhesive touches it. That step separates a wall that lasts from one that fails early.
When plasterboard is the right surface for tiling
The room decides how much protection the board needs, so start there.
Dry rooms and general walls
For hallways, utility spaces and dry stretches of wall, standard plasterboard is perfectly suitable. Prime it and use the right adhesive for the chosen tile, and lighter ceramic tiles will bond well. This is the most straightforward scenario, where DIY tiling most often succeeds.
Bathrooms, kitchens and damp areas
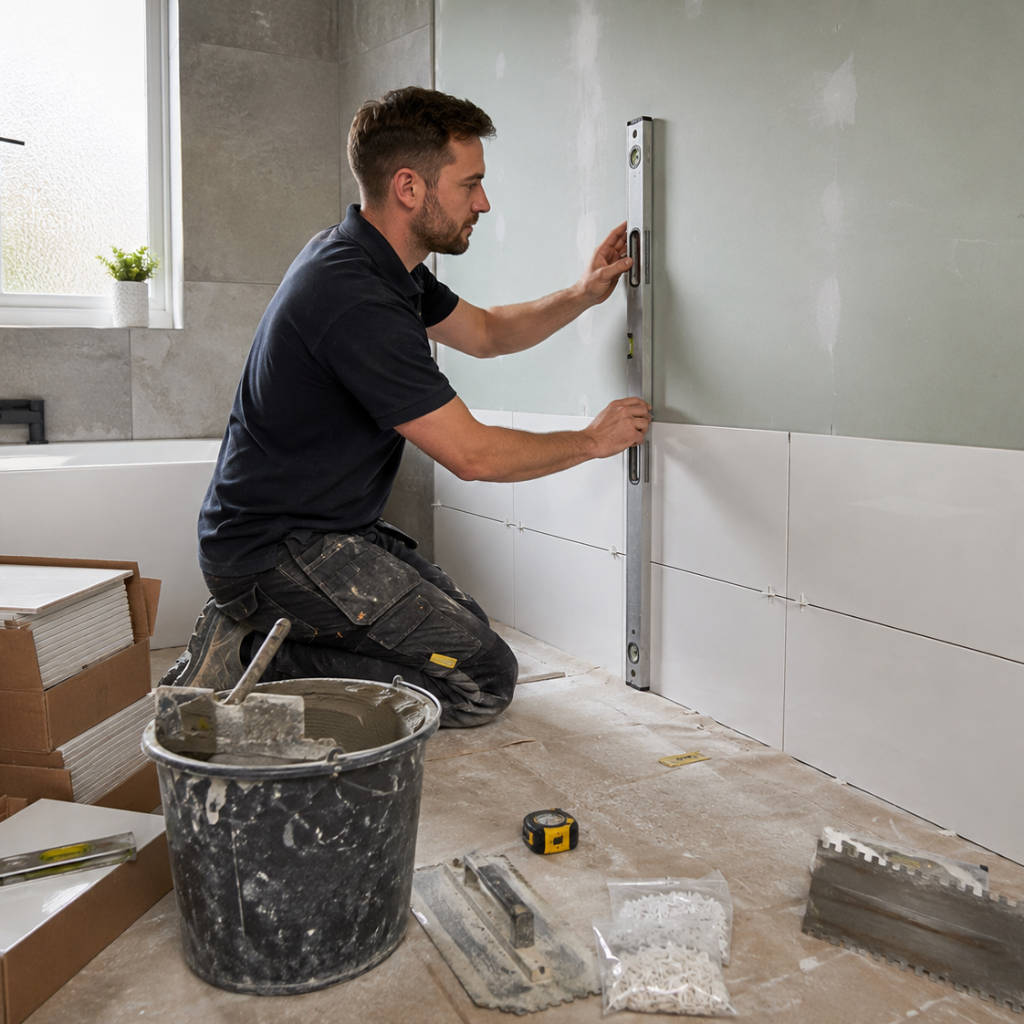
In bathrooms, use moisture-resistant plasterboard, which is designed to cope with higher humidity and is usually green in colour.
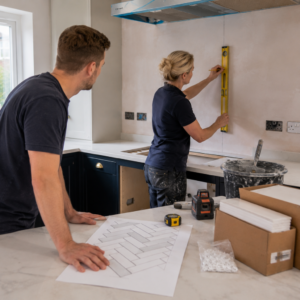
Behind a hob or sink, moisture-resistant board is also a sensible choice for a splash-prone kitchen wall, which is why our kitchen splashback and floor tiling starts with the right board.
Mind the weight: plasterboard has a limit.
Plasterboard can only carry so much tiling. UK tiling standards typically recommend a maximum tiled weight of around 32 kilograms per square metre on plasterboard, well below what a cement board can hold.
Porcelain is denser than standard ceramic, while natural stone such as marble or slate is heavier still. Large-format tiles also place more weight on the wall because each tile covers a greater area. If your chosen tiles are on the heavier side, fit a cement-based tile backer board rather than relying on plasterboard alone. Always check the weight rating for your specific plasterboard, adhesive and tiles before starting the installation.
How to prepare plasterboard for tiling
This is where a lasting job is won or lost.
Check that the wall is solid.
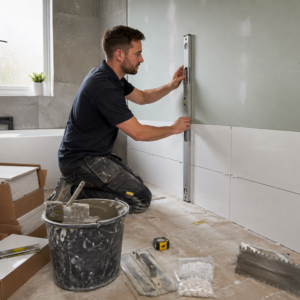
The board must be firmly screwed to the studs with no flex or movement. Press across the surface: if it gives at all, tiles fixed to it will crack along the grout lines later. Boards should be supported at the edges, with a noggin (a horizontal timber brace) behind any joints.
Repair and fill first.
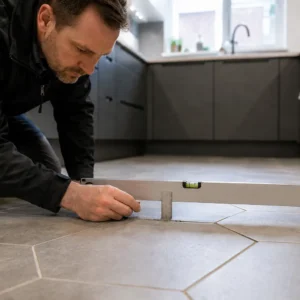
Fill any gaps, dents and screw holes, and reset any proud fixings. If there are larger holes from previous fittings or fixings, repair them with a suitable filler and let them dry fully before tiling. A flat, sound surface gives the adhesive the best bond.
Prime the surface
Priming is the step DIYers skip most often, and it causes the most failures. Plasterboard is porous and draws moisture out of adhesive too fast, so it never cures properly and the bond weakens. A coat of suitable primer, such as an acrylic tile primer or a diluted SBR bonding agent, seals the surface and controls the suction. Never tile onto dusty, unsealed board.
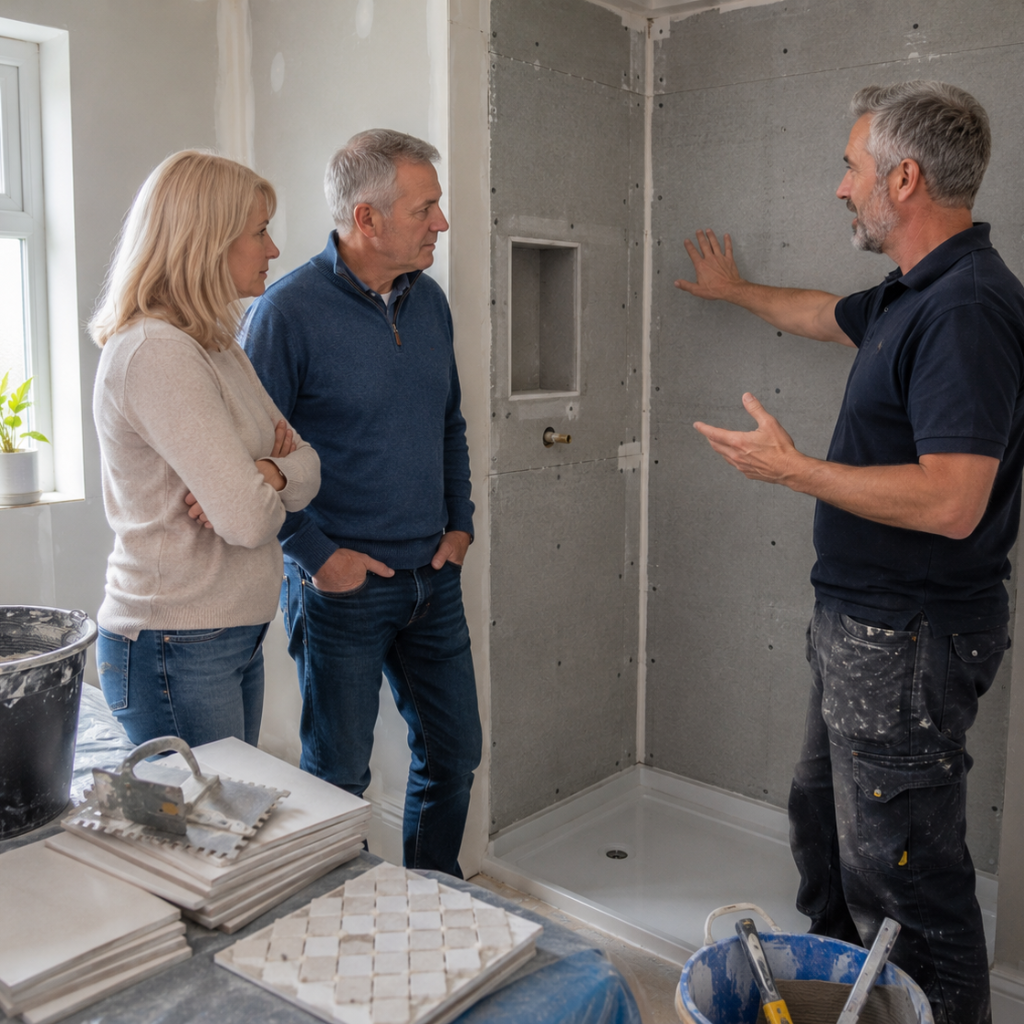
Tank and seal the wet zones
In showers and around baths, apply a tanking membrane over the primed board before tiling, following the manufacturer’s instructions. Make sure corners, joints and pipe penetrations are fully sealed before fixing the tiles.
Choosing adhesive and grout
The right adhesive depends on the room and the tile:
- In dry areas with smaller ceramic tiles, a ready-mixed adhesive can be suitable and convenient.
- In bathrooms, showers or with heavier tiles, use a cement-based flexible adhesive. Ready-mixed types need air to cure and stay weaker in constant damp, so they are not right for wet zones or heavy formats.
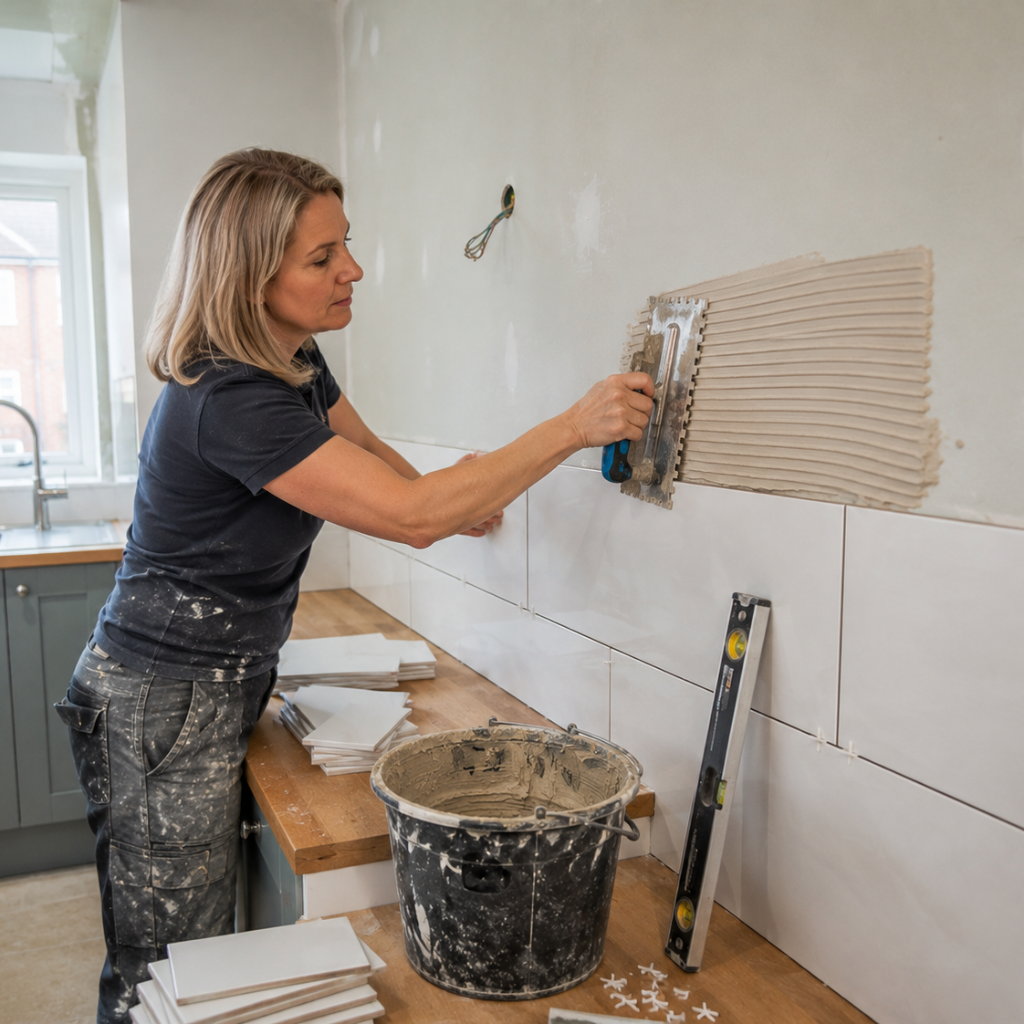
- Spread adhesive with a notched trowel for an even ribbed bed, then press each tile firmly into place.
For grouting, choose a flexible grout where the wall sees movement or moisture, and seal it where the manufacturer advises. Neat, consistent grout lines protect the tile edges and keep water on the surface.
Common plasterboard tiling mistakes we are called to fix
Most of the failed tiling we repair traces back to a handful of avoidable errors:
- Landing tile joints on board joints. Where two sheets meet is the weakest line on the wall, so set out the tiles to stagger their joints away from any board seam.
- Grouting before the adhesive has cured. Working too early drags the tiles out of line and traps moisture behind them. Follow the adhesive manufacturer’s curing time, which is usually at least 24 hours, before you mix any grout.
- Buttering blobs of adhesive onto the tile back. Five dabs in the corners leaves hollow voids that crack under pressure and let water sit behind the tile. The bed needs to be continuous.
- Grouting the joint where tiles meet the bath or shower tray. That junction moves as the bath fills and empties, so grout cracks out within months. It needs a flexible silicone bead instead.
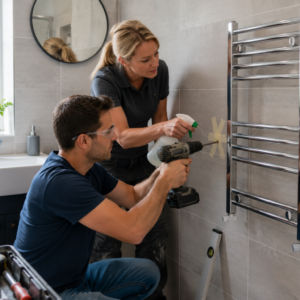
- Hanging heavy fittings on tiled plasterboard. Heavy items such as radiators, wall-hung basins and large glass shelves need proper support behind the plasterboard. Where possible, fixings should be secured into timber studs, noggins or suitable masonry to carry the load safely. It is best to mark these points before tiling, then drill through the tile carefully and use the correct fixing for the wall behind.
Conclusion
Tiling onto plasterboard is a sound, cost-effective approach for many London homes, as long as the board is prepared properly and matched to the room. Where heavy tiles or fully wet zones are involved, a cement backer board is the wiser base. Get the groundwork right, and the wall stays flat, firm and looking smart for years.
Prefer to leave it to experienced hands? At Abel Tiler London, we tile walls across the city every week and can advise on the right board, prep and materials for your space. Request a free tiling quote, and we will talk through the right route for your project.