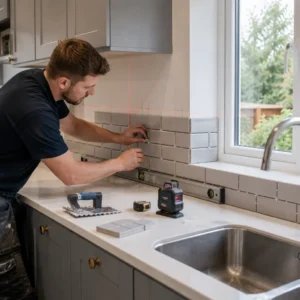
Quick Summary
A homeowner renovating their London kitchen had already chosen the floor tiles, wall tiles and new cabinets, but one question delayed the installation: should the walls be tiled first or should the floor go down before anything else? Different trades offered different opinions, making it difficult to know which approach would give the best result.
In reality, there is no single rule that suits every kitchen. This guide explains when to tile the walls first, when to tile the floor first, and how to plan the work for a neat, durable finish. Choosing professional kitchen tiling services helps achieve the correct installation sequence and a durable, well-finished kitchen.
Tiling the Walls First: When It Makes Sense
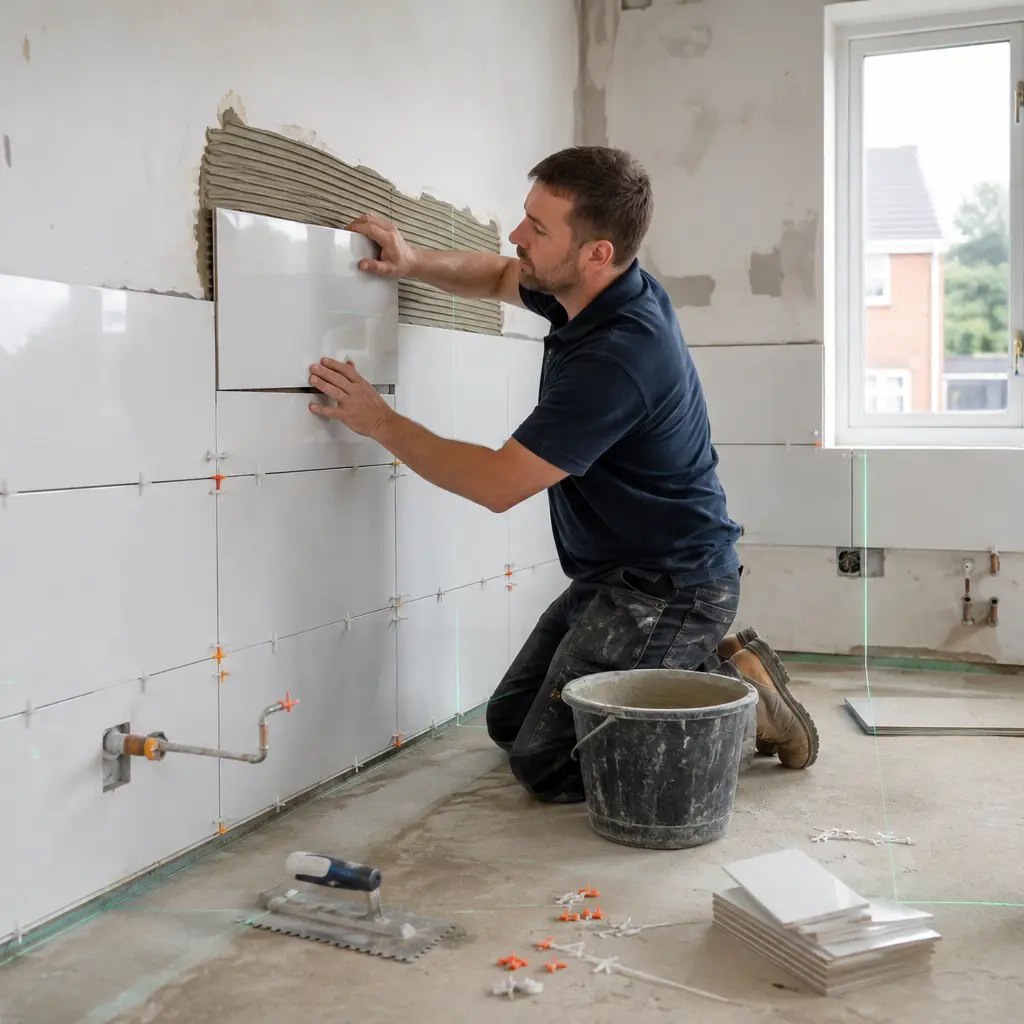
If your kitchen has full-height tiling, doing the walls before the floor has a real practical upside: your subfloor becomes a workspace, not a finished surface.
Mess stays contained. Adhesive drips, grout smears, and offcuts land on bare screed that’s about to be covered anyway — not on tiles you’ve just paid to have laid.
Fewer costly accidents. Drop a tool or slip a tile onto the bare subfloor, and nothing happens. Do the same on finished floor tiles, and you’re lifting and replacing a chipped one.
The catch? You’re tiling the bottom row against a floor level that doesn’t exist yet. Misjudge that height, and your lowest course either falls short of the finished floor or needs trimming down the line.
Tiling the Floor First: When It Makes Sense
Flip the order, and that guesswork disappears entirely. The wall tiles start from a real, finished surface, so the bottom course lands exactly where it should, no calculations required.
This approach also shines when your kitchen floor flows into a hallway or dining area. Laying it all in one continuous run keeps grout lines aligned across the threshold, instead of stopping and restarting the pattern.
The one job it adds: protecting that finished floor while the rest of the kitchen comes together. It’s a simple step — as long as it’s built into the plan from day one.
Fixing the Finished Floor Level First
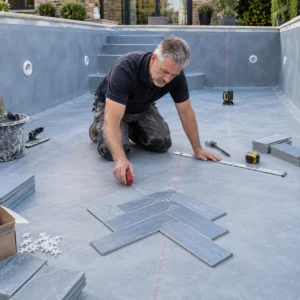
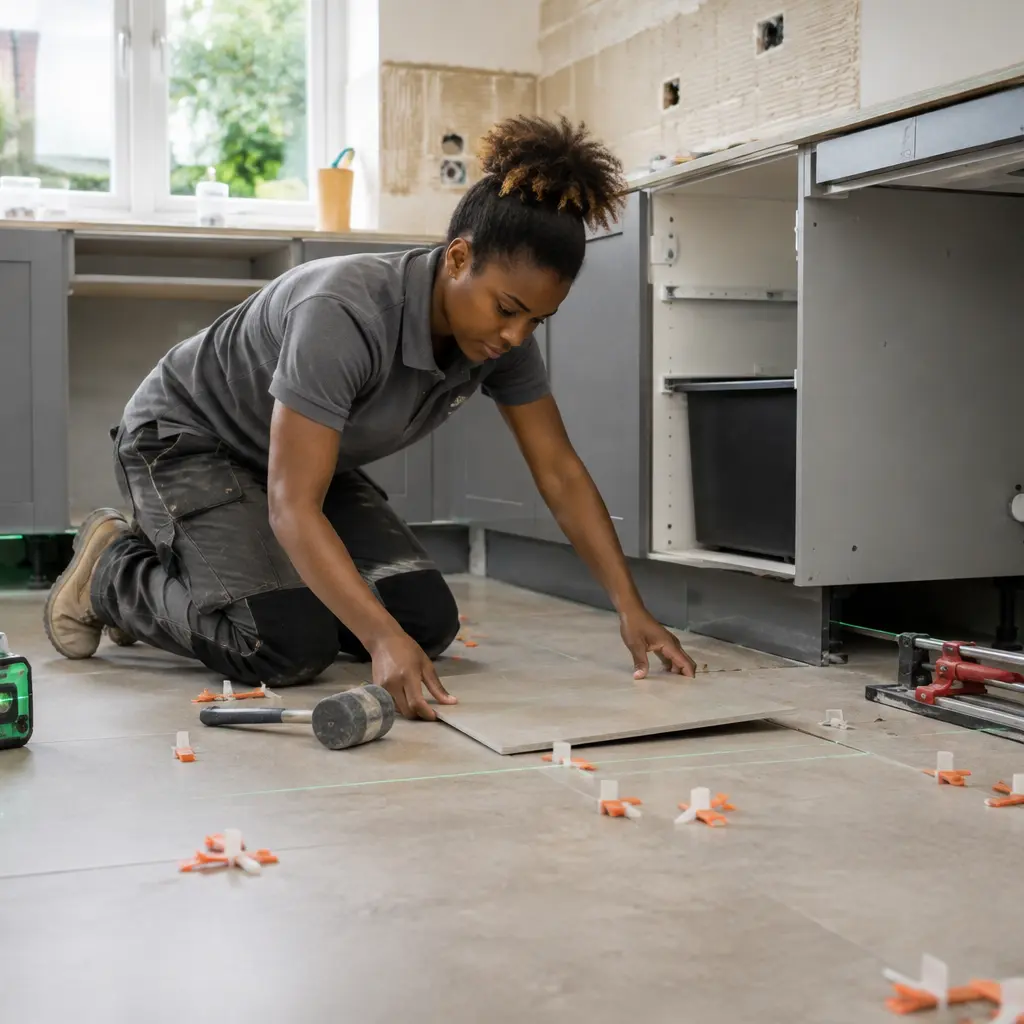
Whichever order you choose, establish the finished floor level before fixing any tiles. This refers to the height of the finished floor surface, including both the floor tile and the adhesive bed beneath it.
Mark this level around the room using a laser level or a spirit level and a chalk line. If you are tiling the walls first, fix a temporary batten along this line to support the first course of wall tiles. The same reference line also ensures the correct height for kitchen tile skirting and helps maintain a consistent finish throughout the room.
Floor Tiles Before or After Kitchen Units?
Tiling before the units go in gives you a continuous floor under the whole kitchen. That means:
Units can be moved or a run reconfigured later without leaving a bare patch behind
Swapping an integrated appliance doesn’t expose untiled subfloor
Levelling a run of base units is just a matter of adjusting the legs no working around a step at the tiling’s edge
Tiling after the units are fitted covers less ground, so it’s faster and cheaper. It’s a common choice on refits where the layout is settled and isn’t going anywhere. The trade-off: you’re committing to that exact layout. Change the run later, and you’re left patching in an untiled strip that has to match tiles you may no longer be able to source.
Don’t Forget the Appliance Gaps
This is the detail that trips people up, and it flows directly from the units decision above. The gaps left for a dishwasher, washing machine, or freestanding cooker need the floor finished at the same level as the rest of the room.
Stop the tiling at the front edge of those gaps, and the appliance ends up sitting on a step — which makes it a genuine struggle to pull out for repairs or servicing. Running the floor tiles straight through those openings takes very little extra effort at the right moment, and saves a headache later.
Underfloor heating changes the timetable
A heated floor adds fixed waiting periods that cannot be compressed. The screed or levelling layer over the system needs to cure fully before tiling begins.
The heating should also stay off during tiling and for the curing period afterwards, then be brought up gradually rather than switched straight to full output.
Build those pauses into the programme early. They are usually the reason a tiling stage sits where it does in a kitchen schedule.
Protecting finished work between stages
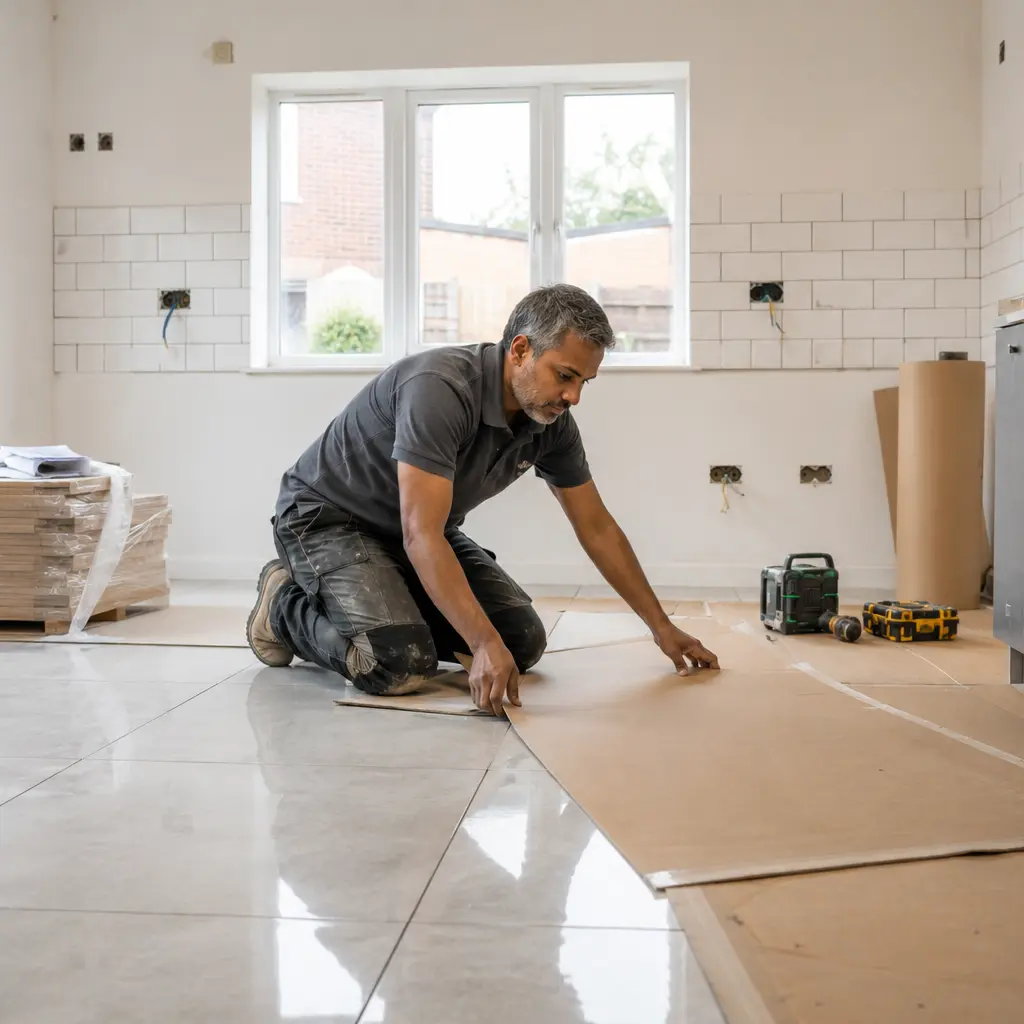
Lay your floor ahead of the rest of the kitchen fit, and it needs covering while joiners, electricians, and plumbers finish their work around it.
Using a breathable protection board is not plastic sheeting, which traps moisture against fresh grout and can cause problems you won’t spot until it’s too late.
Keep that covering down until the last of the heavy work wraps up. Lifting it early just to admire the finished floor is, honestly, how most avoidable damage happens.
Conclusion
The correct order for kitchen tiling depends on the layout, floor condition and the stage of the renovation work. Whether the walls or floors are tiled first, careful planning ensures the surfaces meet properly, the finished height is accurate, and the final result looks neat.
At Abel Tiler London, we help homeowners plan and complete kitchen tiling projects with attention to detail, ensuring each stage is carried out correctly for a durable and well-finished kitchen.