Quick Summary
You have chosen a beautiful herringbone tile for your new kitchen splashback, only to realise the pattern is far more complicated than a standard straight layout. After laying the first few rows, the tiles no longer line up, and every small mistake becomes more noticeable as the pattern grows. It is a common situation for homeowners tackling a tiling project for the first time.
This guide explains how a herringbone pattern works, whether it uses more tiles than a straight layout, how to calculate quantities, how to set out and centre the design, and the laying and cutting techniques that help achieve a neat, professional finish. Looking for more installation tips and pattern ideas? Browse our skilled tilers advice.
What the herringbone pattern actually is
Herringbone is a layout where rectangular tiles are set at an angle to each other, each one turned so it slots against the next in a repeating V shape. The name comes from the skeleton of a herring fish.
There are two common versions. A single herringbone uses one tile per step, while a double herringbone pairs tiles side by side for a chunkier look.
You can also run it two ways. At 45 degrees to the wall it feels diagonal and dynamic. At 90 degrees, straight up and down, it looks more structured and modern.
Does a herringbone pattern use more tile?
Yes, herringbone usually uses more tile than a straight, grid layout. The reason is the edges.
Because the tiles meet the walls at an angle, every perimeter tile has to be cut on the diagonal, and the offcuts are often too small to reuse. That waste adds up around the room.
As a rough guide, many tilers order around 15 per cent extra for a herringbone layout, and sometimes closer to 20 per cent for busy rooms or large-format tiles. Buying spare tiles from the same batch also protects you against slight shade differences later.
How to calculate tile for a herringbone pattern
Start with the area. Measure the width and length of the surface in metres and multiply them for the square metreage. For an awkward shape, split it into rectangles, work each one out, then add them together.
Add your waste allowance on top, so roughly 15 per cent for herringbone. If a room comes to 6 square metres, that means ordering around 7 square metres of tile.
Always check the coverage printed on the tile box. When in doubt, round up, because running short mid-job and waiting on a fresh delivery is the thing to avoid.
How do you start a herringbone tile pattern?
This is where a herringbone job is won or lost. Rushing the setting out is the most common mistake we are called in to fix.
Prepare and check the surface
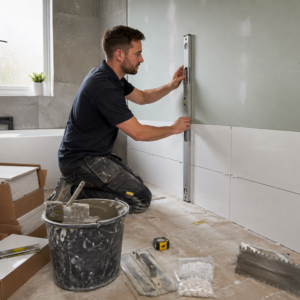
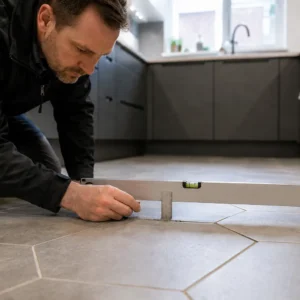
The surface must be clean, dry, flat and firm. Fill low spots, and on floors use a levelling compound, a self-smoothing layer poured to even out dips, because any unevenness shows badly in a geometric pattern.
Find and mark the centre
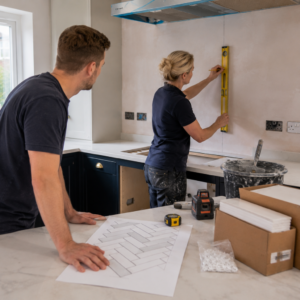
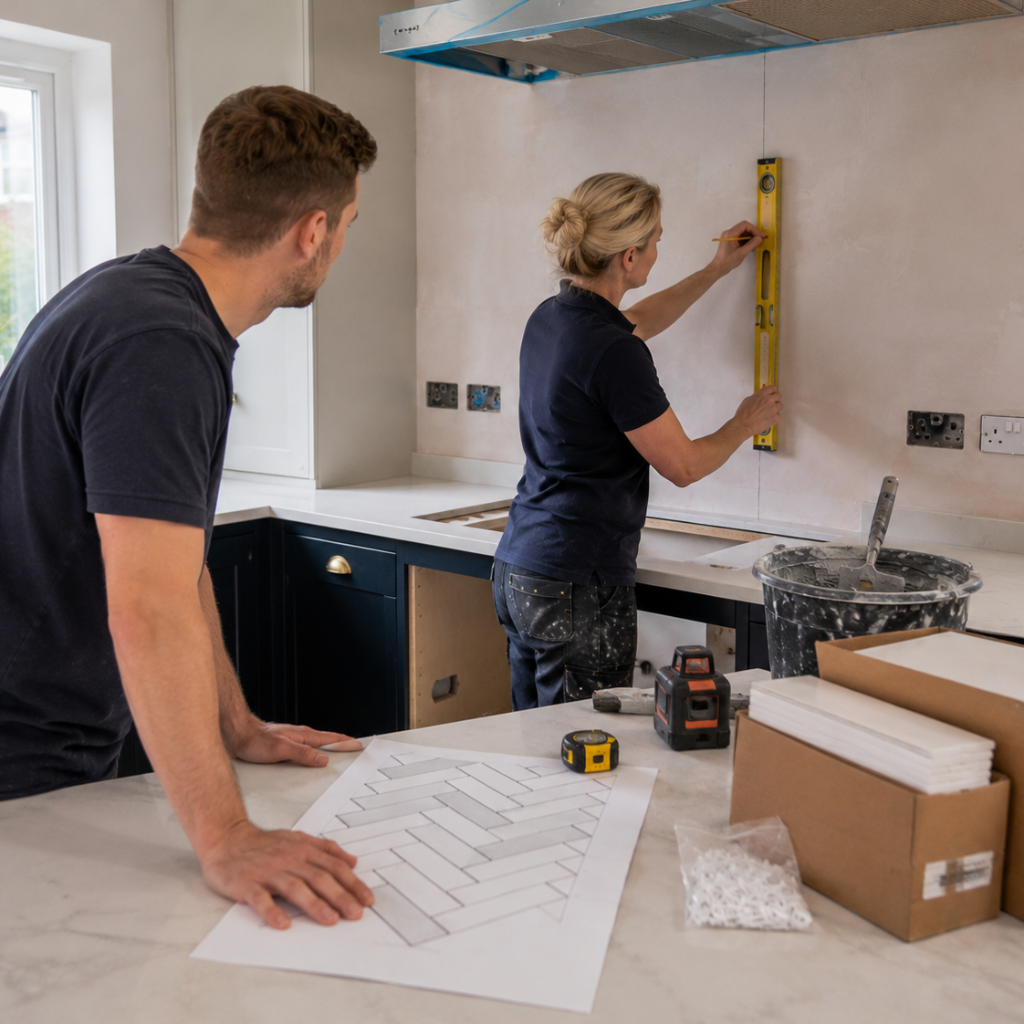
Measure to find the centre of the wall or floor and mark a straight guide line, ideally with a chalk line or a laser level. Working outward from the centre keeps the pattern balanced, so you finish with even cuts on both sides rather than a thin sliver on one edge.
For a floor, snap two lines that cross at the centre so you have a true right angle to build from.
Dry lay before you commit
Set out a run of tiles without adhesive first, using spacers, to see how the pattern lands against the walls and where the cuts fall. Adjust your starting point if a cut looks awkward at a doorway or a herringbone feature wall that people see first, so the eye lands on full, even tiles there.
How to tile a herringbone pattern, step by step
Taking your time with the setting out, checking the alignment regularly and following a consistent laying sequence will help keep the pattern neat from start to finish.
Fix the tiles in the right order
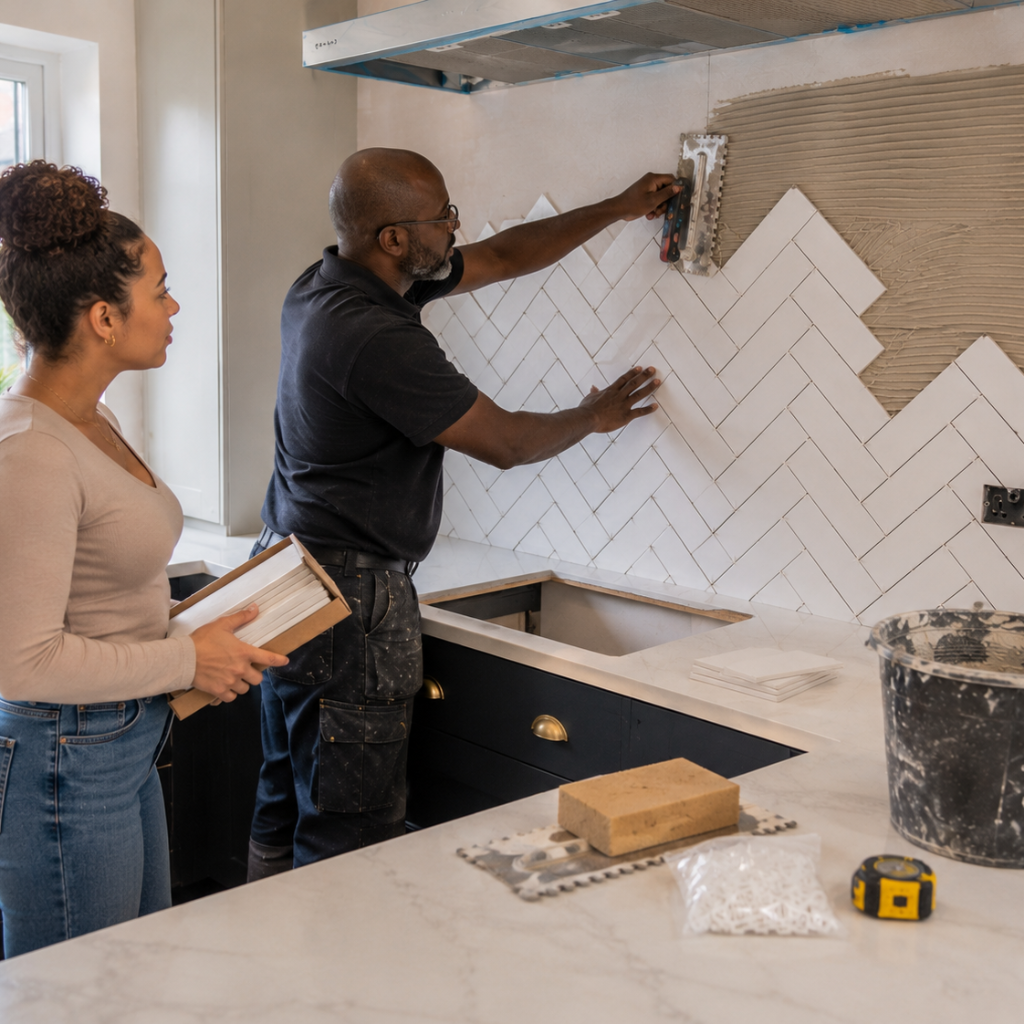
Work along your guide line and build the pattern outward, one interlocking pair at a time. Spread adhesive with a notched trowel, and for large-format tiles back-butter each one, which means adding a thin layer to the tile back so it beds fully with no gaps.
Use tile spacers for even grout joints, and a tile levelling system on floors to keep edges flush and prevent lippage, where one tile sits proud of its neighbour.
Cut the edge tiles cleanly
The perimeter is all angled cuts, usually at 45 degrees. Measure each gap on its own rather than assuming they are identical, as walls are rarely perfectly square.
A wet saw gives the cleanest cut on porcelain and large tiles. Take your time here, because neat edge cuts are what separate a sharp herringbone finish from a rough one.
Grouting and finishing the pattern
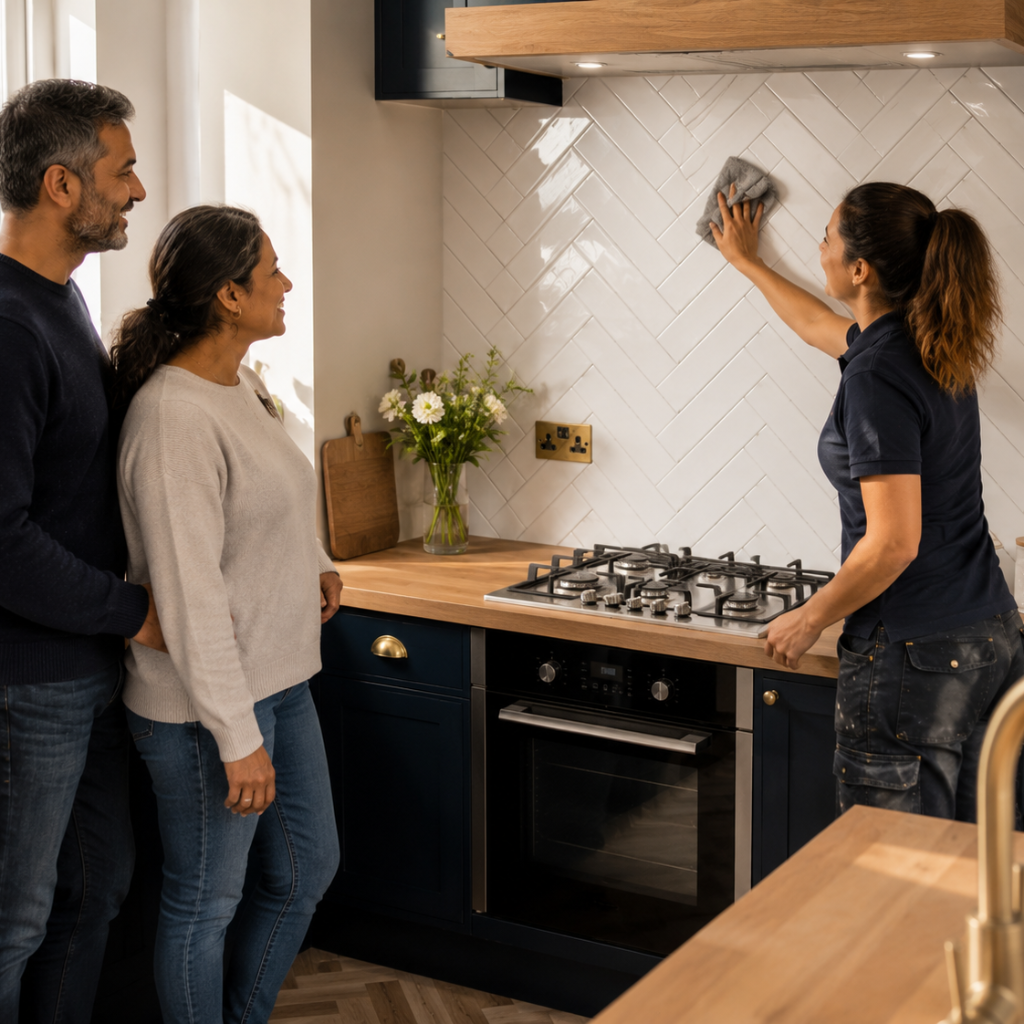
Once the adhesive has set, work grout into every joint with a grout float, then wipe the excess with a damp sponge before it hardens. A grout colour close to the tile softens the pattern, while a contrasting grout makes the zig-zag stand out.
Let the grout cure fully before heavy use or cleaning. Seal natural stone or porous tiles as the manufacturer advises to keep the finish looking fresh.
Can you install fittings on a patterned tile layout?
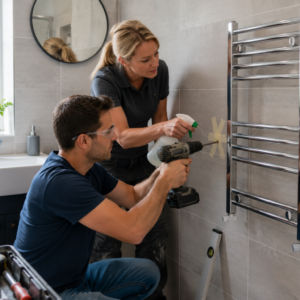
Yes. Once the adhesive and grout have fully cured, you can install shelves, mirrors, towel rails and other wall fittings on a patterned tile layout. Mark the fixing points carefully before drilling, as decorative patterns such as herringbone have angled joints that make misplaced holes or chipped edges more noticeable.
Common herringbone mistakes to avoid
Most herringbone problems trace back to a few avoidable slips:
- Skipping the dry layout, so the edge cuts end up uneven.
- Starting from a wall instead of the centre, which throws the pattern off line.
- Under-ordering tile and running out partway through.
- Ignoring lippage on large-format tiles, which catches the light and the eye.
- Rushing the angled cuts, leaving a ragged perimeter.
A homeowner in London recently asked us to finish a herringbone kitchen splashback they had started, where the pattern had drifted out of line halfway up. We reset it from a fresh centre line and re-cut the edges, and the corrected run looked clean and even.
When Is It Better to Hire a Professional Tiler?
A herringbone layout demands more precision than a standard tile pattern, and even small setting-out errors become more noticeable as the installation progresses. If your project involves large floors, feature walls, uneven surfaces or complex edge cuts, professional installation can help achieve a balanced layout with consistent grout joints and minimal tile waste.
Professional tilers also have the tools and experience to handle detailed measuring, accurate cutting and challenging layouts around doorways, corners and fixtures. If you are investing in premium tiles or want a flawless finish in a prominent area of your home, having the pattern installed professionally can save time, reduce costly mistakes and deliver a result that looks neat for years to come.
Conclusion
A well-laid herringbone pattern rewards careful planning with a striking, balanced finish that stands out for all the right reasons. Once installed, regular cleaning and proper maintenance help preserve the appearance and prevent the tiles from losing their shine. With accurate setting out and the right aftercare, a herringbone floor or wall can look its best for many years.
Planning a herringbone floor, splashback or feature wall and want it laid with precision? At Abel Tilers London, we specialise in setting out and fitting herringbone and other patterned tile layouts with accuracy, and we can advise on the best approach for your space. Request a free tiling quote, and we’ll help bring your project to life.