Quick Summary
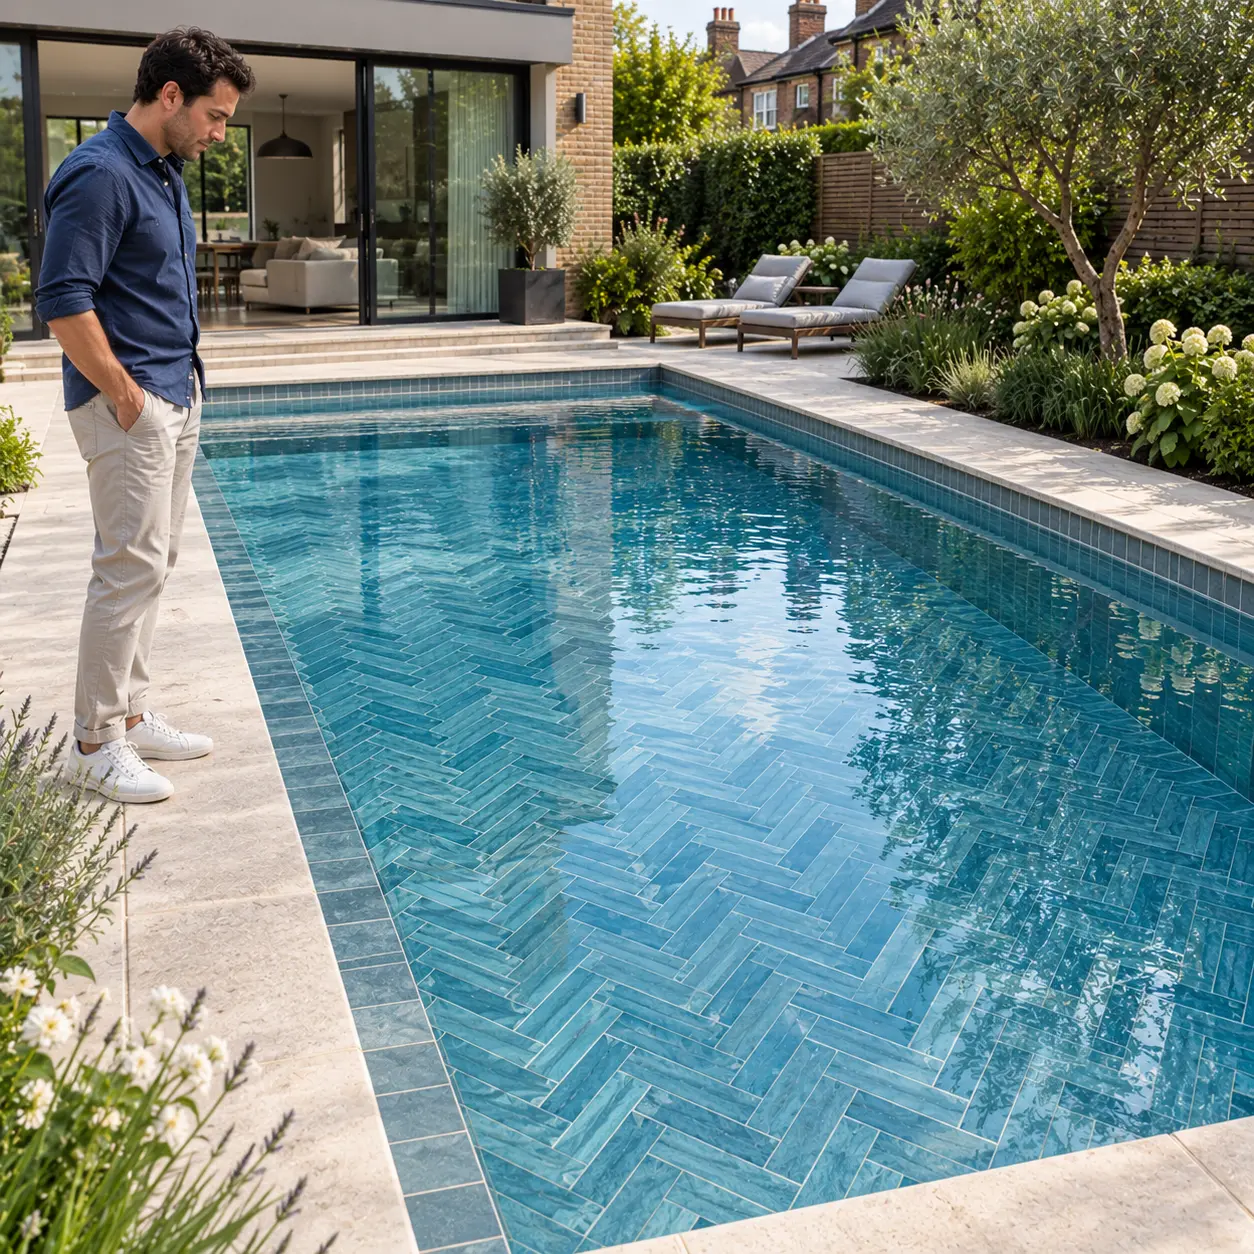
Herringbone sets rectangular tiles at right angles to one another so the ends meet the sides in a repeating zigzag. Turning 45 degrees to the wall, it reads as a diagonal, and turned square, it reads as a horizontal chevron.
Tile proportion controls how cleanly it works. A tile twice as long as it is wide lands neatly, while an odd ratio leaves the pattern slightly off at every junction.
A herringbone tile design for pools usually calls for smaller rectangles than a hallway floor. Shorter tiles produce more joints, follow slight variations in the shell better, and leave less waste at the perimeter. For professional swimming pool tilers in London, careful planning of the layout is important to keep the pattern even around the pool.
Can Herringbone Tiles Be Used in Swimming Pools?
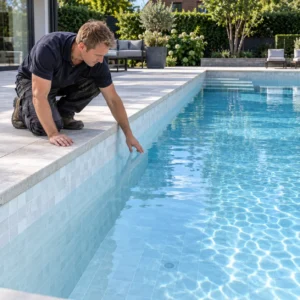
Yes, within limits, and the limits differ by surface.
- Pool floors. The easiest surface for the pattern. Run the pattern along the long axis of the pool so the eye follows the length rather than fighting it.
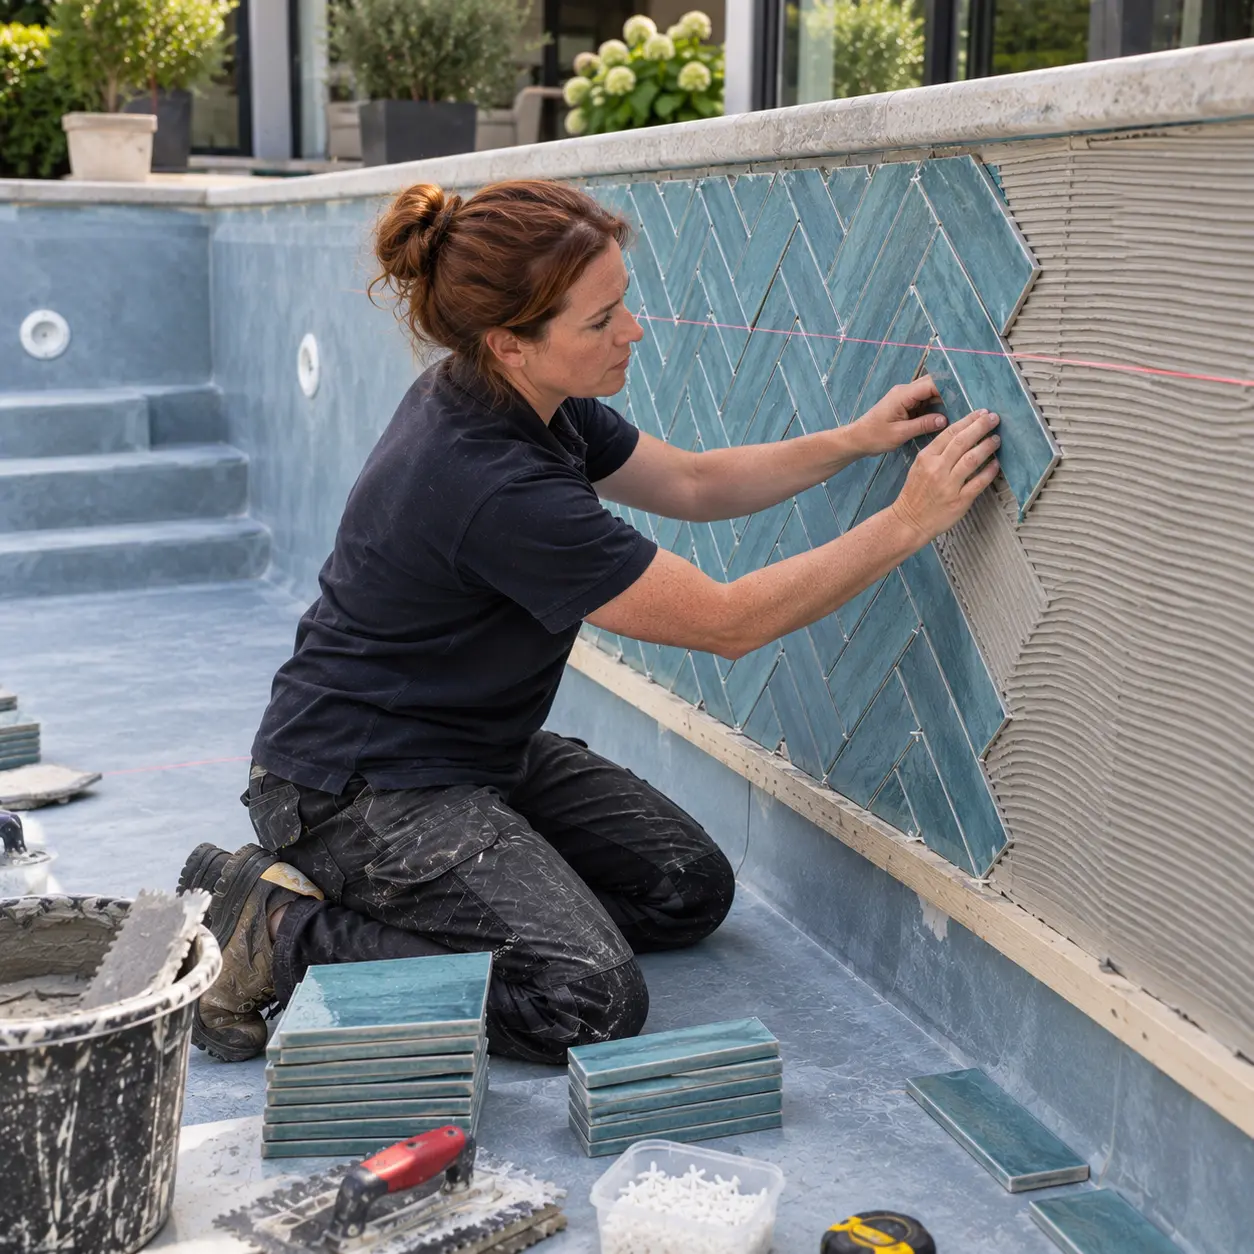
- Pool walls. Herringbone tiles can be used on pool walls, provided each course is supported while the adhesive gains strength. A temporary batten set to a laser line does that job.
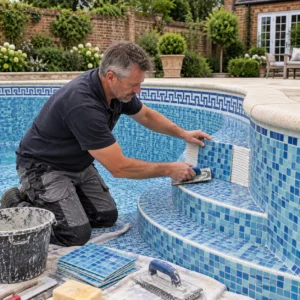
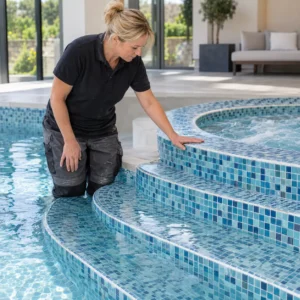
- Curved surfaces. Rectangles cannot follow a coved floor-to-wall junction, a radiused corner or a rounded step. Break the pattern with a straight border and let a small format finish those areas, which is the practical line between classic and modern pool tile formats.
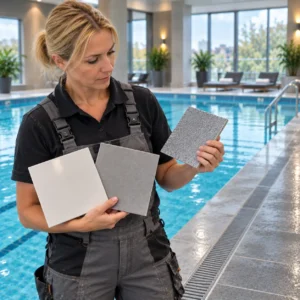
- Pool-rated tiles and adhesives. The tile needs low water absorption and pool suitability on its data sheet, and the adhesive needs to be a flexible cement-based or epoxy system approved for submersion.
Prepare the Pool Surface Before Tiling
Check That the Surface Is Level and Sound
Run a long straightedge across the floor and down each wall in several directions. Mark every hollow and high spot, then fill or grind them before you fix anything.
This matters more with herringbone than with a straight lay. A dip that a large square tile bridge will throw a run of angled tiles out of line across the whole pattern.
Complete Pool Waterproofing
The tanking system goes on before the tiles, not instead of them. Tiles and grout shed most of the water, while the membrane behind them is what keeps the structure dry.
Take the membrane through every corner, around every fitting and up to the coping. Let it cure fully to the manufacturer’s instructions before tiling starts.
Clean and Prepare the Substrate
Remove dust, release agents, old adhesive and any latitude from the shell surface—Prime where the system calls for it, especially on render and dense concrete.
A contaminated substrate is the most common reason tiles let go later, and it is a fault we see repeatedly on wall tiling repairs across London.
How to Lay Herringbone Pool Tiles Step by Step
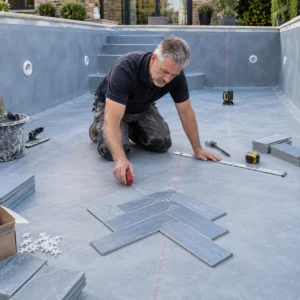
How to install herringbone pool tiles comes down to setting out. Get the centre line and the first pair of tiles right, and the rest is repetition, so the slow hour at the start saves the whole job.
1. Plan the Herringbone Layout
Decide the orientation first, diagonal or square, and how the pattern will terminate at the edges. A straight border course around the perimeter frames the pattern and absorbs the awkward cuts.
Order generously. Every perimeter tile becomes a 45-degree cut, so the waste on a herringbone job runs well above a straight lay.
2. Mark the Centre Line
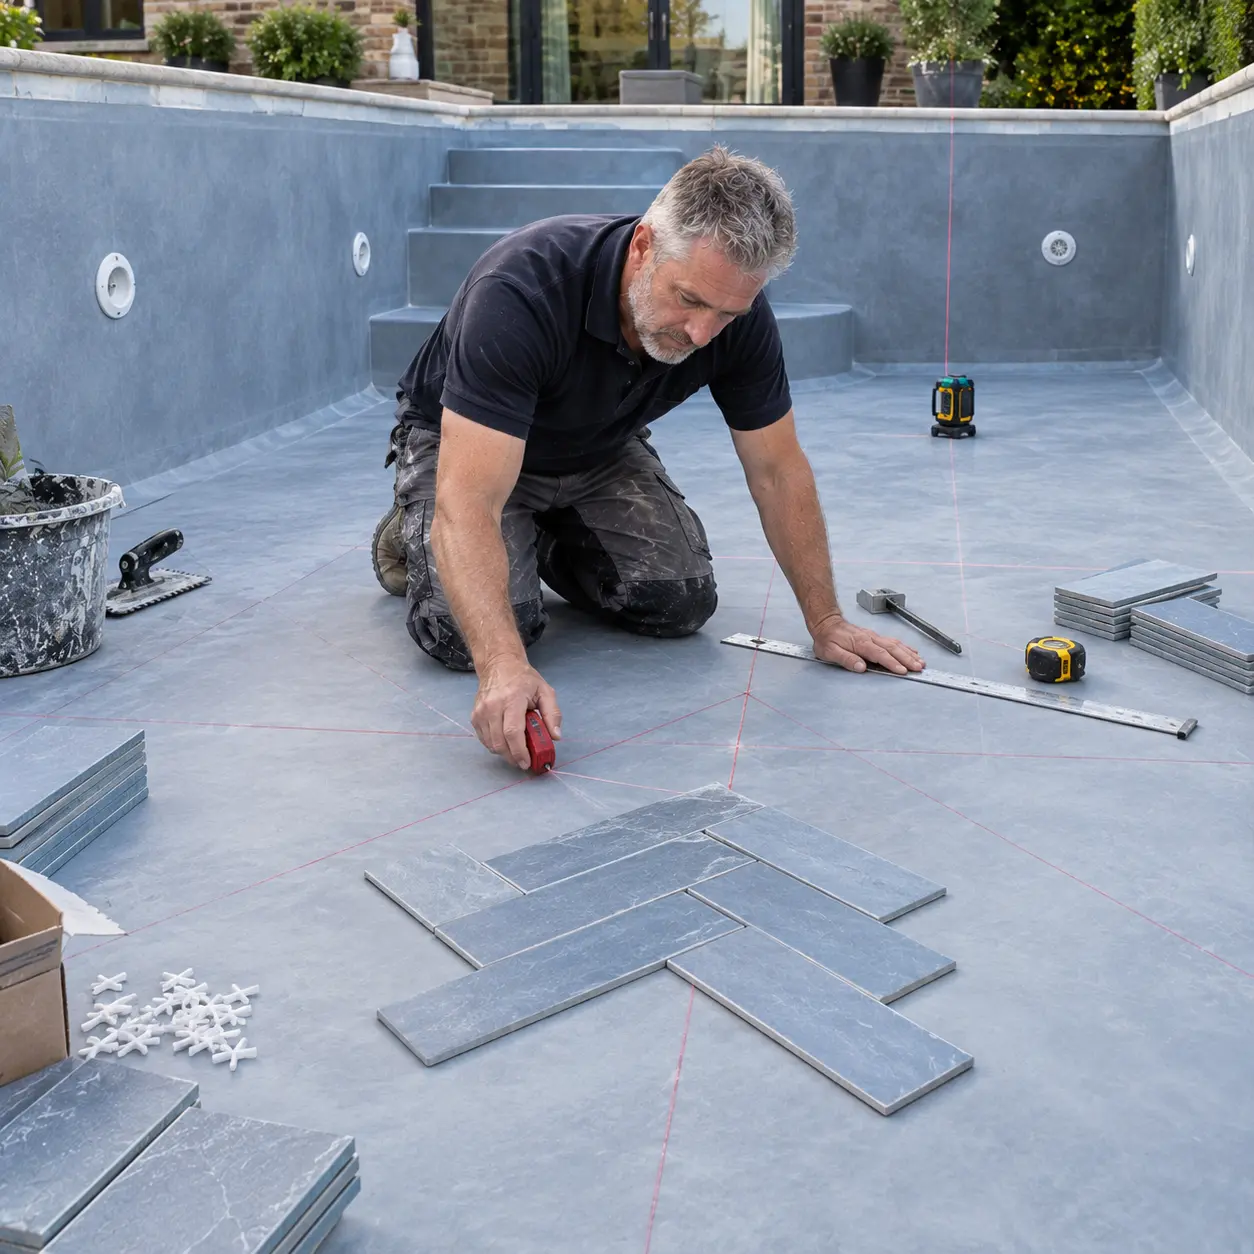
Snap a chalk line along the centre of the pool floor, then square a second line across it. From that intersection, set the 45-degree lines the pattern will follow.
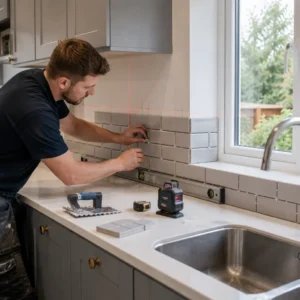
On walls, transfer a level line with a laser rather than measuring up from the floor. Pool floors fall towards the drain, so measuring from them puts every course out.
3. Create a Dry Tile Layout
Lay several rows dry along the lines before any adhesive comes out. Look at where the cuts land, and shift the whole pattern until slivers fall at the least visible end.
4. Set the First Herringbone Tiles
The first pair sets the geometry for the entire surface. Check the angle between them with a square, and check them again after bedding.
Use solid bed coverage and back-butter each tile so no voids sit behind it. On walls, rest the first course on a fixed batten and leave it in place until the adhesive holds.
5. Continue the Pattern Across the Surface
Work outwards from the centre in steps rather than completing one straight row at a time. Keep returning to the layout lines, since herringbone drifts quietly if you follow the tiles instead.
6. Make Accurate Cuts Around Edges and Corners
Cut the perimeter last, with a wet saw and an angle guide for repeatable 45-degree cuts. Measure each one individually, because a pool wall is rarely as square as the drawing.
Never force a tight piece into place. It lifts its neighbours out of line, and in a pool it also thins the adhesive bed at the very point where water pressure is highest.
7. Check Alignment and Tile Spacing
Use consistent spacers and check a straightedge across the points of the V every few rows. Small errors accumulate in this pattern and only become obvious once a wall is half finished.
Leave movement joints at the perimeter and at the floor-to-wall junction, and do not fill them with grout.
How to Grout Herringbone Swimming Pool Tiles
Allow the adhesive to fully cure before grouting. Use epoxy grout for better resistance to chlorine, salt and constant water exposure.
Apply the grout diagonally across the joints to avoid pulling it back out of the herringbone pattern. Clean epoxy haze as you work, as it becomes difficult to remove once hardened. Pick the grout tone with the filled pool in mind, since water shifts every colour beneath it and is the reason pool tiles real blue whatever shade you started with.
Finally, allow the adhesive and grout to reach their full cure time before filling the pool, following the manufacturer’s instructions.
When Should You Call a Professional?
Plenty of tiling suits a capable DIY approach. This pattern, in this environment, is where most people reach the edge of their abilities.
- Complex pool shapes. Freeform outlines, Roman ends, and curved benches need the pattern planned around them before any tile is cut.
- Difficult cuts. Steps, skimmers, lights and return jets all interrupt the pattern, and each interruption needs cuts on both sides of the fitting.
- Substrate or tanking problems. A shell that is out of true or a membrane that has failed must be corrected first. Tiling over either buries the problem.
- Large or detailed layouts. Double herringbone, borders and mixed formats multiply the setting out, and errors compound across a big surface.
- When the finish has to be exact. A pool is viewed through water that magnifies every line, so alignment shows in a way it never does on a hallway floor. Our team fits patterned interiors as part of our swimming pool tiling service in London.
Conclusion
Herringbone rewards preparation more than speed. A flat shell, a properly set out centre line and the right fixings decide the finish long before the last tile goes in. Abel Tiler London installs patterned pool interiors for homeowners, developers and commercial clients across the city.