
Quick Summary
When a family in a London home renovated their kitchen, they replaced the old painted skirting boards with tiled skirting after repeated issues with water marks and swelling timber near the sink area. Every time the floor was mopped, moisture collected along the bottom edge of the wall, leaving the paint damaged and the skirting needing regular repairs.
This guide explains what tiled skirting is, the different profiles available, how high it should run, how it should connect with the floor tiles, and how to achieve a neat finish around fitted kitchen units. If you are planning a complete renovation, our kitchen tiling specialists can ensure every detail is finished to a high standard, from the floor tiles to the skirting.
Why the base of the wall deserves attention
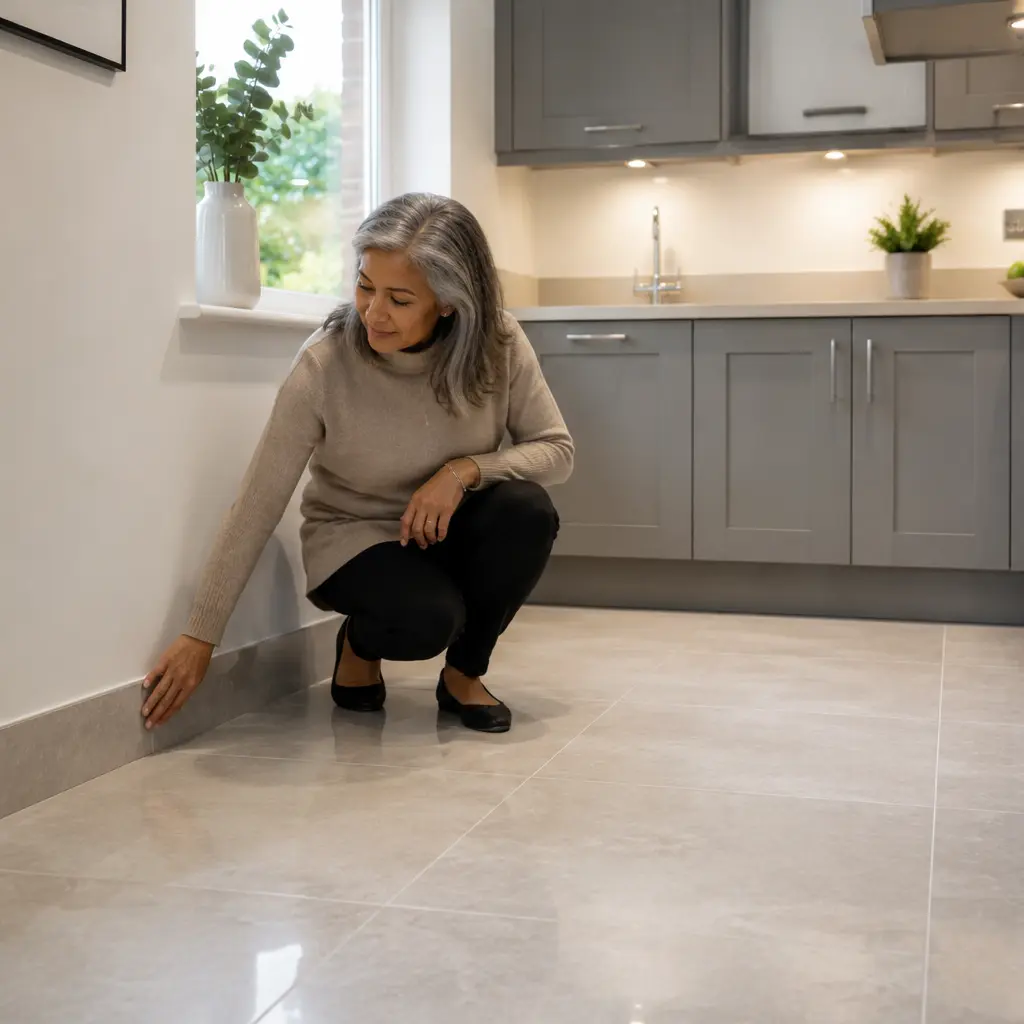
Kitchen tile skirting board replaces timber at the point where the wall meets the floor, using tile instead of a painted board. It is a small detail with a long working life ahead of it.
Timber in this position absorbs moisture over time and paint eventually marks where cleaning happens most often. A tiled band wipes down and carries on looking the same.
Two Ways to Create Tile Skirting Kitchen Installations
There are two routes to a tile skirting kitchen finish, and the right one usually comes down to what’s already going down on the floor.
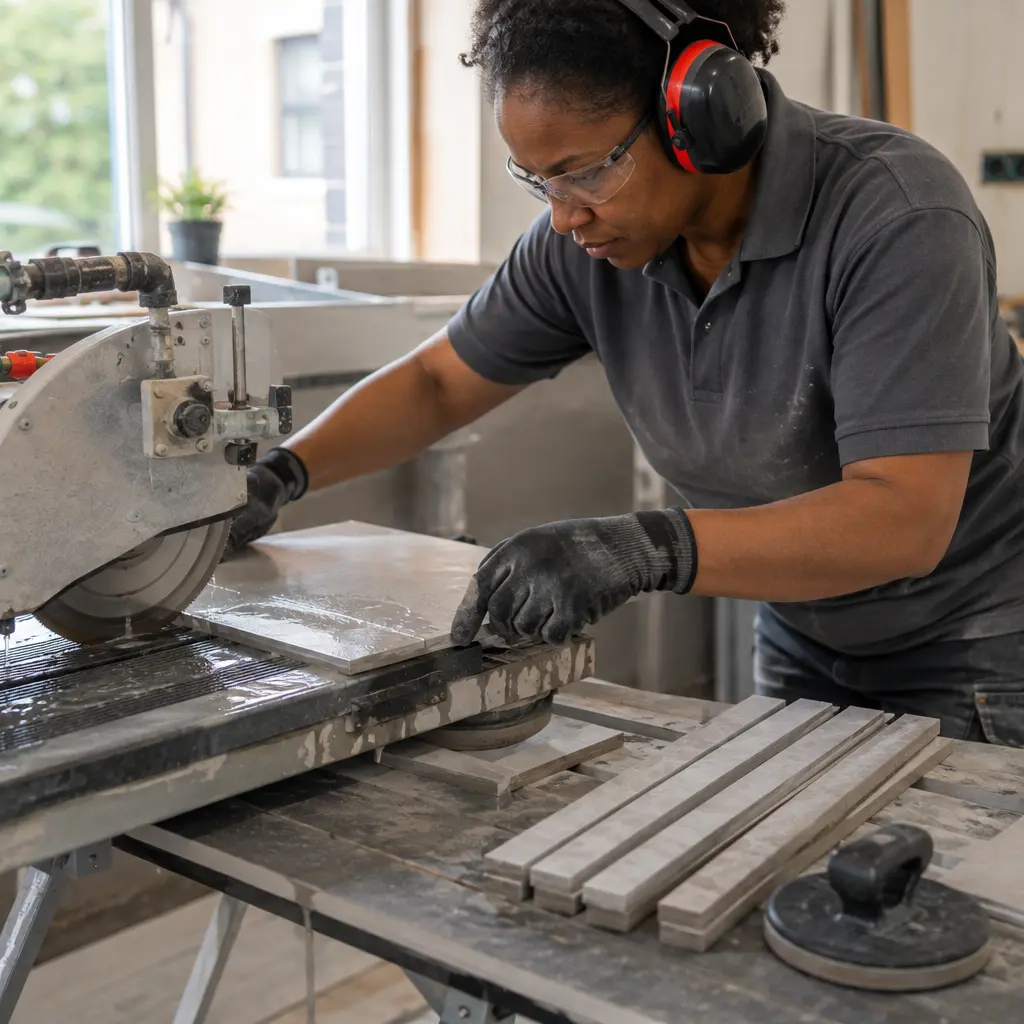
Cut strips from the floor tile
This gives an exact colour and texture match, and it is the usual approach when a floor tile has no matching accessory in the range. Working from a rectified tile (What Is Rectified Tile and Non-Rectified Tile? Which Is Best for Kitchens? ) makes this easier, since the factory edge is already straight and calibrated, so the cut strips come out a consistent width along the whole run.
Use a purpose-made skirting piece
Some tile collections supply a dedicated skirting profile with the top edge already formed, which saves a step on site.
One rule applies either way: if you’re cutting the strips yourself, ease that cut edge with a diamond pad. A raw saw edge sitting at ankle height in a kitchen isn’t something to skip.
Choosing the Right Profile for Your Tiled Skirting Board Kitchen
Not every tiled skirting board kitchen project wants the same top edge. Three profiles cover most situations.
Square edge. Flat against the wall, reading as a crisp band at the base of the room. It suits a contemporary kitchen where every other line is straight — but it does ask for a true wall behind it, since the top edge sits proud of the plaster and any waviness shows.
Rounded or bullnose. A softer transition that catches light rather than casting a hard shadow line. It’s also more forgiving of a wall that’s slightly out of true, which is exactly why it turns up so often in older London properties.
Cove. Curves outward at the bottom instead of meeting the floor at a right angle, so the join sweeps continuously from wall to floor with no internal corner. That’s not just a style choice — there’s nowhere for dirt to collect, and a mop follows the curve straight through rather than snagging on it.
Getting the height right
In a domestic kitchen, a run of around 70mm to 100mm sits comfortably against most cabinetry and doorframes. Taller runs of 100mm to 150mm are more common where the room takes heavy use.
Proportion matters more than any fixed number. Hold a cut strip against the wall beside the door architrave and the right height usually becomes obvious within a minute.
Set the top edge level rather than parallel to the floor. Where a floor falls slightly across a room, taking that variation at the bottom keeps the visible line straight and true, provided the wall and floor tiling order (Order of Tiling a Kitchen: Should Walls or Floors Come First?) was planned correctly from the start.
Working Tiled Skirting Around a Fitted Kitchen
Tiled skirting only appears where cabinetry does not, so plan the runs against the kitchen layout rather than the room. The wall behind base units needs nothing, since the plinth covers it.
Appliance recesses are the exception worth remembering. Running the skirting through the gaps left for a dishwasher, washing machine or fridge means that if the appliance is ever moved or replaced, there is a finished surface behind it rather than bare plaster.
That gap is opened far more often than people expect. Getting the order of wall and floor tiling right at this stage avoids a mismatched step later.
Corners, Endings and Doorways: The Details That Get Noticed First
External corners look best mitred, with both pieces cut at 45 degrees to meet in a clean point with no exposed edge. It’s slower to cut, but that corner is the first thing anyone’s eye lands on.
Internal corners are simpler: one piece butts into the other, with a thin bead of sealant at the junction to allow for movement.
Where a run reaches a doorway, stop it against the architrave with a full vertical cut rather than letting it trail off into the frame at an angle. A deliberate stopping point always reads as intentional a fading one never does.
The Benefits of Tiled Kitchen Skirting
Beyond just outlasting timber, tiled skirting earns its place in a kitchen in a few concrete ways:
- Moisture protection. Tile doesn’t swell, rot or blister the way painted wood does at floor level, which is exactly where splashes and mopping water end up.
- Easier hygiene. A wipe clean surface at ankle height means no porous timber or flaking paint for grease and grime to cling to a real advantage in a room where food is prepared.
- Lower maintenance. No repainting, no sanding down swollen edges, no repairs every couple of years. Once it’s fitted properly, it’s largely a job you don’t think about again.
- Durability under daily wear. It shrugs off knocked mop buckets, dropped pans and trolley wheels far better than timber or plaster ever could.
Keeping Tiled Skirting in Kitchen Spaces Looking Its Best
Warm water and a pH-neutral cleaner deal with everyday marks on porcelain and ceramic. Skip anything acidic — it attacks the grout and dulls natural stone over time.
Keep an eye on the sealant bead at floor level. If it ever discolours or lifts at one end, cutting it out and re-running a fresh bead is a short job, and it restores the whole line instantly.
Conclusion
Kitchen tile skirting may seem like a small finishing detail. Still, it plays an important role in protecting the wall, improving durability and creating a cleaner connection between the floor and kitchen design. Choosing the right profile, height and installation method ensures the skirting works practically while complementing the overall style of the room.
At Abel Tiler London, we provide professional kitchen tiling solutions with careful attention to the details that make a finished space look refined, durable and easy to maintain.