Introduction
Before tiles are fixed to any surface, the condition of the wall itself determines the quality of the final result. A professional wall tile inspection checklist ensures surfaces are properly prepared, stable, and suitable for long-term performance. In London homes, where older plaster, stud partitions, and moisture exposure are common, careful wall inspection before tiling protects both structure and finish. Whether planning bathroom wall tiling, upgrading kitchen tiled walls, or investing in expert wall tiling services and precision tiled wall installations, proper preparation ensures a durable and flawless outcome.
Why a Wall Tile Inspection Checklist Matters
A well-structured wall tiling inspection checklist allows potential concerns to be addressed before installation begins. Many London properties include ageing plaster, multiple skim layers, or masonry that requires assessment.
A thorough pre-tiling wall inspection checklist confirms:
- Wall readiness for tile installation
- Structural soundness and stability
- Suitability of the substrate for wall tile
- Adequate support for tile weight load capacity of wall substrates
- Compliance with recognised UK tiling standards
This stage ensures the finished tiling remains secure, aligned, and professionally executed.
Wall Surface Assessment Before Tiling
A detailed wall surface assessment before tiling begins with checking the overall condition. Assessing wall substrate for tiles involves reviewing plasterboard condition, masonry integrity, and stud wall rigidity.
Plasterboard condition assessment confirms boards are firmly fixed and free from movement. Masonry wall integrity inspection ensures there are no unstable sections. A stud wall rigidity and alignment check confirms the framework is capable of supporting tiled finishes. These checks establish a solid foundation before tiling work begins.
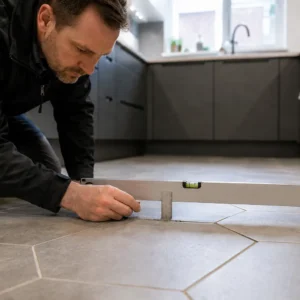
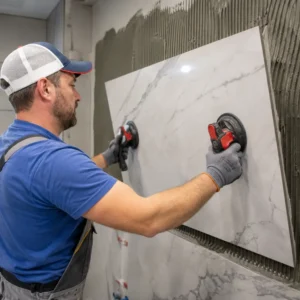
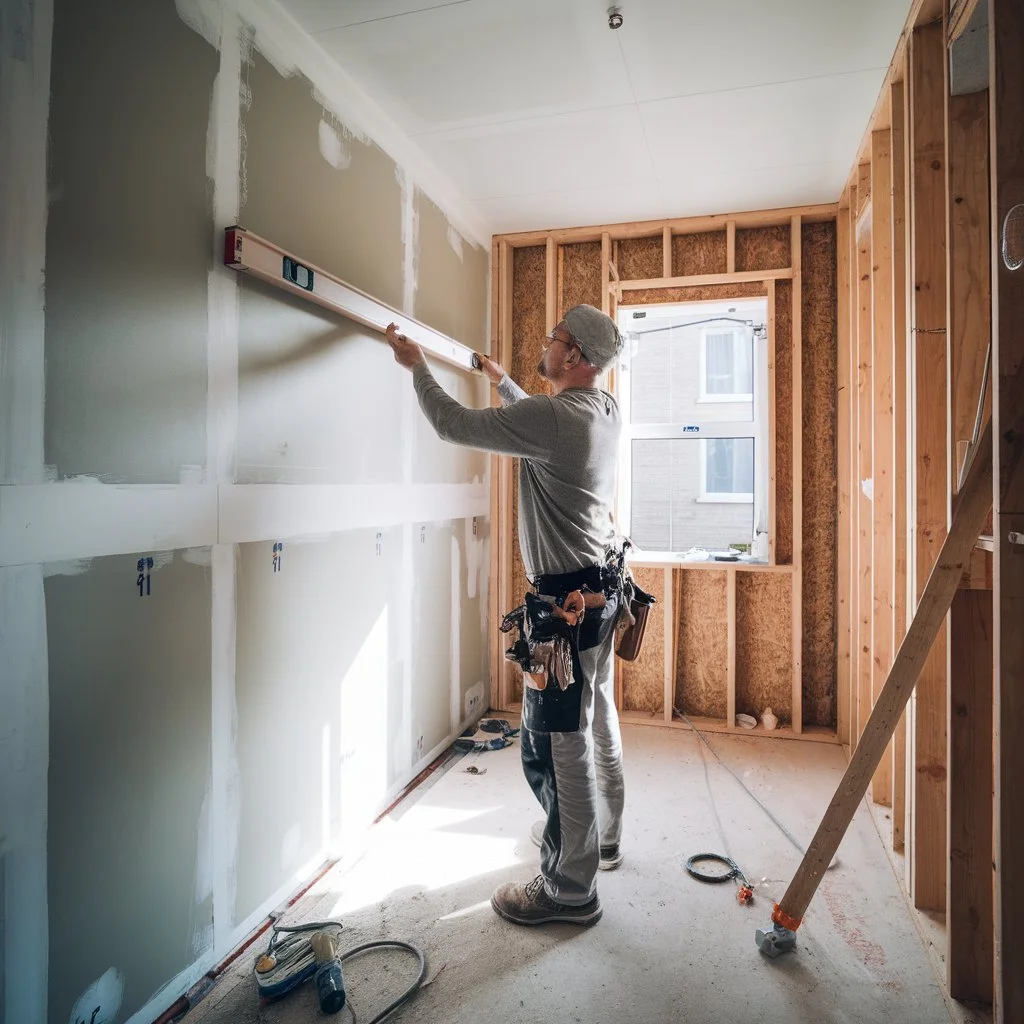
Checking Wall Flatness and Alignment
Checking wall flatness before tiling is essential for a refined finish. A wall flatness tolerance check ensures tiles sit evenly without visible lippage. Even slight unevenness can affect alignment, especially with large format tiles.
A wall plumb and level check confirms vertical and horizontal accuracy. In London bathrooms and kitchens where design symmetry is valued, proper alignment enhances both appearance and long-term performance. Ensuring flatness at this stage avoids unnecessary adjustments later.
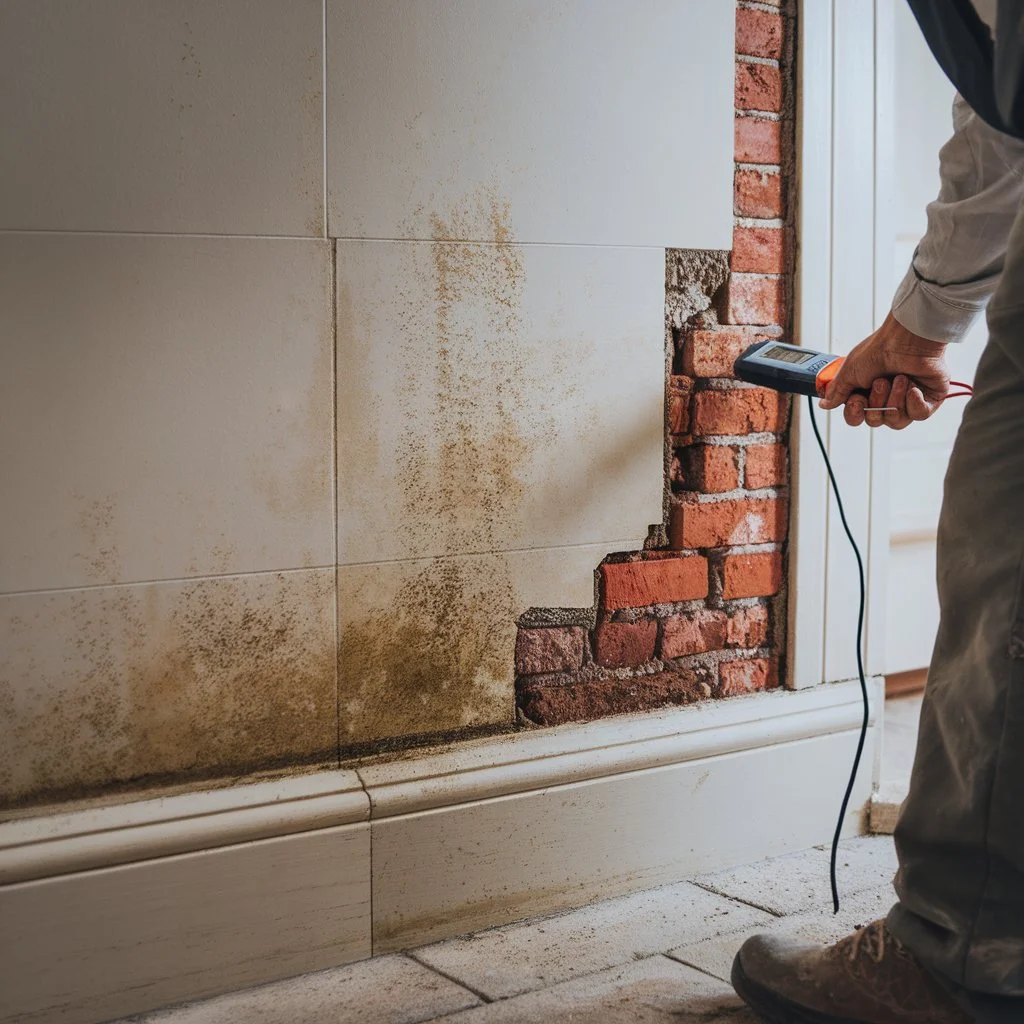
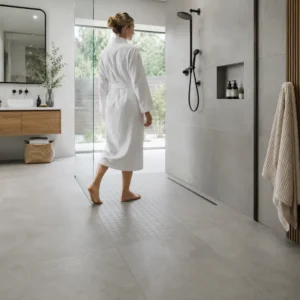
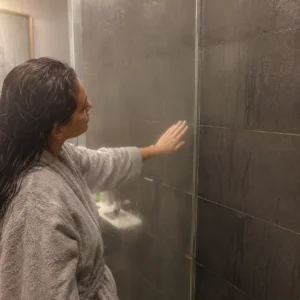
Moisture Testing Walls Before Tiling
Moisture testing walls before tiling is particularly important in UK properties where humidity levels may be higher. Moisture content testing in walls helps identify damp areas behind walls that are not immediately visible.
In bathrooms, kitchens, and lower ground floor flats, this step ensures that the chosen substrate for wall tile performs effectively and supports long-lasting adhesion. In higher moisture settings, specifying a waterproof tile backer board can provide additional protection behind the tiles, helping safeguard both surface finish and structural integrity.
Plaster Curing Time Before Tiling
Understanding plaster curing time before tiling is another key element of the wall tile inspection checklist. Fresh plaster requires sufficient drying time before adhesive is applied.
Allowing proper curing ensures reliable bonding and long-term surface stability. Wall surface preparation before tiling always includes confirming that plaster has dried fully and is ready to support the selected tiles. This careful approach strengthens the durability of the installation.
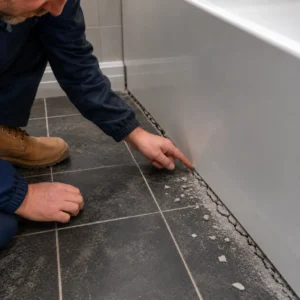
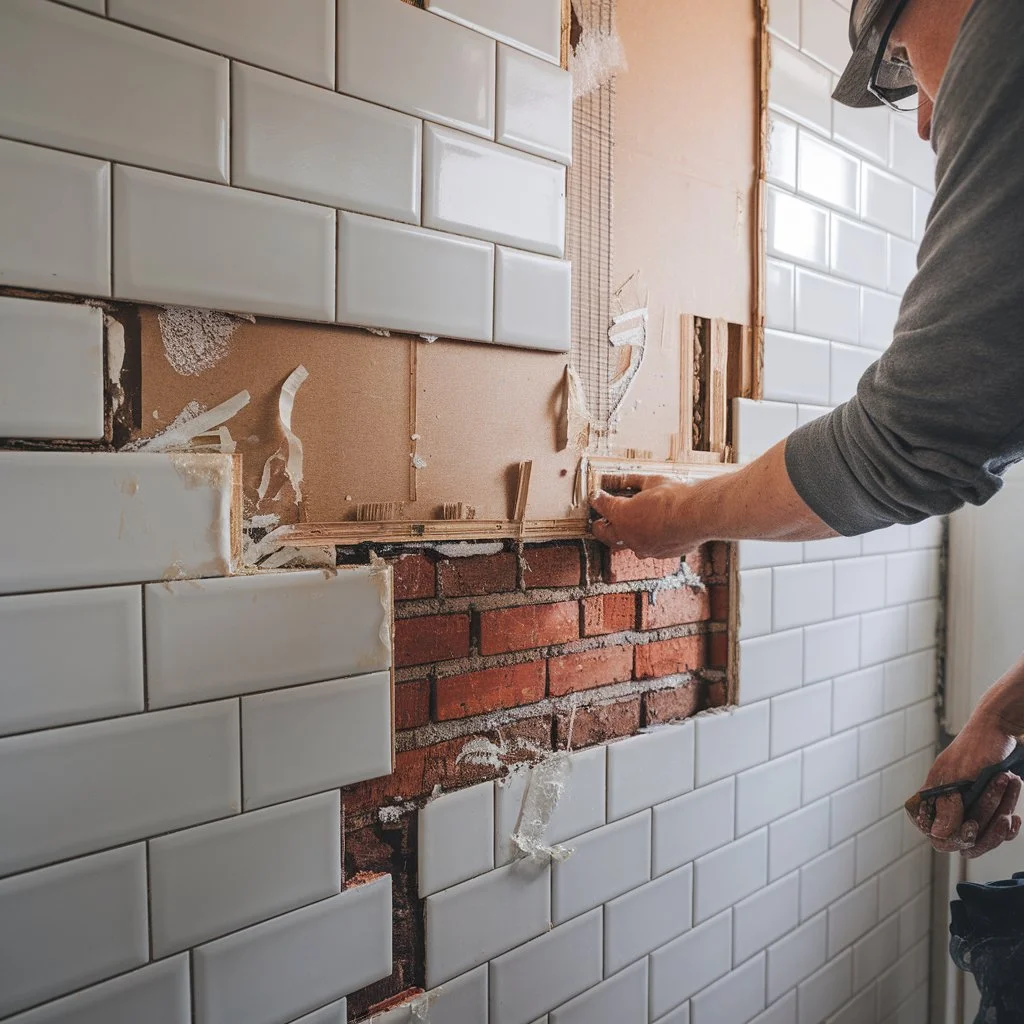
Can You Tile Over Damaged Plaster
A common question during renovation is can you tile over damaged plaster. The answer depends on the surface soundness test before tiling. Crack assessment in plaster or masonry determines whether repair or reinforcement is required.
Checking for loose render or skim ensures tiles will adhere securely. Where surfaces are stable and well prepared, tiling can proceed confidently. Proper inspection ensures every wall meets the required standards before fixing begins.
Priming Walls Before Tiling
Priming walls before tiling improves adhesion and balances surface absorption. Surface contamination removal before tiling ensures that dust, grease, or debris do not interfere with bonding.
Correct primer selection depends on the specific substrate. In specialist areas such as chimney breasts or feature fireplaces, selecting a suitable heat-safe adhesive for fireplace tiling is equally important to ensure stable bonding under temperature variation. This final preparation stage strengthens adhesion and enhances wall readiness for tile installation, ensuring the finished surface remains secure and professional.
Summary of Key Wall Tile Inspection Checks
| Inspection Area | What Is Confirmed | Why It Is Important |
| Surface Soundness | No loose plaster or render | Ensures strong adhesive bond |
| Wall Flatness | Level and plumb alignment | Achieves clean, even tile layout |
| Moisture Levels | Moisture content testing in walls | Supports long-term durability |
| Structural Stability | Stud and masonry strength | Supports tile weight safely |
| Curing Time | Plaster curing time before tiling | Guarantees reliable adhesion |
This structured wall tile inspection checklist ensures every stage of preparation supports a high-quality finish.
Secure long-lasting Results with Expert Wall Tiling Preparation
A detailed wall tile inspection checklist is the foundation of professional wall tiling. Proper wall inspection before tiling, moisture assessment, structural evaluation, and surface preparation all contribute to durable and refined results.
Abel Tiler carries out careful pre-tiling wall inspection checklists across London homes and commercial properties. From bathrooms and kitchens to swimming pools and Victorian slate tiling projects, each installation is completed with precision and attention to detail.
Contact Abel Tiler today to transform your space with expert wall tiling services delivered with craftsmanship, care, and long-term reliability.