
A damaged or outdated kitchen floor tile can diminish the overall appearance of a busy cooking space, but a proper tile replacement instantly refreshes and fortifies the area. In London homes, where kitchens act as both a functional workspace and a gathering spot for family and friends, a high-quality finish is especially crucial. Understanding how to replace a kitchen floor tile begins with safe old tile removal, proper subfloor preparation, and using premium tile adhesives and moisture barriers that meet UK standards. Abel Tiler London specialises in providing meticulous tiling services that cater to the city’s diverse property styles. With expertise in modern and traditional kitchen tiling, they ensure each project combines durability, beauty, and precision. By relying on their skill, you can rest assured every replacement—no matter if you simply replace one kitchen floor tile or handle a more extensive kitchen floor renovation—will look and perform exceptionally.
Assessing Your Kitchen Floor Tiles
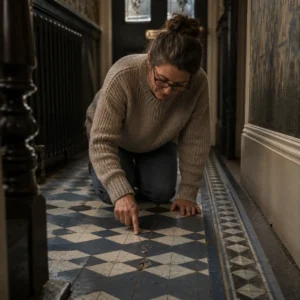
Evaluating the nature of the damage is the first step in any kitchen tile replacement. A cracked kitchen tile may only need a single swap, prompting many to ask, “Can you replace one kitchen floor tile?” The answer is often yes, as long as the surrounding flooring is stable and properly supported. Checking for underlying problems, such as loose subfloor panels or signs of moisture infiltration, is equally important. Whether addressing how to replace broken floor tiles in kitchen spaces or planning a thorough kitchen floor renovation, you must ensure there is no deeper structural damage. In a commercial kitchen or a high-traffic domestic setting, verifying the stability of every tile is vital for a seamless, long-lasting repair.

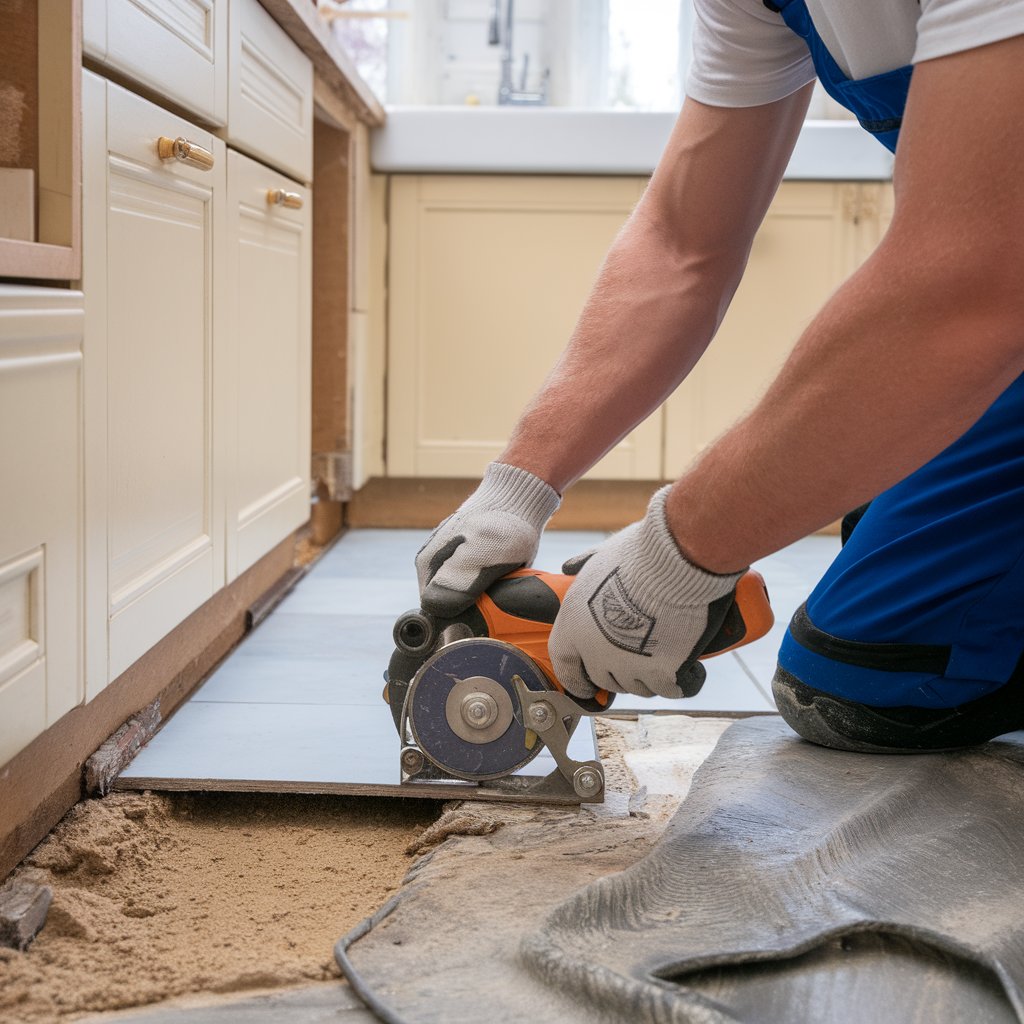
Surface Preparation and Old Tile Removal
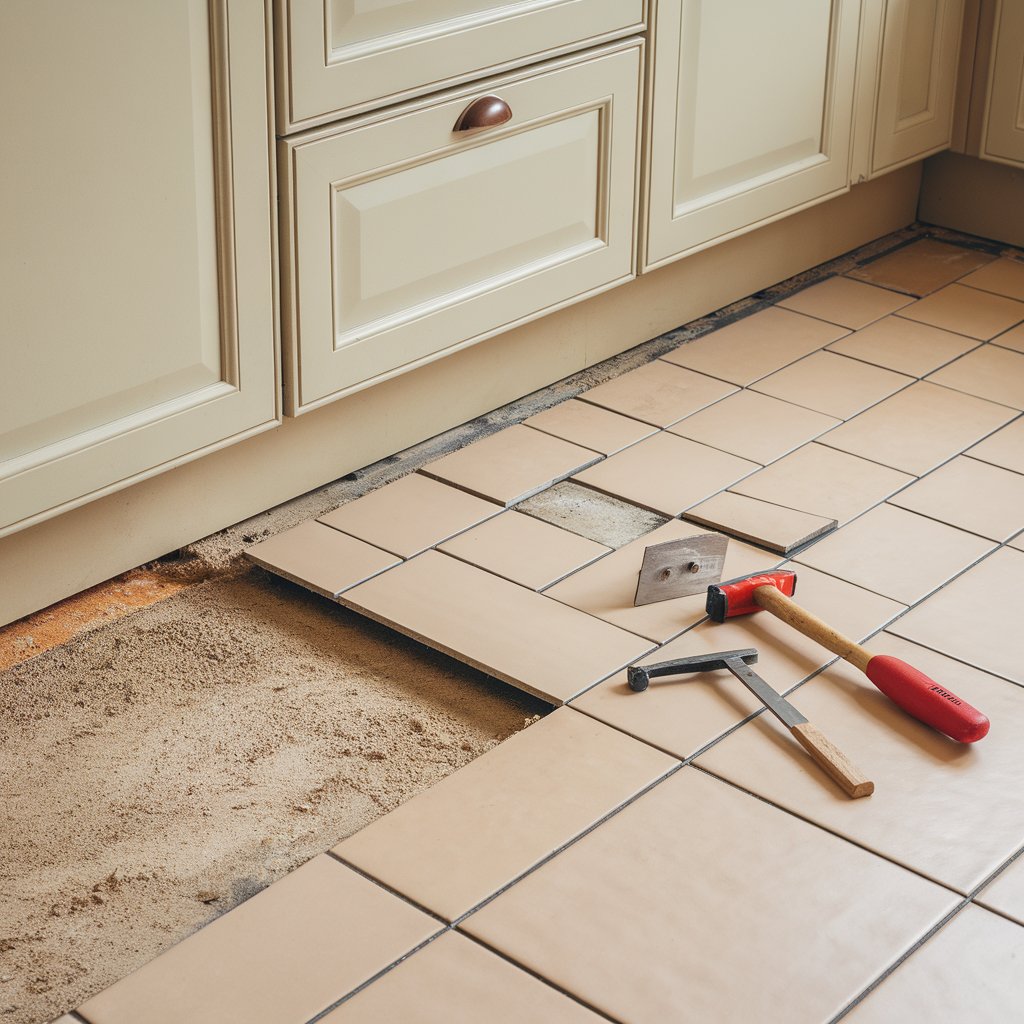
Removing damaged tiles involves carefully extracting the existing grout and easing off each broken tile piece by piece. Many wonder how to remove and replace kitchen tiles without causing collateral damage. Using the right tools makes a significant difference, as prying up old tiles too forcefully can harm adjacent pieces. Grout removal demands patience and precision—the moment you disrupt the surrounding grout lines, you expose the subfloor to potential harm. Surface preparation then continues with adhesive removal and correcting any gaps. Cement backer board or self-levelling compounds may be necessary if the floor shows signs of unevenness or age. This stage is crucial for ensuring proper tile alignment and creating a reliable, moisture-resistant surface beneath the new floor tile installation.
Subfloor Considerations and Waterproofing
Subfloor integrity contributes heavily to the success of a kitchen floor tile replacement. If the subfloor is wobbly or shows water damage, it must be fixed or replaced before laying new tiles. Properties in London often have older floorboards or unlevelled concrete that benefit from robust preparations, including moisture barriers and anti-slip coating where necessary. Subfloor preparation might also involve installing cement backer board to reinforce the area and support the weight of durable kitchen tiles. By proactively bolstering the foundation, you can prevent shifting or cracks that frequently plague old tile replacement projects. Unseen structural issues can cause premature tile failure, so the time spent stabilising the floor pays off in overall longevity.
Choosing Replacement Tiles and Arranging a Dry Layout
Once the subfloor is reliably prepared, selecting the right tile is key. Some homeowners prefer matching their old tile design to retain a unified look, while others see this scenario as an opportunity to upgrade to more contemporary or high-traffic kitchen flooring. Regardless of choice, look for materials proven to handle spills, foot traffic, and potential temperature shifts in busy UK kitchens.
A dry layout planning phase helps you visualise your tile pattern, ensuring that any cuts or edges flow visually with the rest of the room. This step is especially important when you replace kitchen floor tiles in an irregular room shape or around worktops and islands. Position tiles on the floor without adhesive to confirm the final arrangement, adjusting spacing and alignment for a neat, polished finish.
Adhesive Application and Tile Installation
Proper tile adhesive guarantees a secure bond that resists daily wear. Spread a uniform layer of tile adhesive across a small section of the subfloor, pressing the new tile firmly to create a good seal. Smooth movement with a notched trowel ensures even coverage. If you are uncertain which product to choose, seek advice from a professional like Abel Tiler London, who will use suitable, UK-approved adhesives that stand up to moisture and footfall.
It is recommended to work gradually, especially if you are unsure how to replace grout in kitchen floor tile areas later on. A methodical approach ensures no air pockets appear beneath the tiles. This same principle applies if you ever plan to learn how to replace kitchen wall tiles—slow and steady produces superior results. When each tile is placed, check that the edges align with neighbouring pieces.
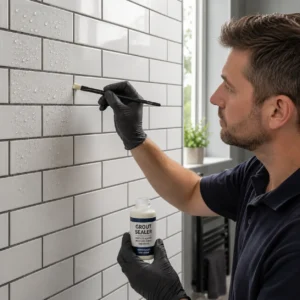
Grouting and Surface Finishing
The grouting step melds individual units into a cohesive whole, preventing moisture from seeping between tiles. Re-grouting kitchen floor joints requires consistent coverage, pressing the mixture firmly into the gaps before wiping away excess. This simple but precise task is essential for preventing chipped edges, water infiltration, and unsightly blemishes. Professional installers often choose grout colours and types that suit both the tile and the overall décor. When using ceramic or porcelain kitchen tiles, proper grouting and sealing are especially important to maintain a polished, durable finish. After the grout sets, a light surface polishing helps remove any haze, ensuring the new floor tiles shine. Maintenance remains effortless when done right—meaning ongoing cleaning will preserve the fresh look for years.
Dealing with Additional Kitchen Tile Replacement Tasks
Some property owners discover broader issues while learning how to replace a kitchen floor tile, prompting more in-depth repairs. Re-grouting kitchen floor segments is necessary if older grout lines have deteriorated. Elsewhere, “how to replace kitchen wall tiles” becomes relevant if you notice damage around the skirting or splashback areas. In each instance, the overarching principles remain intact: proper assessment, cautious old tile removal, subfloor preparation, and employing reliable tile installation methods. Where tall units or commercial kitchen floor tiles are present, heavier loads demand extra caution. Seeking professional guidance is beneficial, especially when structural concerns arise, and is the proven method for minimising future complications.
Why Abel Tiler London is the Clear Choice
Abel Tiler London offers a uniquely skilled service for residents seeking a top-tier floor tile renovation. Their team handles everything from large-scale kitchen conversions to one-off repairs of a cracked kitchen tile. With deep knowledge of UK design trends and building regulations, they present solutions tailored to each client’s environment, ensuring maximum durability and aesthetic cohesion. Every step, from subfloor preparation to grouting, is executed with care and precision, leaving customers with floors that withstand heavy traffic and daily wear. By choosing a dedicated, London-focused service like Abel Tiler London, you can rest assured that you receive lasting results that enhance your kitchen’s appearance and value.
Conclusion
Replacing a damaged or dated tile need not be daunting if approached with proper guidance and care. Whether you aim to replace a single problematic tile or conduct an extensive kitchen floor renovation, following the right steps is vital. Trusting a professional team like Abel Tiler London guarantees impeccable work at every stage—old tile removal, subfloor preparation, tile installation, and thorough finishing. With expert kitchen splashback tiling included, your kitchen’s walls and floors will harmonise perfectly, providing a polished, durable, and visually striking result. The result is a rejuvenated kitchen floor that offers superior functionality, long-term resilience, and fresh appeal. For expert help with kitchen tile replacement, consider contacting Abel Tiler London to elevate your space effectively.