Introduction
To achieve a long-lasting tiled finish, it is essential to prepare the wall for tiling correctly before any installation begins. Many issues seen in London homes, such as cracked grout or loose tiles, often come down to poor groundwork rather than poor workmanship. From Victorian houses with ageing plaster to modern flats with plasterboard walls, each background requires a considered approach. For projects that need a consistent finish, choosing expert wall tiling in London helps ensure the work is completed to a high standard from the outset.
Understanding how to prepare walls for tiling helps create a consistent finish that performs reliably in typical UK conditions.
How to Prepare Walls for Tiling Step by Step
Proper wall preparation starts with checking whether the surface is strong enough to support tiles. Cracks, loose plaster, damp patches, or signs of movement should be identified first, as these can affect how securely the tiles hold over time.
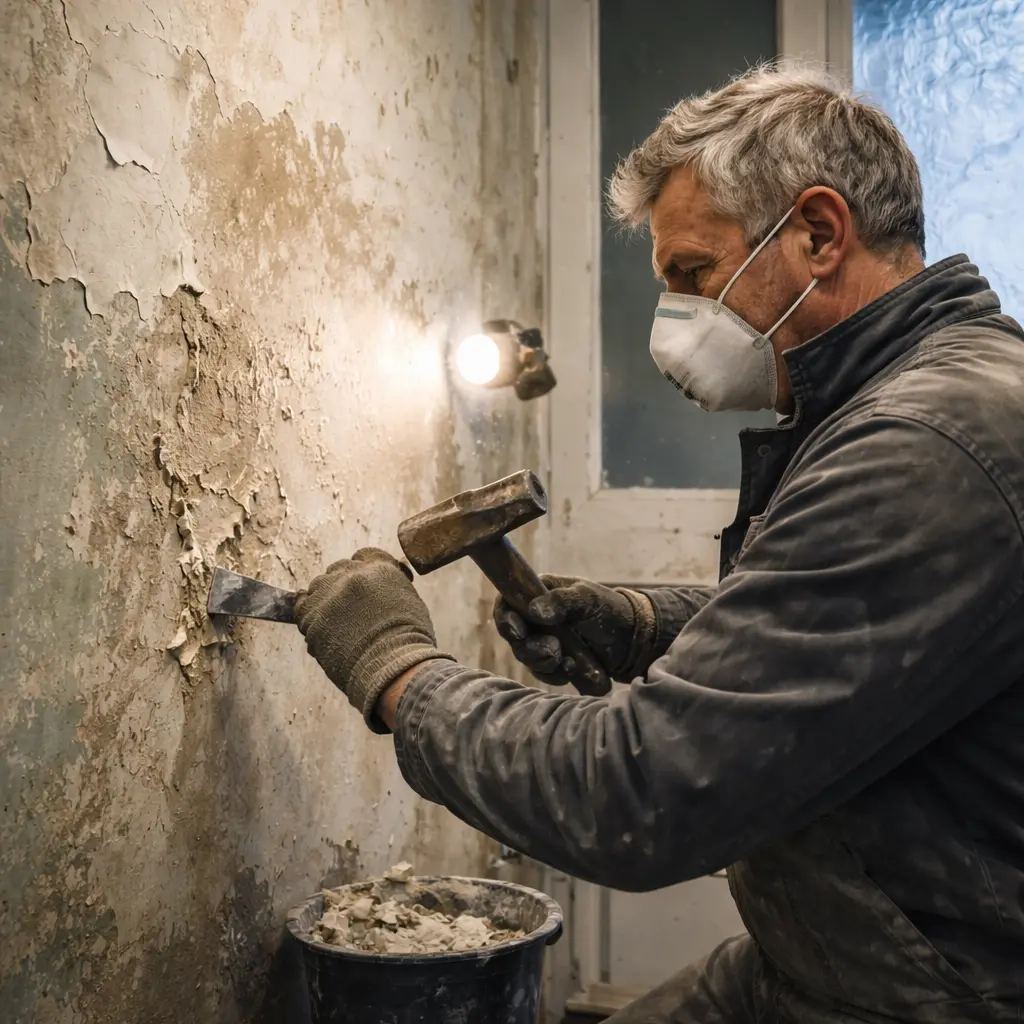
The next step is to remove anything sitting on the wall that could interfere with adhesion. This includes wallpaper, peeling paint, and any loose material that prevents the adhesive from bonding directly to a solid surface.
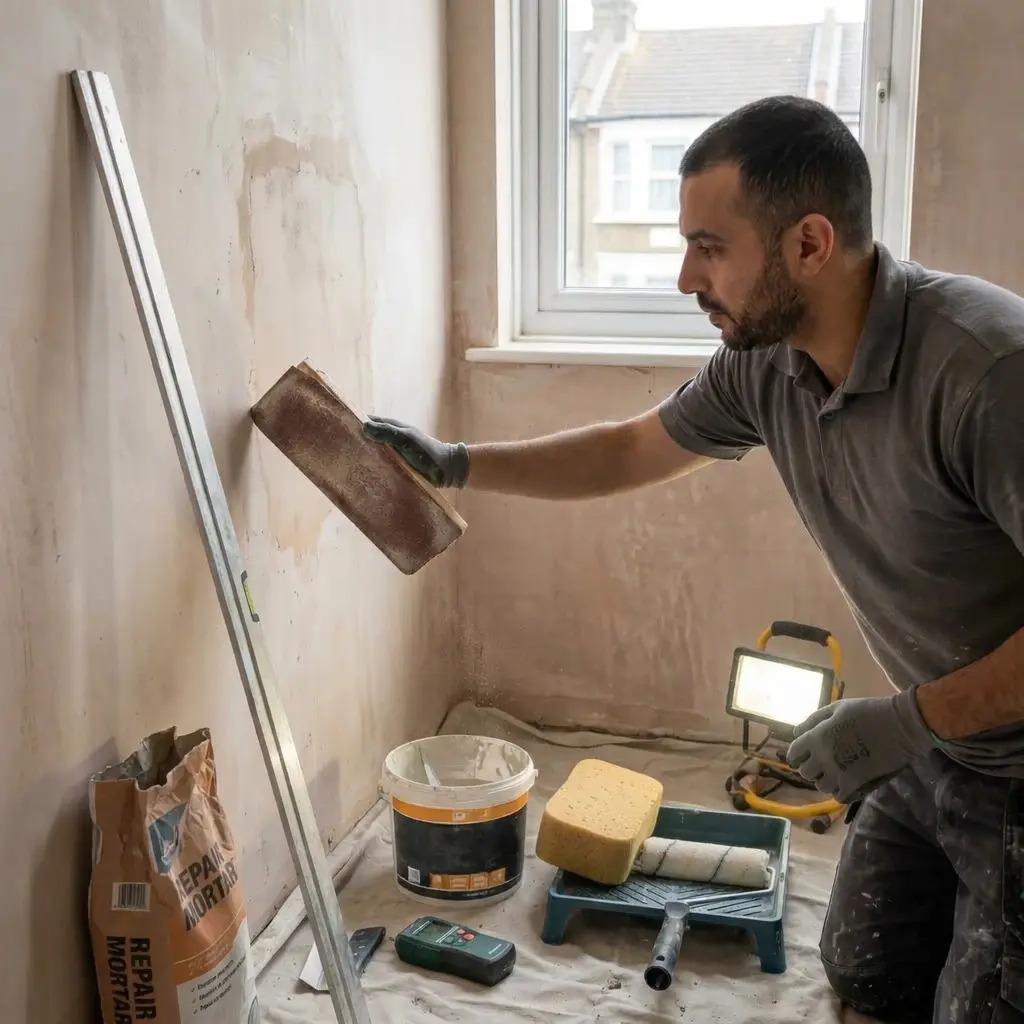
Once the wall is cleared, any damaged sections should be repaired. Filling cracks and stabilising weak areas helps create a more dependable base for tiling. After repairs, high spots should be smoothed down so the surface is more level. This helps the tiles sit evenly and reduces the risk of an uneven finish.
The wall should then be cleaned thoroughly to remove dust, grease, or residue. Even a clean-looking wall may still have surface contaminants that affect bonding, so this step should not be skipped.
Finally, the wall must be left to dry fully before adhesive is applied. A dry and stable background gives the tiles the best chance of fixing securely and performing well over time.
This level of preparation is especially important for feature wall tiles, where even minor surface inconsistencies can affect the final visual finish.
How Do You Prepare a Rendered Wall
Rendered walls are common across UK homes, particularly in extensions. Before tiling, the render must be fully cured and free from movement. If recently applied, it should be left to dry fully to avoid shrinkage affecting the finish.
Once dry, brush the wall down and check for weak spots. Applying a diluted tile primer improves adhesive keys into the background, especially where the render is porous.
How Do You Prepare an Unrendered Wall
Brick and blockwork can be tiled directly if they are flat and structurally sound. In many properties, uneven masonry will need correcting before tiles are fixed.
Where the background is rough or highly absorbent, a primer helps regulate moisture intake. If the wall is significantly uneven, installing a cement-based backer board creates a flat and rigid base for tiling.
Can You Tile on Painted Walls or Wallpaper
Tiling onto painted or papered walls is not recommended. These finishes can interfere with bonding and may lead to tiles coming away over time.
Paint should be removed fully, particularly if it is glossy or unstable. Wallpaper must also be stripped back, leaving the wall bare and dry. Working directly onto a solid background ensures more reliable results.
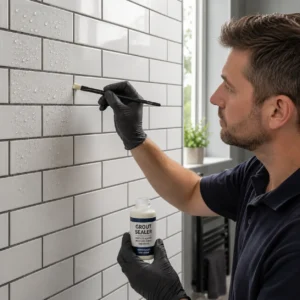
Do I Need to Prime Walls Before Tiling
Priming is often required, especially on plaster and plasterboard. It helps control how the background absorbs moisture and allows the adhesive to cure without lifting.
A proper tile primer should always be used. PVA is not suitable, as it can react with moisture and weaken adhesion. Using the correct product supports even bonding across the wall.
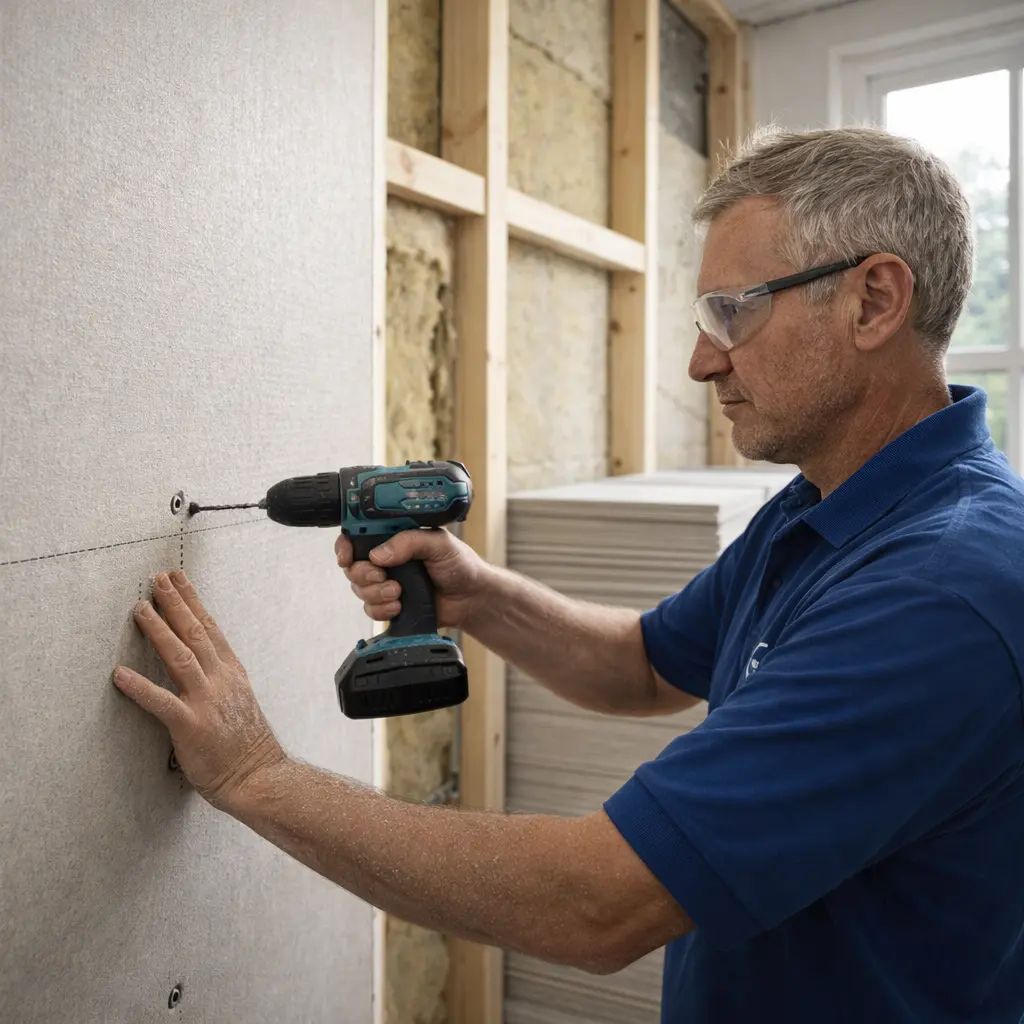
The Perfect Base: Tile Backer Boards
In many kitchens and bathrooms, tile backer boards provide a dependable base. These boards are moisture-resistant and offer a flat and stable background.
In older London properties, especially, where walls are rarely even, using a cement-based backer board helps reduce movement over time and improves tile alignment. This creates a controlled base for installation.
Waterproofing Before Tiling in Wet Areas
In wet areas such as showers and bathrooms, waterproofing is essential. Without it, moisture can pass behind tiles and affect the structure underneath.
Applying a tanking system or waterproof membrane protects the wall before tiling begins.
Can You Tile Over Existing Tiles
Tiling over existing tiles is possible if the current surface is secure and well-bonded. Each tile should be checked carefully, and any loose sections removed before continuing.
The background should then be wiped down with a degreasing solution to ensure a clean bond. It is also important to confirm that the wall can support the added weight.
Preparation Tools That Actually Matter
Wall preparation relies on tools that help identify and correct issues before tiling starts. Using the right equipment allows for more accurate work and fewer surprises later.
Key tools include:
- Straight edge for checking levels
- Bolster chisel for removing loose plaster or tiles
- Sanding block for smoothing uneven areas
- Moisture meter for identifying damp
- A bucket and a sponge for wiping down surfaces
Having these to hand before work begins avoids delays once preparation is underway.
Preparing Walls in UK Conditions
Preparation timing can vary depending on conditions, especially during colder months. Lower temperatures and reduced airflow can slow down drying across many UK homes.
In properties with solid brick walls or thick plaster, moisture can remain trapped longer than expected. Allowing adequate time between each stage helps avoid issues once tiles are installed.
When to Seek Professional Help
Some walls can present challenges, such as uneven areas or hidden dampness. These problems are not always obvious during initial inspection.
If the background proves difficult to stabilise or shows signs of moisture, it may be worth contacting Abel Tiler. Addressing these issues early helps ensure a surface that bonds correctly from the start and avoids future disruption.
Conclusion
Most tile failures trace back to a single skipped step during preparation. Getting the wall ready before adhesive is applied is what separates a finish that performs well from one that develops issues early.
Taking the time to prepare the surface properly supports consistent bonding and helps tiles remain secure under everyday use. Even small oversights at this stage can affect alignment, durability, and the overall appearance of the finished wall.
A careful and methodical approach not only improves the quality of the installation but also reduces the likelihood of future repairs. When each stage is handled correctly from the beginning, the result is a surface that remains stable, visually consistent, and suited to long-term use.