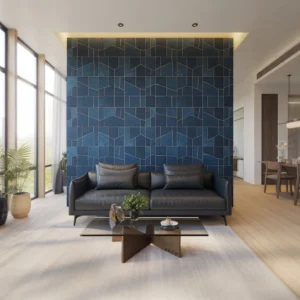
Tiling a kitchen splashback can completely transform the look and function of any cooking space, shielding walls from splashes while delivering a stylish focal point. In London homes, a carefully installed splashback boosts property value by showcasing both quality and attention to detail. Partnering with a dedicated London-based team like Abel Tiler London gives homeowners the advantage of local expertise, deep knowledge of both modern and traditional UK kitchen designs, and dependable results that last for years. From selecting the ideal materials to guaranteeing effective waterproofing, Abel Tiler London handles every aspect with precision, allowing you to enjoy a practical yet elegant feature for years to come. A professional approach not only enhances the visual appeal but also safeguards against the typical wear and tear a busy kitchen endures.
Planning Your Kitchen Splashback Tiling Project
Assessing Your Kitchen Space
Proper assessment of your kitchen walls is essential before learning how to tile a kitchen splashback. Measure the surface area accurately and make special note of power sockets, corners, and potential obstructions. This step helps you organise tile layout planning in advance, so you know exactly where each tile should go. It is also crucial to protect your kitchen worktop with sheeting or boards during the process. Having a clean, well-prepared environment ensures you can work safely and spot potential snags early. Paying attention to these preliminary details prevents wasted materials and saves time when it comes to setting adhesive and grouting the finished design.
Choosing the Right Tile Type
Selecting suitable materials still leaves many pondering whether they can use large tiles for kitchen splashbacks.. Large format tiles can create a clean, modern look, but smaller ceramic or porcelain versions often suit detailed designs or older, character-filled London properties. Mesh-backed tiles may simplify installation for DIY enthusiasts, while classic ceramic or porcelain tiles are popular for their long-term durability. In any kitchen, style must balance with practicality. If you are aiming for a minimalist vibe, porcelain tiles with subtle patterns might be best. For a more traditional result, smaller ceramic tiles typically harmonise with features like Victorian cornices or farmhouse sinks.
Selecting Adhesives and Tools
With so many adhesive options available, it is vital to use waterproof adhesive and, in some cases, tile adhesive mats that can speed up the process. This choice depends on the type of tile and the condition of your walls, so always follow UK building standards and manufacturer advice. Keep practical items like tile cutters, spacers, rubber grout floats, and a tile edging strip close at hand. Spacers help maintain tile spacing consistency, while a tile cutter ensures neat edges around vents or outlets. For professional kitchen tile installation in London, experts like Abel Tiler London rely on high-grade adhesives and precision tools to achieve a smooth, long-lasting finish. Equipping yourself with the right kit fosters a safer, more controlled approach to installing a tile splashback in the kitchen, setting the stage for a flawless finish.
Preparing the Surface for Tiling
Surface Inspection and Cleaning
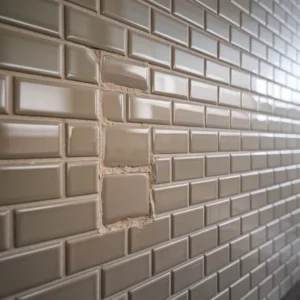
Surface preparation goes hand in hand with how to do splashback tile in kitchen projects. Thoroughly clean the walls to eliminate grease, old paint flakes, and any remaining residue. A sound foundation helps the tile adhesive bond effectively and prevents lifting down the line. Any existing splashback materials or old sealants should be carefully removed to ensure there are no bumps or uneven spots. Paying close attention at this stage avoids complications such as air pockets behind tiles that may lead to cracks or detachment.
Repairing and Priming
Many London homes, particularly older or listed properties, often have walls prone to minor cracks or plaster defects. Addressing these issues is essential before beginning the tiling process. Patching materials specially designed for masonry or plaster can be used to level off any dips. After smoothing and allowing time to dry, the primer helps seal the surface and promotes a strong bond with tile adhesive. This step is non-negotiable if you want grout lines and tile edges to remain stable over the long term, especially in kitchens exposed to heat and moisture.
Step-by-Step Installation Guide
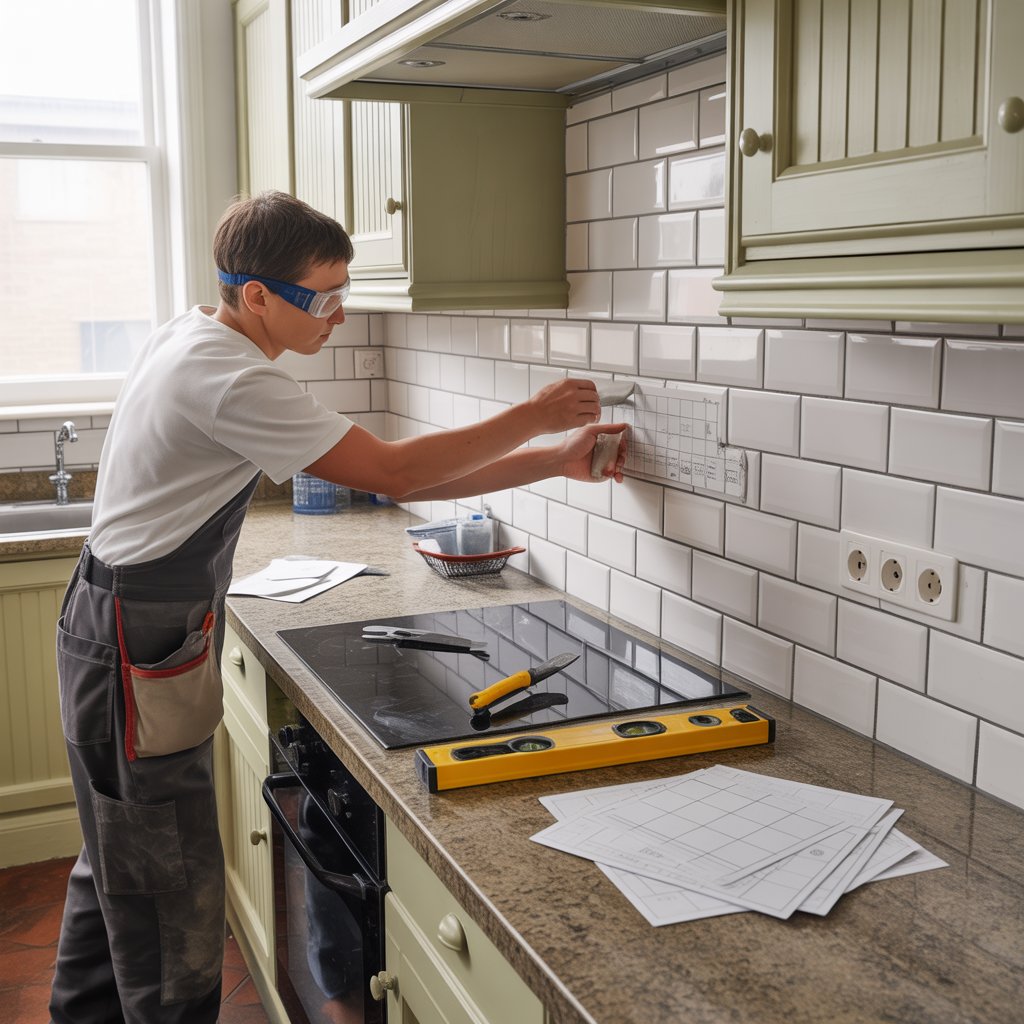
Marking the Layout
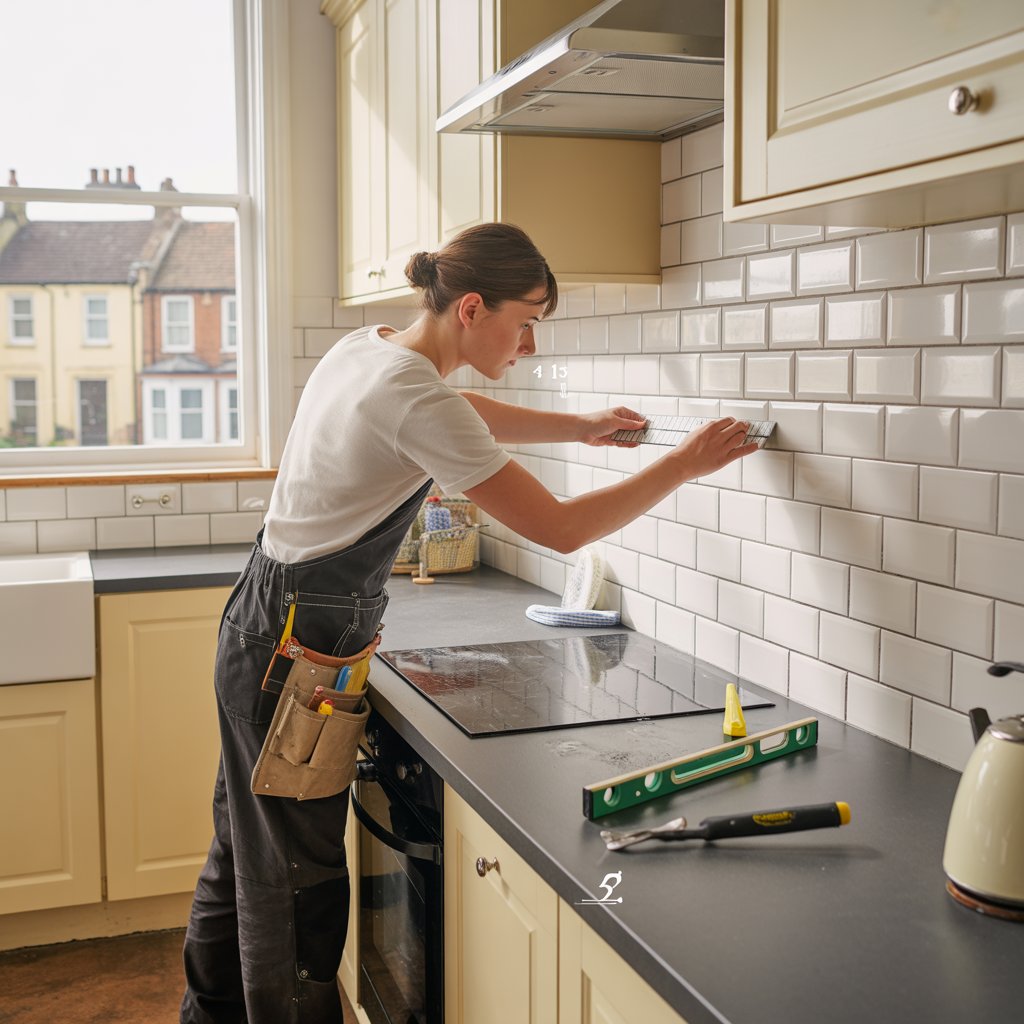
A standout splashback begins with careful tile alignment tips. Mark horizontal and vertical reference lines along the wall to guide placement, ensuring a balanced design from the bottom row upwards. If you plan to create a decorative pattern, sketching it on the wall may help save time and materials when it comes to splashback tile kitchen layouts. Maintaining symmetry around focal points like sinks or cooker hoods keeps the appearance cohesive and polished.
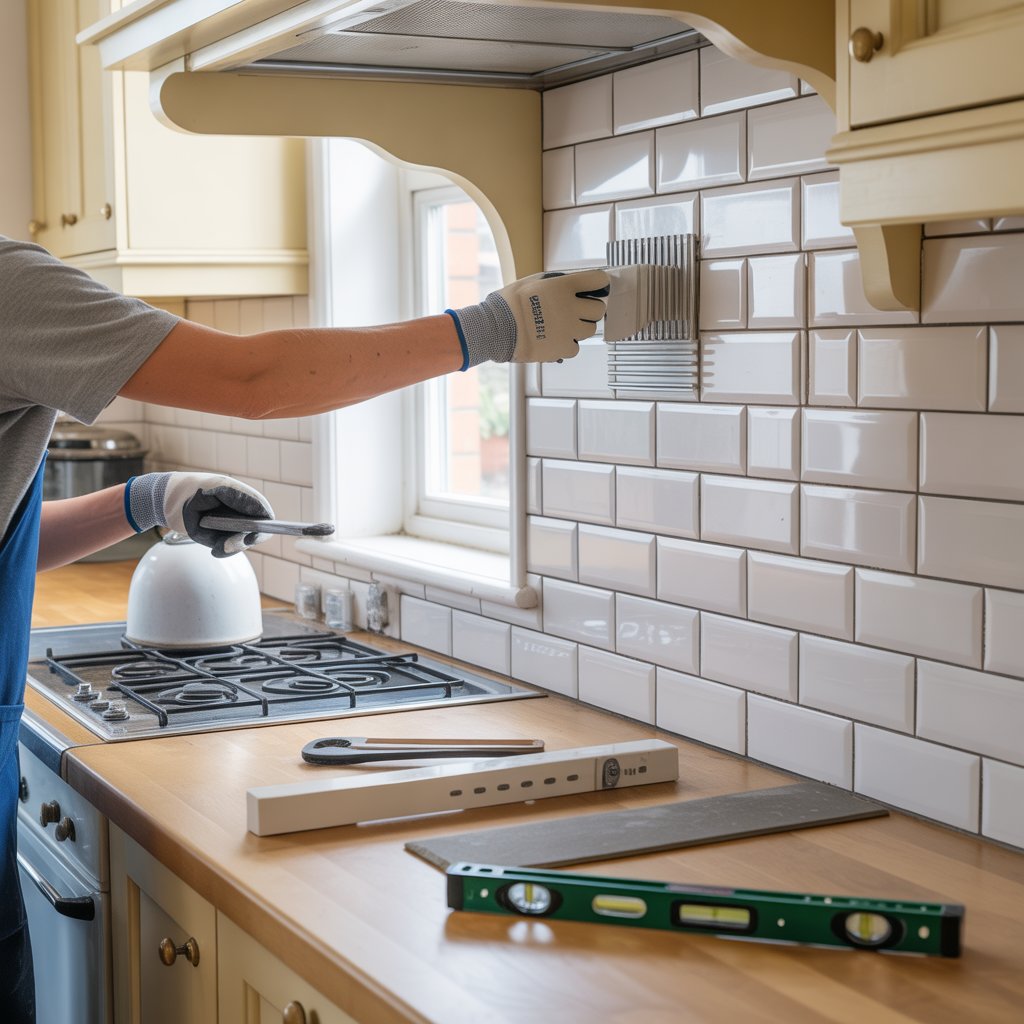
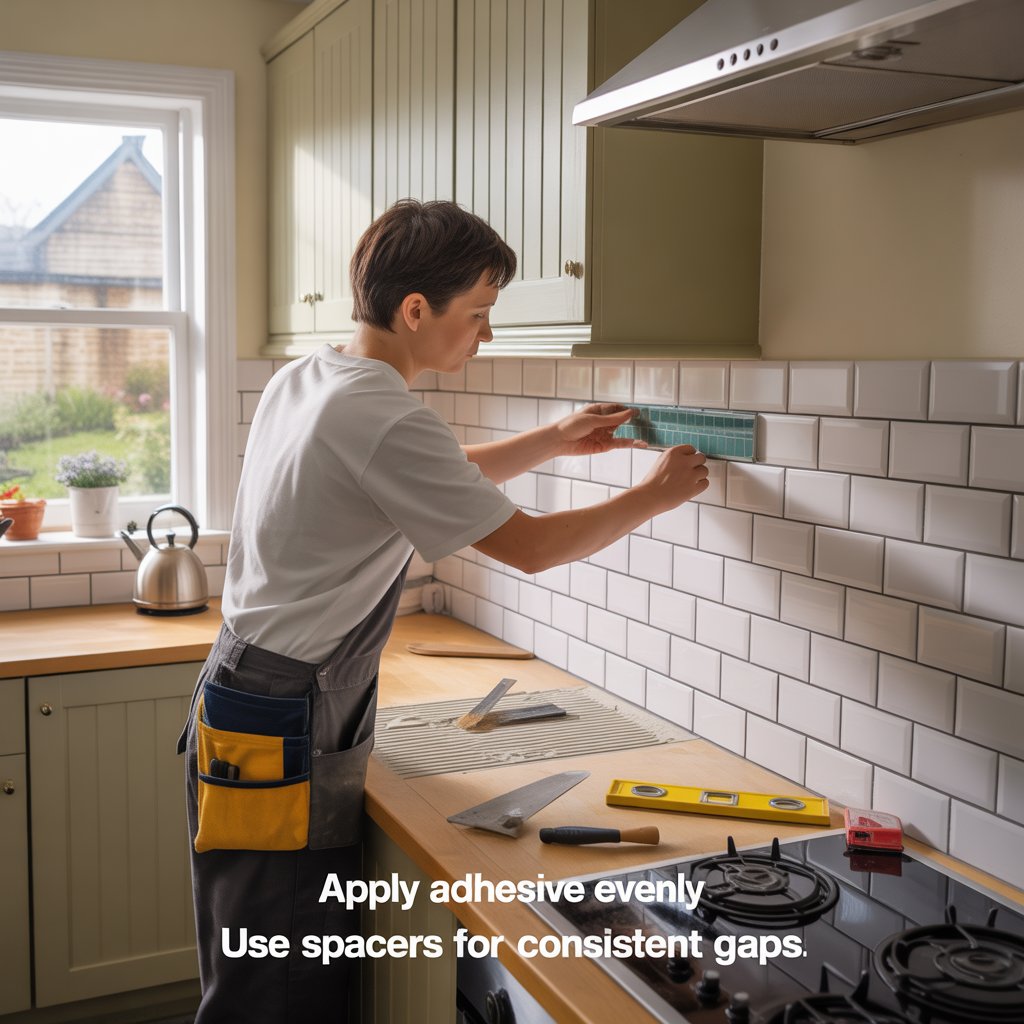
Applying the Adhesive
Once satisfied with your layout markings, spread your waterproof adhesive evenly along a small section of the wall. Hold the notched side of a spreading tool at an angle, as recommended on the adhesive packaging. This technique helps to ensure consistent coverage while you learn how to apply splashback tile in kitchen areas. Work in small batches to prevent the adhesive from setting before the tiles go onto the wall. If using adhesive backing tiles or tile adhesive mats, follow the instructions to make sure each sheet is applied with firm, even pressure to achieve a flat, secure bond.
Positioning the Tiles
Adhering to your preset layout, press tiles into place and insert spacers to maintain consistent spacing between tiles. For corners and around power sockets, careful tile cutting is necessary for the perfect fit. When you come across particularly tricky sections, plan your cuts beforehand to reduce wastage. A tile edging strip can finish off any exposed edges, providing a neat border and protecting your tiles from knocks or chips. Remaining patient during this step is essential for installing a kitchen tile splashback without misalignment or gaps.
Grouting and Sealing
After allowing the adhesive to set, remove the spacers and begin grouting along the lines with a rubber grout float, pressing into the joints firmly. Choose pre-mixed grout for a consistent texture, or create a batch to suit your needs. Carefully wipe away excess grout and smooth the surface. Sealant for splashback edges ensures a sealed junction between the tile and worktop, preventing water from seeping beneath surfaces. Proper grout maintenance and sealing splashback areas, if using porous materials, complete this meticulous process with a fresh, watertight result.
Tips for a Flawless Finish
Managing Drying Times
Proper drying times cannot be rushed, especially in a bustling kitchen. Adhesive and grout products often specify recommended curing durations, and it is wise to adhere strictly to these guidelines. Rushing this stage can result in loose tiles or hairline cracks, undermining all your hard work. A ventilated workspace is essential during drying, and it may help the materials set more evenly and quickly, giving you the best possible outcome.
Cleaning and Polishing
Once the grout has cured, wiping the tile surfaces with a damp cloth will clear away any haze. Light polishing can enhance the shine of tiles, particularly porcelain varieties. Avoid harsh chemicals that might discolour grout or weaken the adhesive over time. Gently buffing away spots or smudges leaves your splashback gleaming, showcasing precisely how to tile a kitchen splashback with a professional touch.
Ensuring Durability
Durability is about more than high-grade materials; it depends on correct application techniques and ongoing care as well. A strong initial bond through quality adhesive and thorough surface preparation limits future maintenance issues. Should you select natural stone, check for UK-approved sealants to safeguard against moisture. Abel Tiler London consistently applies proven methods to strengthen tile longevity, meaning your new splashback will withstand daily cleaning, repeated spills, and changes in humidity without losing its fresh, polished appearance.
Common Kitchen Splashback Challenges and Solutions
Dealing with Moisture and Steam
Kitchens often generate steam and moisture that can penetrate poorly sealed grout lines. Using waterproof adhesive ensures your tiles stay put, even near the kettle or hob areas where condensation is common. Good ventilation, such as a modern extractor hood, reduces humidity levels. Functions like under-cabinet lighting may produce extra heat, so it’s vital to confirm that all tiling elements meet UK standards to handle such conditions effectively.
Outdated Tile Upgrades
Whether you inherit dull or chipped tiles, transforming an outdated décor is simpler when you opt for a professional approach. Abel Tiler London can replace old tiles with modern alternatives that complement your existing cabinetry and fixtures. Their kitchen tile replacement services handle everything from single damaged tiles to full splashback renovations, ensuring durability and aesthetic harmony. By capitalising on current tile design trends—like textured finishes or subtle patterns—you can revitalise the overall look of a classic London kitchen without compromising character.
Fixing Poor Original Installation
Previous DIY attempts might leave uneven grout lines, abundant lippage, or damaged corners. Abel Tiler London specialises in correcting these blemishes by removing subpar materials, smoothing surfaces, and re-laying tiles with precision. This level of expertise reassures homeowners that a new installation will be long-lasting and visibly flawless. Attention to detail is paramount in creating a cohesive finished product, turning any problematic surface into a fresh, stylish splashback that works with modern appliances and lighting.
Why Choose Abel Tiler London
Abel Tiler London is committed to delivering impeccable tiling services, from kitchen walls to custom splashbacks and beyond. Their experience with different UK property styles—ranging from contemporary new builds to Victorian terraces—guarantees thoughtful advice that meets the unique demands of each interior. Every project is approached with a customised plan, whether you favour the simplicity of ceramic tiles or the sophistication of porcelain. Through advanced grouting methods and precise tile alignment, the team ensures a meticulous end result. When you partner with Abel Tiler London, you can trust in a finish that enhances your kitchen’s aesthetic and longevity, adding undeniable value to your property.
Conclusion
A professionally tiled kitchen splashback adds immense style and functionality to any home, protecting walls while elevating the overall design. Abel Tiler London excels at crafting bespoke tiling solutions, utilising premium materials and techniques that make every splashback durable and visually impressive. With expert grout work, attention to detail, and unfaltering dedication, their specialists bring even the most imaginative concepts to life. If you are seeking a refined, long-lasting splashback, reach out to Abel Tiler London for a quote or to schedule a site visit. Transform your kitchen with a truly outstanding tiling finish.