Ceramic tiles can completely transform a tired or outdated bathroom, boosting aesthetic appeal while creating a waterproof bathroom design that withstands heavy use. Whether you have a classic Victorian terrace or a sleek new-build flat in London, installing ceramic tiles delivers several key benefits. These tiles are well-suited to wet areas, offer outstanding durability, and help raise property value if the work is done right. Abel Tiler London specialises in providing professional-looking tile results, focusing on precise alignment, moisture protection, and a stylish finish. This ceramic wall tiling guide reveals each stage of the process, from considering whether ceramic tiles are good for bathrooms to the final sealing steps. By following the methods detailed here, you can feel confident in achieving long-lasting outcomes for any bathroom renovation.
Why Choose Ceramic Tiles for London Bathrooms
Many homeowners ask, “Are ceramic tiles good for bathrooms?” The simple answer is yes. Ceramic tiles excel in wet and humid spaces because they are water-resistant and easy to maintain. In London’s often damp climate, these tiles help safeguard walls and floors from potential moisture damage, which translates into fewer repairs down the line. They also offer exceptional durability and a broad range of design options to suit different tastes, whether you envision a heritage feel for a period property or a minimalist vibe for a contemporary home. When installed correctly, ceramic tiles provide a stable, hygienic surface that supports underfloor heating or traditional radiator systems, making them a popular choice among local property developers and homeowners alike.
Pre-Installation Planning
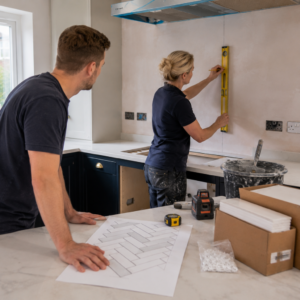
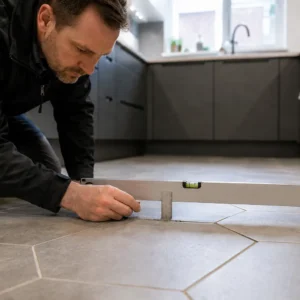
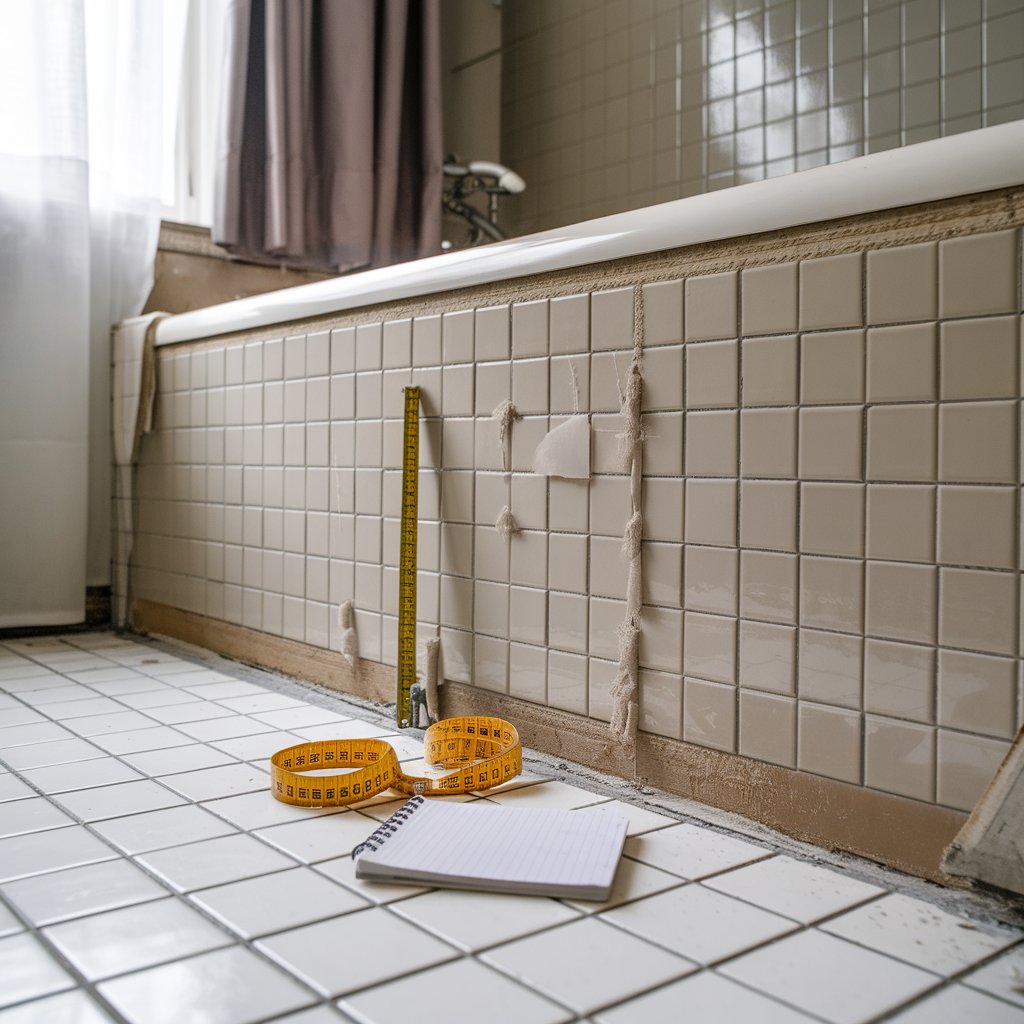
Before learning how to install ceramic tile in the bathroom, it is important to plan the layout and pinpoint potential challenges. Measuring your bathroom accurately helps you figure out how many tiles you need, as well as where cuts may be needed around fixtures like sinks or tubs. Thorough planning also identifies whether you should reinforce existing walls or floors. In older London properties, decades of wear or dampness can lead to uneven surfaces that need correcting. In some cases, tiling over old bathroom tiles is possible, but it requires careful assessment to ensure adhesion and prevent future cracking. Abel Tiler London recommends a professional inspection prior to installation to ensure your substrate is strong and level. This crucial step sets the stage for trouble-free tiling of wet areas and will have a direct effect on the final appearance and longevity of the installed tiles.
Gathering Essential Materials
It is vital to have quality materials and tools ready before starting any bathroom tiling step-by-step. Below is a concise list of what you’ll need:
- Ceramic tiles are appropriate for walls or floors
- Tile adhesive recommended for wet areas
- Grout (preferably mould-resistant)
- Tile spacers for consistent joint width
- A tile cutter or wet saw for cutting ceramic tiles
- A notched trowel, sponge, and spirit level
- Protective gear such as eye protection and gloves
While you can choose from a variety of tile ranges at local suppliers, it’s worth considering professional advice. Abel Tiler London can recommend suitable products that align style with functionality, preventing problems caused by subpar adhesives or poorly fitting tiles.
How to Install Ceramic Tile in the Bathroom: The Basics
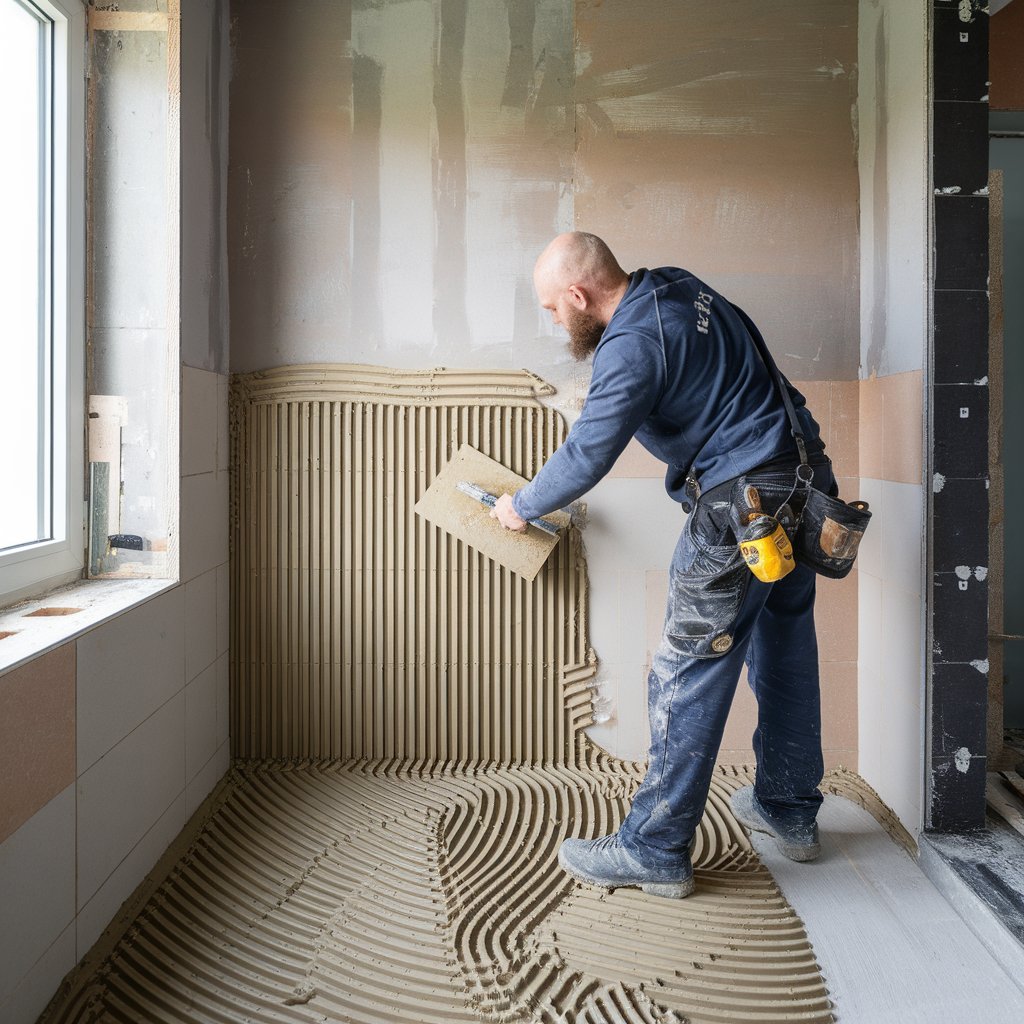
When wondering how to install ceramic tile in a bathroom wall or floor, it helps to grasp the general steps. A typical project includes surface preparation, adhesive application, tile positioning, and grouting. The adhesive must be carefully mixed according to the manufacturer’s instructions, and the tiles must be set in place before the bonding agent dries. Achieving a professional wall tiling finish also involves frequently checking tile alignment with a spirit level or laser guide. This approach helps keep the layout consistent, preventing crooked lines that might stand out on large, flat expanses.
Good ventilation is crucial, not only for comfort when working but also for adhesive drying. For floors, it is essential to confirm that the subfloor is strong, flat, and capable of supporting the new layer. Incorporating damp-proof membranes or backer boards can enhance your water proof bathroom design, preventing moisture problems down the road. If you are short on time or expertise, hiring the Best bathroom tile installation service ensures professional looking tile results that last for many years.
How to Lay Ceramic Tile in Bathroom Walls
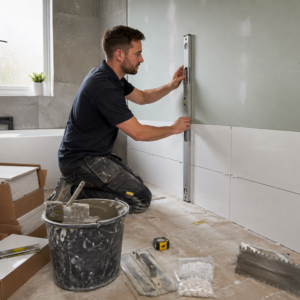
Installing tiles on vertical surfaces requires a keen eye and steady hand. If you wish to know how to put ceramic tile on bathroom walls, start at the bottom and establish a level baseline or batten. Place the first row of tiles along this reference line, ensuring that each tile is well-seated in the adhesive. Use tile spacers to maintain uniform grout lines. After completing the first section, continue upwards, regularly checking for any unevenness. Patience is crucial here—allow each section to set before adding more weight above.
Certain walls in older London buildings may be uneven. In such situations, an experienced tiler will typically employ an extra layer of tile backer board or smoothing compound. Once the tiles are in place, remove excess adhesive and wipe the surface gently. When the adhesive has fully cured, you can proceed with the grouting stage, taking extra care in corners and edges where water is most likely to penetrate.
How to Install Ceramic Floor Tile in Bathroom Areas
The process of how to install ceramic floor tile in bathroom settings has similarities to wall tiling but differs in a few key ways, particularly regarding subfloor stability and weight distribution. Begin by preparing a flat, rigid base—this may involve adding plywood or cement backer boards if existing floor materials are prone to flexing. Next, decide on a layout that minimises odd-shaped tile cuts near thresholds or corners, which can be visually distracting and more difficult to install.
Apply adhesive onto a small, manageable section of the floor, spreading it evenly with a notched trowel. Press each tile into the adhesive, placing spacers to maintain consistent gaps. Continuing row by row, be mindful of alignment at each stage, as even a tiny shift can lead to a noticeably skewed row of tiles further on. Use a tile cutter or wet saw for precise fits around fixtures like toilets. Once the adhesive sets, finalise the job by removing spacers and applying grout carefully.
Cutting Ceramic Tiles Safely and Accurately
One of the challenges in a ceramic wall tiling guide is cutting shapes or notches so that the tile can accommodate taps, pipes, or corners. Manual tile cutters work well for straight lines, but a wet saw or electric cutter is recommended for curves or thicker tiles. To achieve clean edges, carefully mark the cut line using a pencil or washable marker. Then, run the tile through the cutting tool at a steady speed. This limits chipping and safeguards against jagged edges. Protective goggles, gloves, and dust masks guard against flying shards or fine debris. For those looking to ensure a stable fit around tight spaces, a good measure is to cut slightly outside the marked line, then refine the shape with a smoother or file.
Grouting and Achieving a Professional Finish
Grout does more than just fill the gaps between tiles. It bolsters the structure and forms part of your waterproof bathroom design by preventing water ingress. For the best results, use a high-quality, mould-resistant grout specifically formulated for tiled wet areas. Let the adhesive fully cure according to the manufacturer’s guidelines, then remove any remaining tile spacers. Pack grout into the joints using a grout float at a 45-degree angle, ensuring there are no voids.
Wipe away excess grout with a damp sponge—but avoid using excessive water, which can weaken the mixture. After the grout has begun to firm up, buff the surface gently with a clean cloth to remove any film. Sealing ceramic tiles may be recommended if the tiles are slightly porous. Applying a suitable sealant across both grout lines and tile surfaces can deliver extra protection against moisture penetration, an important step for bathrooms used daily by a busy household.
Bathroom Tile After Care and Maintenance
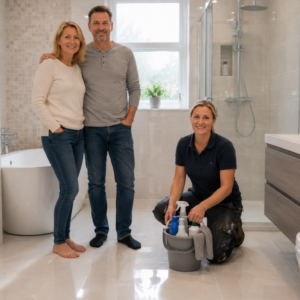
Once your tiles are set, it is crucial to adopt good bathroom tile after-care practices. Gentle cleaning with a non-abrasive product helps prevent scratches and preserves the sheen of the tiles. Regular wiping also minimises soap-scum build-up and keeps mould at bay, especially in corners or tile joints near showers and baths. Performing routine inspections for cracked grout can prevent minor moisture issues from turning into costlier repairs. If you notice loose tiles or persistent damp spots, consult an expert sooner rather than later. By keeping surfaces clean and watching for early warning signs, you safeguard not just your tiling but also the underlying structure of walls and floors.
Safety Considerations and UK Regulations
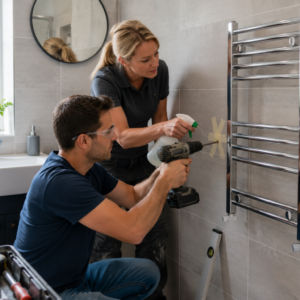
Whether you are a DIY enthusiast or working with a professional, always observe basic safety. Tiling often involves sharp cutting tools, dust, and chemicals in adhesives or sealants. Adequate ventilation, protective clothing, and carefully following product guidelines all help maintain a hazard-free environment. From a regulatory standpoint, UK building codes set standards for bathroom ventilation, electrical wiring near wet zones, and, in some cases, slip resistance for flooring. Though small bathroom projects typically do not require extensive permissions, ensuring that all aspects of how to install ceramic tile in the bathroom meet local standards can save time, avoid disputes, and protect the value of your property.
Common Pitfalls and Troubleshooting
DIY tilers occasionally encounter cracked grout lines, loose tiles, or water seeping behind walls if steps are rushed or if low-quality products are used. Poor bonding between the substrate and adhesive might cause tiles to pop loose over time. Skipping the sealing phase in high-moisture areas can also allow damp to creep in, especially around baths and showers. If you spot staining, discolouration, or mould, it might be time to re-seal or re-grout. Abel Tiler London’s thorough installation methods minimise these eventualities, focusing on consistent alignment, high-grade materials, and meticulous sealing. Consult a professional if you have any doubts or persistent issues, as prompt attention can prevent further damage.
Design Considerations and Bathroom Renovation Ideas
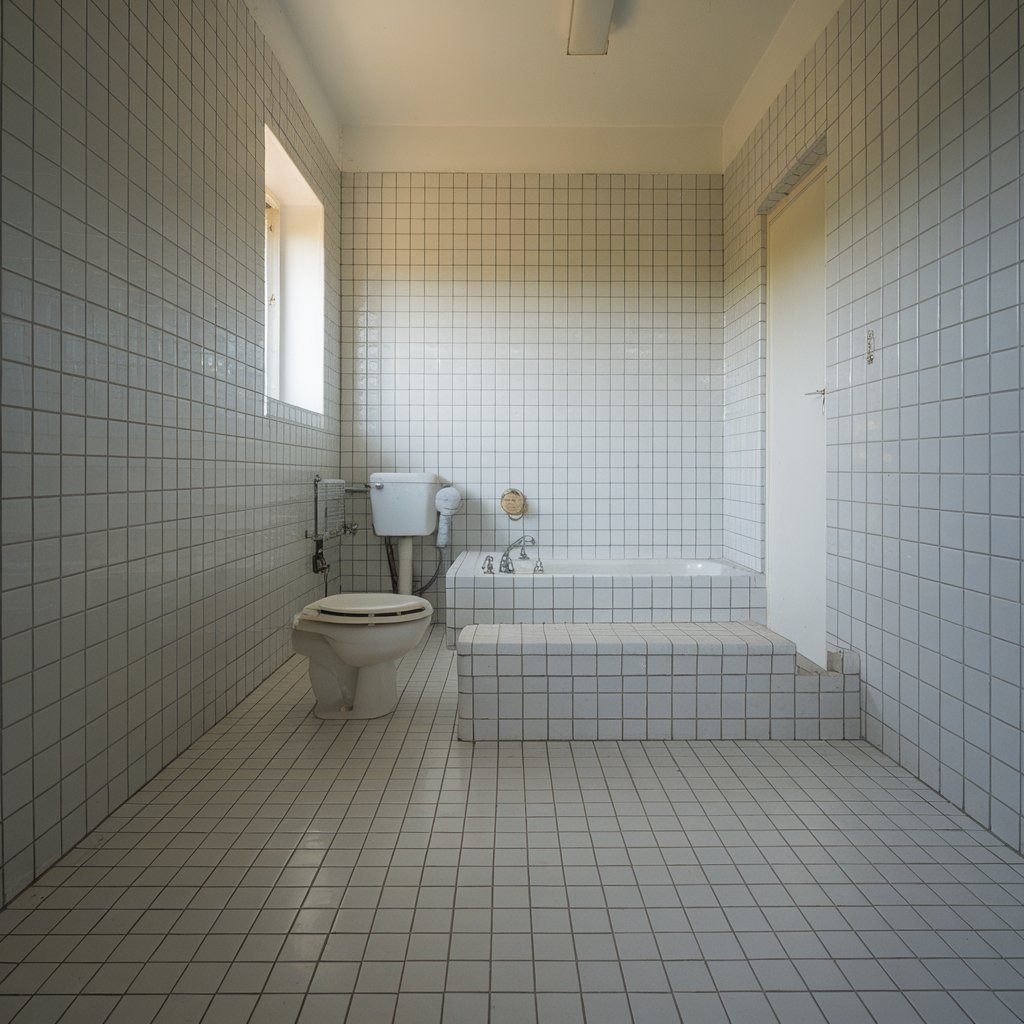
There is ample scope to get creative with ceramic tiles. Bold geometric patterns on floors can create a statement look, while neutral stone-effect ceramics can lend a calming, spa-like vibe to the room. Pairing decorative tiles with sleek, contemporary fixtures introduces a stylish contrast that best suits modern London flats. For traditional homes, a classic metro tile arrangement with contrasting grout can rejuvenate period features without clashing with architectural charm. Shelves built into tiled recesses, combined with well-placed accent tiles, further enhance storage and design. Whether you prefer minimalism or a lavish mosaic statement, modern bathroom tile designs offers a versatile canvas for any idea you may have.
Taking Your Bathroom to the Next Level
Sometimes, how you install the tiles is just as significant as which tiles you choose. Patterns like herringbone, chevron, or diagonal placements can trick the eye into believing the space is larger than it is. Mixing gloss tiles with matte finishes also brings depth to the room. Consider underfloor heating beneath ceramic floor tiles for extra comfort on chilly mornings—this addition not only feels luxurious but also boosts property resale value in the competitive London market. For homes aiming to let or sell, impeccable tiling helps reel in potential tenants or buyers who value a stylish, practical bathroom.
Benefits of Working with Abel Tiler London
Abel Tiler London offers comprehensive expertise in installing ceramic tiles to the highest standards. With a firm understanding of British homes, they identify and resolve common structural issues before they compromise a tiling project. Their client-focused approach ensures every detail is tailored, from tile selection to finishing touches. On-site professionals bring years of experience in cutting ceramic tiles precisely, using premium adhesives, and applying mould-resistant grouts, ultimately guaranteeing a professional wall tiling finish. They also provide helpful after-care guidance to maintain the result, ensuring rosettes or accent tiles look pristine for years. Trusting a reputable London-based tiling specialist fosters peace of mind and spares homeowners the frustrations of redoing subpar work.
Cost and Value Considerations
Tiling a bathroom can be a considerable expense, but it is an investment that frequently pays off in both daily satisfaction and property value. The cost will vary depending on tile quality, bathroom size, and any necessary repairs or preparations. Although budget tiles may appear cheaper initially, they can lead to cracked surfaces or repeated maintenance, driving up long-term costs. Opting for durable flooring solutions from the outset saves hassle and money over time. With Abel Tiler London, you also get transparent guidance on suitable materials that meet UK standards, ensuring your bathroom tiling project fits your goals and your budget without compromising on quality.
Final Checks Before Completion
Before deeming your bathroom upgrade finished, carry out a thorough inspection of grout lines, edge trims, and sealants. If you have installed new silicone or any waterproofing agent, verify that these areas are fully cured. In a waterproof bathroom design, every seam should be watertight, including corners around showers, baths, and basins. Ensuring that no gaps remain between the tiles and the floor, or between the tiles and fixtures, is key to preventing water infiltration. Any discrepancies should be addressed immediately to avoid future structural headaches.
Conclusion
Knowing how to install ceramic tile in the bathroom empowers you to create a lasting, stylish, and moisture-resistant space in your London home. From planning the layout and cutting ceramic tiles to applying grout and sealing ceramic tiles properly, each step demands care and precision. Abel Tiler London specialises in delivering professional-looking tile results that stand the test of time, offering solutions tailored to different budgets and design aspirations. If you seek a seamless transformation or need support with bathroom renovation ideas, contact Abel Tiler London for expert guidance and impeccable craftsmanship.